A Founder's Guide to the Mobile App Development Lifecycle
Master the mobile app development lifecycle. This guide breaks down each stage from idea to launch with practical steps for founders and developers.
By Rishav
13th Oct 2025
Last updated: 6th Nov 2025

The mobile app development lifecycle is the blueprint every successful app follows, guiding a product from a spark of an idea to a polished tool in the hands of users. For founders, product managers, and designers, understanding this process isn't just a technical exercise—it's the key to managing resources, mitigating risk, and building something people actually want.
Your Blueprint for Building a Successful App
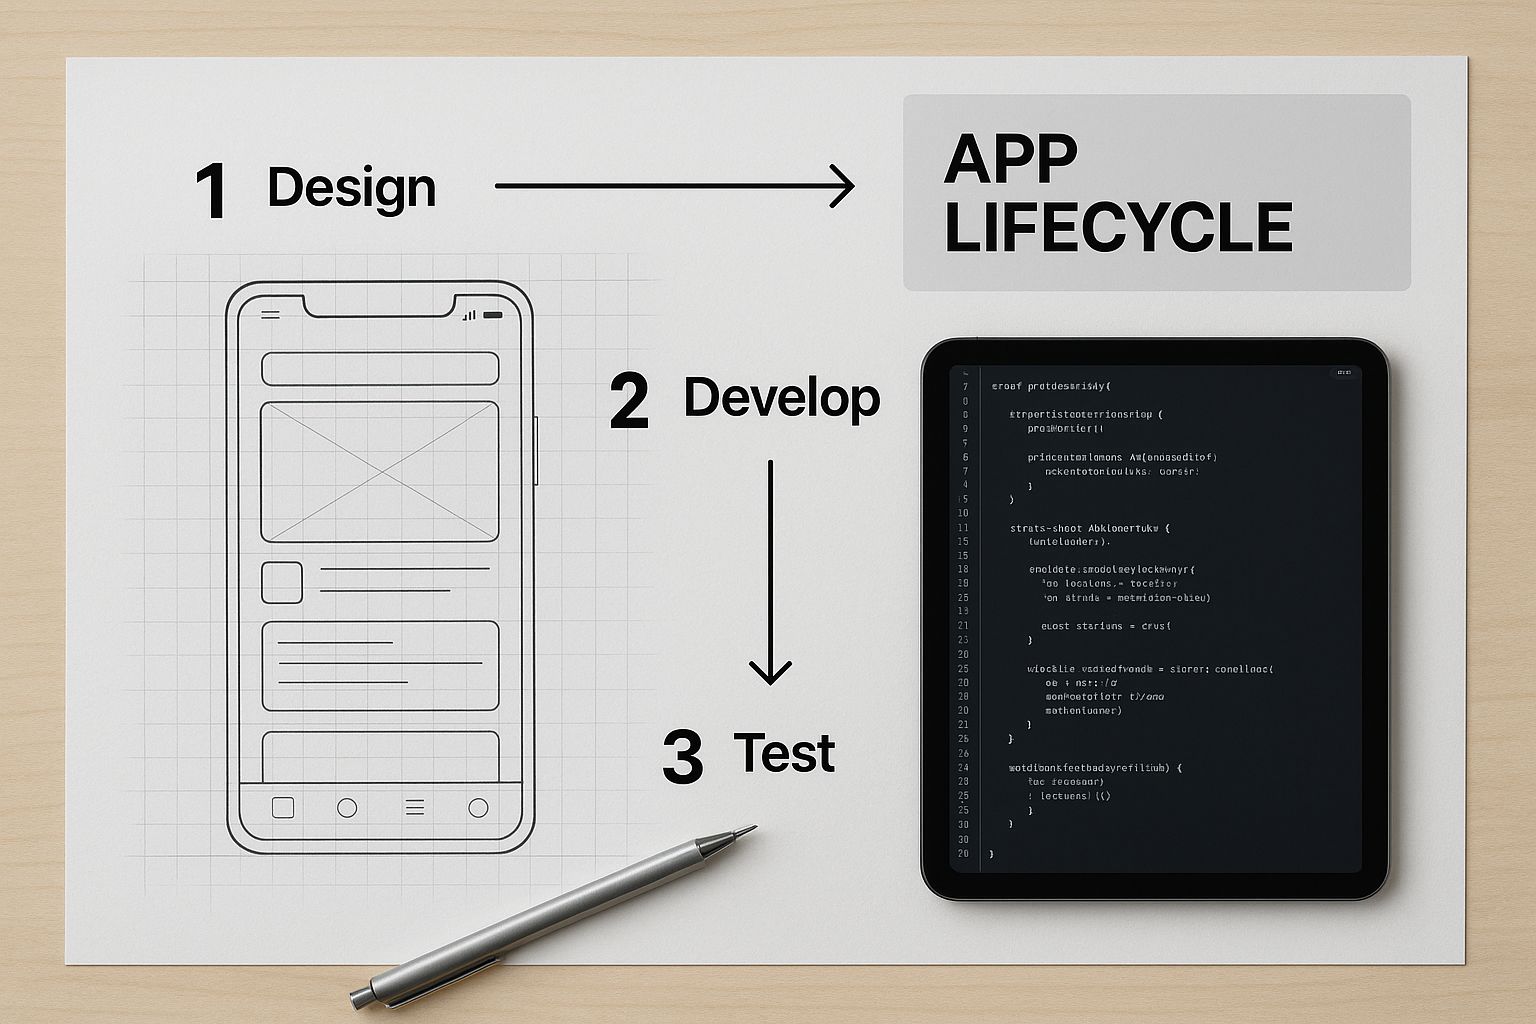
Think of building an app like building a custom home. You wouldn’t show up with a pile of lumber and start nailing boards together. You'd need architectural blueprints, a solid foundation, and a clear plan for every room. The development lifecycle is that blueprint for your app.
Without this structured process, you're just guessing. You risk building a product nobody wants, blowing your budget, or launching a buggy, frustrating app that gets one-star reviews. This lifecycle turns a potentially chaotic process into a predictable, manageable project.
Each stage builds on the last, creating a continuous cycle of creation, feedback, and refinement. This isn't a one-and-done project; it’s an ongoing loop designed for long-term growth.
As you can see, the journey doesn't end at launch. The best apps are never truly "finished"—they’re constantly evolving based on what users need and how the market changes.
The Core Stages of App Development
Let's break down the essential phases of bringing a mobile app to life. The table below gives a quick snapshot of what happens at each step, from initial brainstorming to keeping the app running smoothly after launch.
| Phase | Primary Goal | Key Activities |
|---|---|---|
| 1. Ideation & Strategy | Validate the app idea and define its purpose. | Market research, competitor analysis, identifying the target audience, defining the core value proposition. |
| 2. Design (UX/UI) | Create the app's look, feel, and user flow. | Wireframing, creating mockups, building interactive prototypes, establishing the visual identity. |
| 3. Development | Write the code to build a functional application. | Front-end (what users see) and back-end (server, database) coding, API integration. |
| 4. Testing & QA | Find and fix bugs and performance issues. | Functional testing, usability testing, performance checks, security audits. |
| 5. Deployment & Launch | Release the app to the public. | Submitting to the Apple App Store and Google Play Store, creating marketing materials. |
| 6. Maintenance & Support | Keep the app stable, updated, and relevant. | Monitoring app performance, fixing bugs, releasing updates with new features, gathering user feedback. |
Each of these phases is critical. Skipping or rushing one is like trying to put up the walls of a house before the foundation has set—it’s a recipe for disaster.
By treating app creation as a structured lifecycle, teams can better manage resources, mitigate risks, and build products that genuinely solve user problems. It transforms a chaotic creative process into a predictable engineering discipline.
Getting a handle on this structure is the first step for anyone looking to build a mobile product.
From Great Idea to Winning Strategy
Every great app starts with a spark of an idea. But an idea alone won't get you far. The strategy phase turns that initial concept into something people will actually download and use. This is where you pressure-test your idea against the real world. Think of it less as coding and more as critical thinking for founders and product managers.
Jumping straight into development without this step is like trying to build a house without a blueprint. You’ll waste a ton of time and money, and you'll likely end up with something nobody wants. The goal here is to ask the hard questions before a single line of code is written.
Find Your Opening in the Market
Before you even think about wireframes, you need to become an expert on the market you’re about to enter. This isn’t just a quick Google search; it’s about digging deep to find a genuine gap that your app can fill. Start by getting a clear picture of your potential users and the problems they're struggling with.
Next, it's time to size up the competition. A thorough competitor analysis is non-negotiable. See who’s already out there and figure out what they do well. More importantly, find out where they’re dropping the ball. Their weaknesses—a clunky interface, missing features, a poorly served audience—are your biggest opportunities.
For example, say you want to build a meditation app. That market is incredibly crowded.
-
Apps like Headspace and Calm are fantastic, but they target a very general audience.
-
But what if your research shows that no one is specifically addressing the intense stress and crazy schedules of college students during exam season?
Just like that, you've carved out a defensible niche. You're not just another meditation app; you're building a lifeline for a specific group of people with a very specific problem.
Know Your User, Define Your Success
Once you’ve found your niche, you need to zoom in on your target audience and figure out what success actually looks like. Vague goals like "getting a lot of downloads" won't cut it. You need concrete Key Performance Indicators (KPIs) tied directly to your business goals.
Let's stick with our meditation app example:
-
Target Audience: University students, 18-24 years old.
-
Primary Goal: Help students manage exam anxiety and stay focused.
-
Meaningful KPIs:
-
Daily Active Users (DAU): Are students actually opening the app every day during crunch time?
-
Session Duration: Are they completing the short, targeted meditations?
-
Retention Rate: After the first week of exams, are they still coming back?
-
These metrics aren't just numbers on a dashboard; they’re your North Star. They guide every decision you make during the mobile app development lifecycle, helping you prioritize features that truly matter—like 5-minute "focus boosters" instead of hour-long wellness tracks.
The strategy phase is where you shift from, "I think this is a cool idea," to, "I have proof that people need this." That shift is the single biggest predictor of an app's success.
Choosing Your Tech Foundation
The last piece of the strategy puzzle is deciding how you're going to build your app. This isn't a small decision—it impacts your budget, timeline, and how easily you can scale down the road. For non-technical founders, it's crucial to understand the trade-offs.
You generally have three paths to choose from:
-
Native App (iOS or Android): This means building a separate app for each platform using its own programming language (like Swift for iOS or Kotlin for Android). You get the absolute best performance and user experience, but it’s the most expensive and time-consuming route since you’re managing two different codebases.
-
Hybrid App: This approach uses a single codebase (often with frameworks like React Native) to build for both platforms at once. It’s much faster and cheaper, with modern frameworks delivering a near-native feel. This is a popular choice for startups and MVPs.
-
Progressive Web App (PWA): Essentially a website that acts like an app. Users don't need to go to an app store; they can access it right from their browser. The trade-off is limited access to a phone’s hardware and features.
The right choice really depends on your app's needs. If you’re building a high-performance game, native is probably the way to go. If you need to get a simple app to market quickly, hybrid might be perfect. Many founders start by building a lean, focused version to test their core idea first. You can learn more about that smart approach in our guide on how to build an MVP mobile app.
Designing an Experience Users Will Love
Once you’ve nailed down a winning strategy, it’s time for the next phase in the mobile app development lifecycle: bringing your app’s personality to life through thoughtful design. This is where abstract ideas and all that market research start to feel real. You’re essentially creating a tangible, interactive blueprint that defines how your app will look, feel, and function.
Let's be clear: great design isn't just about making things look pretty. It’s about creating an intuitive, seamless experience that keeps people coming back.
Don't underestimate the cost of getting this wrong. A clunky or confusing design is one of the fastest ways to kill an app before it even has a chance. Your design is your first impression—you only get one.
Clarifying UX vs UI
For founders and product managers, it's vital to understand the two pillars of app design: User Experience (UX) and User Interface (UI). People often use these terms interchangeably, but they are two very different disciplines that work together.
Think of it like building a house:
-
UX (User Experience) is the architectural plan. It dictates the fundamental layout and flow—where the rooms are, how you move between them, and whether the floor plan actually makes sense for daily living. UX is all about the underlying structure and usability.
-
UI (User Interface) is the interior design. This covers the paint colors, the furniture style, the light fixtures, and all the visual details that give the house its character. It's the look and feel the user directly sees and touches.
A beautiful house with a terrible layout is a nightmare to live in. A house with a logical floor plan that’s just plain ugly is uninviting. You absolutely need both great UX and great UI to create an experience people will genuinely love.
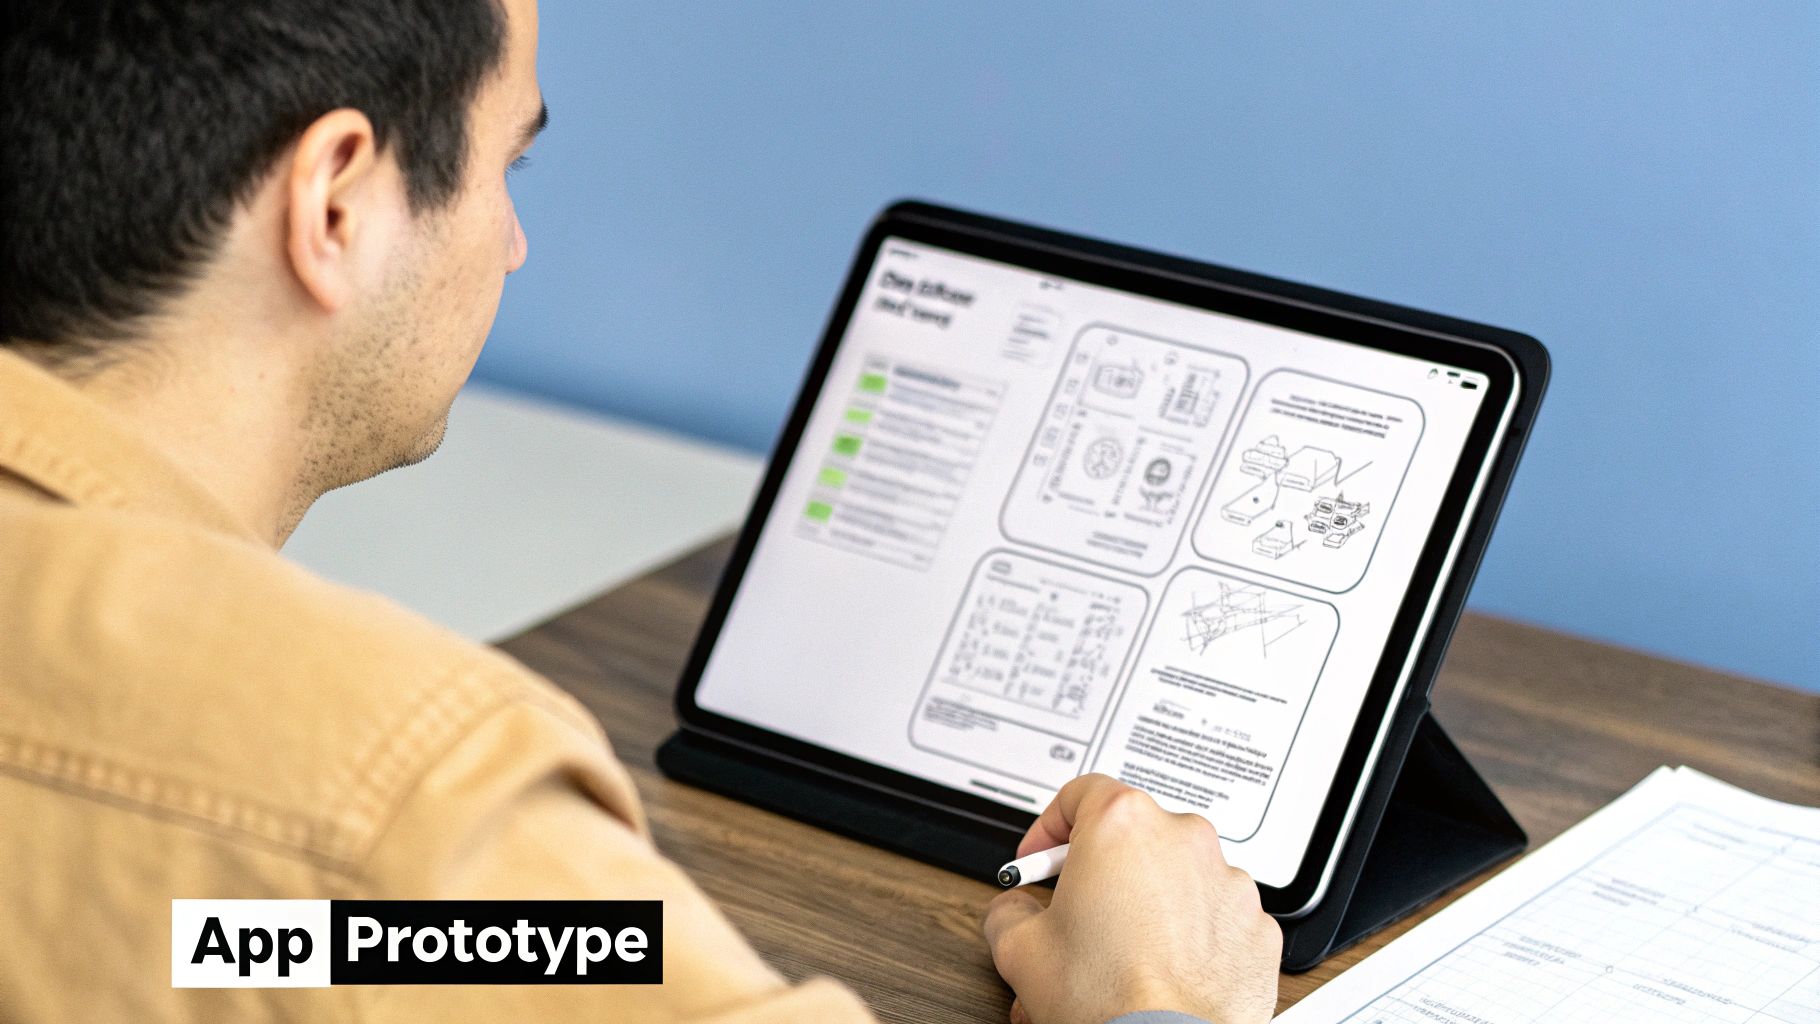
From Blueprint to Interactive Model
The design process moves from rough sketches to high-fidelity, interactive models. Each step is a chance to refine the vision and gather feedback before writing a single line of code, which can save an enormous amount of time and money down the road.
-
User Flows: The very first step is to map out the complete journey a user takes to get something done, like creating an account or buying a product. These flowcharts ensure the path from A to B is logical, efficient, and free of friction.
-
Wireframes: Next come the skeletal blueprints of your app. Wireframes are simple, black-and-white layouts that focus purely on structure, placing elements, and defining functionality. Colors, fonts, and branding are intentionally left out so the team can focus solely on the core layout.
-
Mockups & High-Fidelity Designs: With the wireframes approved, the designers start adding the UI elements. This is where your brand’s color palette, typography, and iconography are applied, turning that basic blueprint into a static but pixel-perfect image of the final product.
-
Interactive Prototypes: Finally, these polished mockups are stitched together to create a clickable prototype. It isn't a working app, but it feels like one. Stakeholders and test users can tap through screens and navigate menus just as they would with the finished product.
A wireframe shows you where the front door is. A prototype lets you click on the door to see what's inside. This jump from static to interactive is where you catch usability problems before they become expensive development headaches.
The Importance of a Style Guide
To maintain consistency across every single screen and every future update, your team needs a style guide. Think of this as the single source of truth for your app's entire visual identity. It meticulously defines everything from button styles and font sizes to the exact hex codes for your brand colors.
A style guide isn't just a document for designers; it's a critical tool for developers, too. It eliminates guesswork, makes the development process faster, and ensures the app maintains a cohesive, professional look as it grows and evolves. In a mature mobile app development lifecycle, this isn't optional—it's essential.
Phase 3: Bringing Your App to Life with Code
Now for the magic. We've got a solid strategy and a beautiful design, but it's all just an idea until we write the first line of code. This is the most intensive part of the entire journey—the phase where developers transform those static designs into a living, breathing product that people can actually use.
For anyone outside the engineering team, this part can feel like a black box. A simple restaurant analogy can help clarify the key components:
-
The Back-End is the kitchen. This is the engine room—completely hidden from the customer—where all the heavy lifting happens. It manages the data, handles user accounts, and processes all the complex logic.
-
The Front-End is the dining room. It’s everything your user sees and touches, from the menu and the table layout to the overall ambiance. This is the user interface (UI) and the user experience (UX).
-
APIs (Application Programming Interfaces) are the waiters. They're the critical messengers that take requests from the front-end (the customer's order) to the back-end (the kitchen) and bring back the result.
If any one of these three parts isn't working perfectly with the others, the whole experience falls apart.
Building Smarter, Not Harder, with Agile
Gone are the days of trying to build an entire application in one long, rigid push. Today’s best teams work with agile methodologies like Scrum, which breaks the massive project down into small, digestible chunks called sprints.
A sprint is just a short, focused burst of work, usually lasting 1-4 weeks, where the team commits to building a specific set of features. At the end of each sprint, they have a small but functional piece of the app to show for it. This approach is incredibly powerful because it lets the team stay flexible, react to feedback, and fix problems long before they become showstoppers.
Front-End and Back-End Working in Tandem
So, what does this actually look like? Let's imagine we're building a travel booking app.
For one sprint, the team might decide to tackle the flight search feature. Here’s how the work would be divided:
-
The Back-End Team Gets to Work On:
-
Building a database to hold all the flight info—routes, schedules, pricing, you name it.
-
Creating an API that can understand a user's search request (e.g., "I need a flight from NYC to LAX next Tuesday").
-
Connecting to external airline systems to fetch real-time flight data.
-
-
The Front-End Team Focuses On:
-
Coding the search screen itself, complete with date pickers and airport input fields.
-
Hooking up the "Search Flights" button so it talks to the back-end API.
-
Designing and building the results screen to display the flight options in a clean, easy-to-read format.
-
They repeat this dance, sprint after sprint, adding more features like user profiles, payment gateways, and booking confirmations until the app is feature-complete.
The development phase is really a translation process. It takes human needs and design concepts and translates them into the language of code, creating a bridge from a great idea to a functional product.
This is also the phase where project timelines can really stretch. Traditionally, building a complete mobile app could take anywhere from 3 to 9 months, depending on how complex it is. For an in-depth look at development timelines and other stats, check out these app development trends.
However, modern tools are changing the game. With platforms and frameworks like React Native, teams can move much faster. This is where a tool like RapidNative can make a world of difference. By generating production-ready React Native UI code from simple prompts, it helps teams build the front-end structure in a fraction of the time. That frees up your engineers to focus their brainpower on the tricky back-end logic and unique features that will make your app a success.
Ensuring a Flawless User Experience
After months of hard work on strategy, design, and coding, you finally have something that looks and feels like a real app. It’s easy to get excited and rush toward the finish line, but this is where successful apps are truly made. The testing phase of the mobile app development lifecycle isn't just a final checkbox; it's a deep-dive quality control process that safeguards your budget, timeline, and your brand's reputation.
Think of it like the final inspection before a new restaurant opens its doors. You wouldn’t dream of serving customers without making sure the ovens work, the staff knows the menu inside and out, and the building is up to code. Launching an app without this same level of rigorous testing is a recipe for failure, leading to a flood of bad reviews, frustrated users, and expensive emergency fixes down the road.
The Four Pillars of App Testing
Good testing isn’t about randomly tapping buttons and hoping for the best. It’s a structured, methodical approach that scrutinizes the app from every angle to make sure it’s functional, intuitive, fast, and secure. Let’s break down the four essential types of testing every single app needs to survive.
-
Functional Testing: This answers the most fundamental question: "Does it actually work?" Testers go through every feature, button, and user journey to confirm they behave exactly as intended. For an e-commerce app, this means checking that the "Add to Cart" button really adds items to the cart and that the checkout process can successfully take a payment.
-
Usability Testing: Now we move beyond pure function and ask, "Is it easy and enjoyable to use?" A feature can work perfectly from a technical standpoint, but if users can't find it or don't understand how it works, it’s a total failure. This involves watching real people try to complete tasks to find points of confusion—like a checkout flow that has way too many steps.
-
Performance Testing: Here, the focus is all about speed, stability, and how the app uses a device's resources. How does it hold up when a flood of users hits during a flash sale? Does it drain the battery or make the phone sluggish? This is absolutely critical, as slow performance is a top reason for app uninstalls.
-
Security Testing: In a world filled with data breaches, this is completely non-negotiable. Security testers essentially become ethical hackers, actively trying to find and exploit vulnerabilities in your app. For a fintech app, this means making absolutely certain that customer payment data is locked down, encrypted, and safe from prying eyes.
The High Stakes of Skipping Steps
Cutting corners on any of these testing pillars can lead to disaster. A gaming app that constantly crashes (a performance issue) will get uninstalled in a heartbeat. A healthcare app with a confusing interface (a usability flaw) could prevent a patient from getting critical information. And a retail app that gets hacked (a security failure) could face millions in fines and destroy its reputation overnight.
Testing is your app's immune system. It proactively finds and neutralizes threats—from tiny bugs to major security holes—before they can harm the user experience and your business.
The Crucial Role of Beta Testing
Even the most thorough internal quality assurance (QA) teams can't fully replicate the real world. That’s why beta testing is so important. Before launching to the public, you release the app to a small, select group of actual users. They test it on their own phones, on their own spotty Wi-Fi, and with their own unique habits.
This process is priceless for catching those weird, obscure bugs that only show up on a specific Android model or when the network connection is weak. More importantly, it gives you raw, unfiltered feedback on usability. Your internal team knows the product too well and might miss an awkward workflow that a new user would spot immediately. By letting real people stress-test your app, you uncover the unexpected problems that could otherwise derail your launch.
If you're focused on building high-performing apps, it's worth learning how you can optimize React Native performance using AI-driven insights.
Launching and Growing Your App
You’ve poured months into designing, building, and testing. Now, your app is finally ready for the world. It’s a huge moment, but think of it as the starting line, not the finish. What happens next in the mobile app development lifecycle is what truly makes or breaks an app's long-term success.
Getting your app live means navigating the sometimes tricky submission process for the Apple App Store and Google Play Store. Each has its own rulebook, and overlooking even a small detail can lead to a frustrating rejection and set you back.
Common pitfalls include hidden bugs, incomplete store listing information, privacy policy issues, or a UI that doesn't quite meet platform standards. You have to do your homework here, carefully checking the latest requirements from both stores to ensure a smooth launch.
Your App Is Live. Now What?
Congratulations, your app is officially available for download! Now the real work begins. The post-launch phase is all about listening, learning, and improving—a constant cycle. Skipping this stage is like a chef opening a restaurant but never asking diners what they think of the food. You'd be flying blind.
Your first job is to track what’s actually happening inside your app. Tools like Google Analytics for Firebase or Mixpanel are your best friends here. They give you a direct window into how people are behaving, helping you answer the most important questions:
-
Where do users spend the most time? This shows you what's valuable.
-
At what point do they give up and leave? This pinpoints frustrating spots in your design.
-
How many people come back after their first visit? This is the ultimate measure of your app’s “stickiness.”
The data doesn't lie. Monitoring analytics transforms your decision-making from guesswork into a data-driven strategy, ensuring every update you release is based on real user behavior, not just assumptions.
This is also your chance to catch crash reports and performance snags. No matter how much you test, you can never fully replicate the thousands of different devices, network speeds, and user habits out in the wild. A good crash reporting tool is an early warning system, letting your developers find and squash bugs before they tick off too many users and lead to a flood of one-star reviews.
The Cycle of Nurturing and Improvement
A great app is never really "done." The mobile app market and its challenges are immense, and competition is fierce. To stay relevant, you have to treat your app like a living product that's always evolving.
Ongoing maintenance settles into a predictable rhythm of updates. These aren’t just about adding shiny new features; they serve critical functions:
-
Bug Fixes: Stomping out the crashes and performance issues flagged by your monitoring tools.
-
Feature Enhancements: Adding new capabilities and refining existing ones based on what your users are asking for.
-
Compatibility Updates: Making sure your app runs perfectly on the latest iOS and Android operating systems.
This continuous loop of launching, monitoring, and updating is the heartbeat of a healthy app. It proves to your users that you're listening and dedicated to giving them the best experience possible—and that, more than anything, is the key to lasting growth.
Common App Development Questions Answered
Diving into the mobile app development lifecycle often brings up a lot of questions about timelines, costs, and potential roadblocks. It's totally normal. Getting a handle on these things upfront helps set real-world expectations and lets you plan a lot more effectively.
Let’s go over some of the most common questions we get from founders, product managers, and even seasoned development teams.
How Long Does App Development Take?
There’s no magic number here; the timeline really depends on how complex your app is. That said, we can break it down into a few general buckets.
-
Simple MVP (2-4 Months): If you're building a Minimum Viable Product to test a core idea with just the essential features and a straightforward design, you can often get it done pretty quickly.
-
Moderately Complex App (5-9 Months): Things take longer when you start adding features like custom user profiles, payment gateways, or other third-party integrations. A more polished UI also adds to the timeline.
-
Enterprise-Level App (1+ Year): For a large-scale app with heavy-duty security, a complex backend, and multiple system integrations, you're easily looking at a year or more.
And don't forget, development doesn't just stop at launch. A great app is never truly "done"—it needs constant updates and support to stay relevant.
What Are the Most Common Mistakes to Avoid?
I've seen too many projects hit the same, avoidable bumps in the road. Knowing what they are from day one can save you a world of headaches (and a ton of money).
The biggest reason apps fail isn't a technical bug. It's because they failed to solve a real user problem before a single line of code was ever written.
Here are three major pitfalls to watch out for:
-
Skipping Proper Market Research: This is the cardinal sin. It’s how you end up with a perfectly engineered app that nobody actually needs or wants to use.
-
Underestimating UX/UI Design: A clunky, confusing interface will send users running for the hills. It doesn't matter how powerful your features are if people can't figure them out.
-
Neglecting a Post-Launch Budget: Your app's launch is the starting line, not the finish. Without a budget for marketing, getting new users, and keeping the app updated, even a fantastic product will get lost in the noise or slowly break down.
How Much Does It Cost to Build an App?
The final bill can vary wildly. It all comes down to the complexity of your features, whether you're building for iOS, Android, or both, and where your development team is based.
As a rough guide, a basic app can run anywhere from $30,000 to $70,000. More intricate apps with custom features and integrations typically land in the $80,000 to $250,000+ range. The key is to budget for the entire lifecycle—design, development, testing, and ongoing support—not just the initial build.
Speeding up the early stages of the mobile app development lifecycle can make a huge difference in your timeline and budget. RapidNative is designed to do just that, helping teams build production-ready React Native UI screens from simple prompts. You can turn your ideas into clean, functional code in a fraction of the usual time. See how you can build your app faster.
Ready to build your app?
Turn your idea into a production-ready React Native app in minutes.
Free tools to get you started
Free AI PRD Generator
Generate a professional product requirements document in seconds. Describe your product idea and get a complete, structured PRD instantly.
Try it freeFree AI App Name Generator
Generate unique, brandable app name ideas with AI. Get creative name suggestions with taglines, brand colors, and monogram previews.
Try it freeFree AI App Icon Generator
Generate beautiful, professional app icons with AI. Describe your app and get multiple icon variations in different styles, ready for App Store and Google Play.
Try it freeFrequently asked questions
What is RapidNative?
RapidNative is an AI-powered mobile app builder. Describe the app you want in plain English and RapidNative generates real, production-ready React Native screens you can preview, edit, and publish to the App Store or Google Play.
Can I export the code?
Yes. RapidNative generates clean React Native and Expo code that you can export at any time. No lock-in, no proprietary format. Hand it to your developers or keep building inside RapidNative.
Is RapidNative free to use?
Yes. You can build apps on the free plan with no credit card required. Paid plans unlock unlimited AI generations, code export, and direct publishing to the App Store and Google Play.
Do I need to know how to code?
No. Most users build apps by describing what they want in plain English. Developers can drop into the code whenever they want more control, but coding is optional.
How long does it take to build an app?
Most users have a working first screen in under a minute. A full MVP usually takes a few hours instead of the weeks or months traditional development requires.