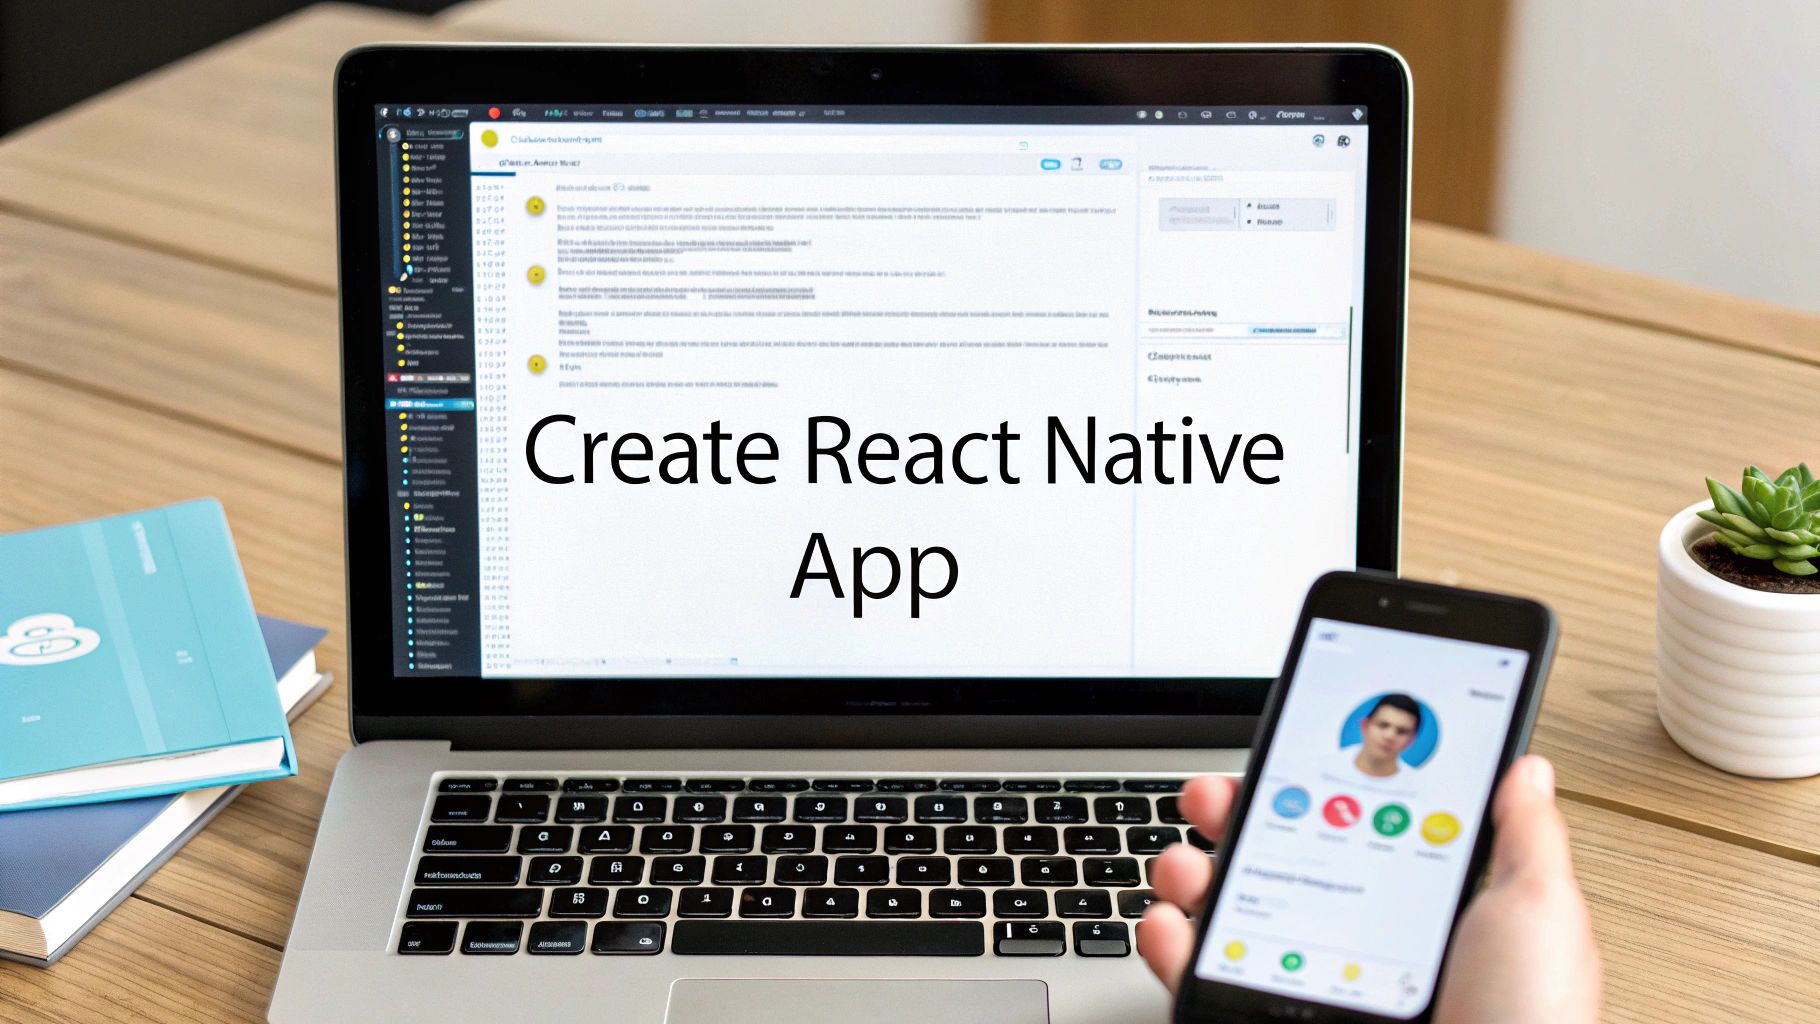
How to Create a React Native App in Minutes Using an AI Prompt
Learn how to create react native app with AI - from prompt to production - using Expo, TypeScript, and NativeWind.
By Rishav
11th Jan 2026
Last updated: 11th Jan 2026
Building a mobile app often starts with a slow, clunky process: sketch an idea, wait for a designer to create mockups, then hand it off to a developer who spends weeks coding a single screen. I'm going to show you a practical way to create a React Native app that skips the tedious parts. We'll use simple, plain-English prompts to generate your UI with AI, turning your idea into a working screen in minutes, not weeks.
From a Simple Prompt to a Working App
Let's be practical: the traditional path from an app idea to a functional screen is broken. It’s a messy handoff where a founder's vision gets lost in translation between static Figma files and a developer's code. This process is slow, expensive, and frustrating for everyone involved.
I've seen a much faster, more direct way to build. By using AI to generate high-quality, production-ready code, we can bypass the most time-consuming parts of UI development. This approach isn't just for senior developers; it’s designed to help the whole product team.
- For Founders & PMs: You can finally build and test an idea without waiting for the engineering team. Want to see what that new onboarding flow looks like? Just describe it.
- For Designers: See your concepts become real, interactive native components instantly, closing the gap between design and reality.
- For Developers: Skip the boring boilerplate setup and dive straight into the complex logic and features that actually matter.
This flowchart shows the shift from the old way of doing things to a modern, AI-powered workflow.
As you can see, AI generation collapses several slow, separate steps into one fluid action driven by a simple prompt.
Why React Native is the Right Foundation
We’re building on React Native for a practical reason—it’s a powerhouse for building real-world mobile apps. Since it went open-source in 2015, it has matured into the backbone for apps you use daily, like Instagram and Shopify. It holds around 35–38% of the global cross-platform market, which means you can build for both iOS and Android with one team and one codebase. For a deeper dive, check out our analysis on the Prompt-to-App Revolution.
The real game-changer here is control. This isn't a no-code builder that traps you. You get clean, exportable React Native code that you own completely. You can build on it, modify it, and drop it right into any professional development workflow.
By the end of this guide, you'll have a running app screen built on a solid, production-grade stack (Expo, TypeScript, and NativeWind) and know exactly how to apply this prompt-to-app method to your own projects.
Laying a Pro-Grade Foundation for Your App
Before we start generating UI, we need a solid project to put it in. We’re not just building a "hello world" example; the goal is to set up a modern, professional-grade stack that you can actually build a real product on.
Making the right choices now saves you from major headaches later. This setup is designed to create an app that is scalable, easy to maintain, and simpler to debug when things go wrong.
Our foundation relies on three tools that work beautifully together: Expo, TypeScript, and NativeWind. Think of them as the dream team for any serious React Native project. They solve critical problems in the development lifecycle, making the entire process smoother for your team.
Why This Tech Stack Works
Here’s a quick, practical breakdown of what each tool does for your project. They are chosen specifically to complement each other and make your team more productive.
| Technology | Role in Your Project | Why It's Useful for Your Team |
|---|---|---|
| Expo | The Development Framework | Expo gets rid of the nightmare of native build configurations. Your team can focus on writing features and see changes instantly on any device without wrestling with Xcode or Android Studio. |
| TypeScript | The Code "Safety Net" | By adding types to JavaScript, TypeScript catches common bugs before you even run the code. It makes your codebase self-documenting, so new developers can get up to speed much faster. |
| NativeWind | The Styling Engine | This brings the utility-first power of Tailwind CSS to React Native. You can build complex, consistent UIs incredibly fast, right in your component markup, without writing separate stylesheet files. |
Together, these tools give you a development experience that's both fast and safe—exactly what you need when building a real-world application.
Getting Your Hands Dirty: The Setup
Alright, let's create the project. You don't need to be a command-line expert. Just open your terminal and run this single command.
npx create-expo-app@latest -t tabs
This command scaffolds a new Expo project with a template that already includes tab-based navigation and TypeScript. It’s a fantastic starting point. For more details, our guide on how to create an Expo app with RapidNative has you covered.
With the project created, navigate into its directory (cd your-app-name) and install NativeWind.
# Install NativeWind and its peer dependency
npm install nativewind
npm install --dev tailwindcss
The last step is to initialize Tailwind, which creates its configuration file.
npx tailwindcss init
This generates a tailwind.config.js file. Open that file and tell NativeWind which files to scan for your utility classes so it knows where to apply styles.
As you move toward launch, keeping a production readiness checklist handy is a great way to ensure you've covered all your bases for building a robust app.
And just like that, you have a professional React Native project, ready for real development. It’s clean, organized, and running—the perfect canvas for the AI-generated UI we're about to create.
Generating Your First Screen with a Simple Prompt
With the project foundation set up, it's time for the magic. We're going to let AI handle the initial UI build. This is where you'll see your ideas come to life on screen in moments. Instead of staring at a blank file in a code editor, we'll feed a clear, descriptive prompt to an AI tool like RapidNative and have it generate an entire screen for us.
This process is a game-changer for getting a React Native app off the ground without writing a single line of UI code yourself.
Let's imagine we're building an onboarding screen for a new fitness app. The goal is to welcome new users, highlight key features, and guide them to sign up. A screen like this, with its custom layout and styling, could easily take a developer a full day to build from scratch. We're going to do it in minutes.
Crafting a Prompt That Actually Works
The quality of the UI you get is directly related to the quality of your prompt. You don't need to be a coder, but you do need to be specific. My advice? Think like a product manager explaining a feature to the team.
A good prompt covers three things:
- Structure: How is the screen laid out? Describe the arrangement of elements from top to bottom.
- Components: What specific elements do you need? Call out buttons, text fields, images, or icons.
- Style: What should it look like? Mention colors, font sizes, and spacing to define the aesthetic.
Here’s a practical prompt for our fitness app's onboarding screen. Notice how specific it is.
"Create an onboarding screen for a fitness app called 'FitTrack'. The screen should have a dark background. At the top, include the FitTrack logo. Below the logo, add a large, bold heading that says 'Welcome to Your Fitness Journey'. Underneath that, create a horizontal carousel of three feature cards. Each card needs an icon, a title (e.g., 'Track Workouts'), and a short description. Finally, place a large, purple primary action button at the bottom with the text 'Get Started'."
This prompt works because it leaves little room for ambiguity. It names the components, defines their hierarchy, and gives clear styling directions.
Refining Your Design in Real-Time with Chat
The first result is rarely perfect, and that's okay. The real power comes from iterating on the design with simple follow-up commands, just like chatting with a colleague. This back-and-forth makes the process incredibly fast and accessible to anyone—from founders to designers.
This is what that interactive process looks like inside RapidNative.
You can see the live preview on the right update instantly as you type commands into the chat on the left. This completely closes the gap between your idea and the actual implementation.
From here, you can fine-tune the design with simple requests:
- "Make the header text larger and white."
- "Add more padding around the feature cards."
- "Change the button color to a vibrant green."
- "Add a smaller, secondary link below the main button that says 'Log In'."
Each command tweaks the UI until it perfectly matches your vision. You're not just passively generating code; you're actively art-directing your app. This rapid, visual feedback loop is invaluable when you're building any simple mobile application because it lets you experiment and validate ideas on the fly.
Getting Your Generated Code into the Project

Seeing a UI generate in seconds is impressive, but it’s just a picture until it's running in your actual development environment. This is where we take the code from a tool like RapidNative and plug it into the Expo project we just set up.
The great thing is, you're not getting a black box of proprietary code. When you export, you get clean, standard TypeScript and NativeWind files that are designed to work perfectly with a modern React Native setup.
What you get is a self-contained, modular component that’s easy to drop right into your project. This modularity is key—you're adding a well-defined building block into your app's architecture, not just copy-pasting a huge chunk of code.
Placing and Wiring Up Your New Screen
The first step is simple: move the exported component folder into your project. A common practice is to use an app/ or screens/ directory to keep all your screen components organized. Just drag and drop the new folder in there.
Once the files are in place, you need to tell your app that this new screen exists. This is handled by your navigation library, which is typically React Navigation in most React Native projects.
You'll need to do two quick things in your main navigation file (like _layout.tsx or App.tsx):
- Import the component: Add an
importstatement at the top to pull in your new screen. - Add it to the navigator: Declare a new screen in your navigation stack, give it a route name (like "Onboarding"), and point it to the component you just imported.
This is the standard process to ensure that when you create a React Native app, your generated UI becomes a real, navigable part of the user experience.
Bringing Your UI to Life
Now for the final step: making it work. An AI-generated button might look pixel-perfect, but it's just decoration until it does something when you press it. This is where a developer steps in to connect the visual UI to your app's logic.
For example, you’d find the <Button> component in the generated JSX and wire up its onPress prop to a function. That function could navigate to the next screen, submit user input, or make an API call.
This is the critical difference between AI-assisted development and a no-code platform. You are never trapped. You fast-track the tedious UI work but maintain 100% control over the code to implement the custom business logic that makes your app unique.
Cost and speed are huge reasons why teams build with React Native. A single cross-platform team can cut development costs by 30–50% compared to building separate native apps. AI tools amplify this advantage by handling the UI scaffolding instantly, freeing up your budget for core features. You can read more about React Native's impact on development costs on esparkinfo.com.
Once you've connected a simple action, run your server with npx expo start. You'll see your AI-generated screen running live in the simulator or on your device, fully integrated and ready for interaction.
Navigating Common Issues and Sticking to Best Practices

Even with AI handling the initial UI build, you'll hit a few bumps. It’s a normal part of development. Knowing how to quickly solve them is what keeps your project moving. The advice here comes from real-world experience merging AI-generated code into active projects.
The good news is that most issues are minor. You're usually not dealing with complex architectural problems, but rather small mismatches between the generated code and your local setup—like a TypeScript error because a component's props aren't defined, or a NativeWind class that isn't applying correctly.
Troubleshooting Common Integration Hiccups
When you create a React native app using this hybrid AI-and-human approach, a few common problems pop up. Here’s how to quickly fix them.
-
Styling Conflicts with NativeWind: If a class like
bg-purple-500isn't showing up, first check yourtailwind.config.js. Make sure it's configured to scan the file path where your new component lives. If that doesn't work, clearing the cache withnpx expo start --clearusually forces Expo to recognize the changes. -
TypeScript Type Errors: Seeing red squiggly lines after adding a new component is normal. This is TypeScript doing its job. The fix is usually simple: open the component file, define the missing or mismatched types in the props interface, and the error will disappear.
-
Environment Mismatches: Sometimes, an Expo update or a new dependency can cause issues. It’s always a good practice to ensure your local dependencies—like
@expo/cliandreact-native—are in sync with the versions the AI tool is building for.
Best Practices for Long-Term Maintainability
Using AI for UI generation isn't just a shortcut; it's a way to establish a clean, manageable codebase from day one. A little discipline now pays off significantly later.
Treat the AI-generated code as a high-quality first draft, not a sacred text. Don't be afraid to refactor it. Break down larger components into smaller, reusable ones. Abstract common design styles into a central theme file to ensure consistency across your app.
The real power of this workflow is combining AI's speed with a developer's oversight. The AI handles the repetitive 80% of UI work, freeing up your team to architect for scale and build the unique business logic that truly matters.
Choosing React Native is also a strategic decision because of its massive ecosystem. React powers over 11 million websites and dominates 45.8% of the JavaScript UI library market. This means there is a huge pool of developers who can contribute to your project. AI tools make that advantage even stronger. For more details on the framework's market position, you can find additional details on crustlab.com.
Got Questions? We've Got Answers
If you're wondering how AI fits into a real React Native workflow, you're not alone. Here are a few of the most common questions from teams adopting this approach.
Can I Slot This Into an Existing React Native App?
Yes, absolutely. The generated code is designed to be modular. You can create a new screen or even just a single component, grab the code, and drop it directly into your existing project's file structure.
Because it's built on standard tech like TypeScript and NativeWind, integration is usually straightforward as long as your project uses a similar stack. It's a great way to add features to an older app without hand-coding every piece of the UI.
What Are the Real Limits of AI-Generated UI?
Let's be clear: AI is fantastic at handling the visual layer—layouts, component boilerplate, and styling. It’s not going to write your complex business logic, connect to APIs, or manage your app's state. Think of it as a super-fast UI developer who builds the visual foundation for you.
You’ll still be the one to wire everything up. That means connecting the UI to data, implementing state management, and writing the unique logic that makes your app work. The goal is to automate the repetitive 80% of UI work so your team can focus on the critical 20% that delivers value to users.
Is the Code Actually Any Good?
The code quality is solid. It follows established best practices for React Native, Expo, and NativeWind, so what you get is clean, readable, and performant for most use cases. Of course, for highly complex features like intricate animations or massive virtualized lists, a developer will likely need to step in for manual fine-tuning.
The AI provides a professional, high-quality starting point, not a final, hyper-optimized product. It’s about accelerating your workflow, so your developers can focus on refinement and complex logic instead of getting bogged down in boilerplate.
How Is This Different From a No-Code Builder?
The biggest difference is code ownership. No-code platforms are walled gardens that lock you into their ecosystem. You can almost never export the source code. The moment you hit a technical limitation, you're stuck.
This process is the opposite. It generates real, production-ready React Native code that you own entirely.
- You can export it: Download it to your local machine anytime.
- You can edit it: Open it in VS Code and make any changes you need.
- You can extend it: It fits into a standard professional development workflow and can be hosted anywhere.
This is a tool to make professional developers faster, not a restrictive platform. When you create a React Native app this way, you get the speed of generation without giving up control.
Ready to build your UI in minutes, not weeks? See how RapidNative can turn your ideas into clean, exportable React Native code. Start building for free.
Ready to build your app?
Turn your idea into a production-ready React Native app in minutes.
Free tools to get you started
Free AI PRD Generator
Generate a professional product requirements document in seconds. Describe your product idea and get a complete, structured PRD instantly.
Try it freeFree AI App Name Generator
Generate unique, brandable app name ideas with AI. Get creative name suggestions with taglines, brand colors, and monogram previews.
Try it freeFree AI App Icon Generator
Generate beautiful, professional app icons with AI. Describe your app and get multiple icon variations in different styles, ready for App Store and Google Play.
Try it freeFrequently asked questions
What is RapidNative?
RapidNative is an AI-powered mobile app builder. Describe the app you want in plain English and RapidNative generates real, production-ready React Native screens you can preview, edit, and publish to the App Store or Google Play.
Can I export the code?
Yes. RapidNative generates clean React Native and Expo code that you can export at any time. No lock-in, no proprietary format. Hand it to your developers or keep building inside RapidNative.
Is RapidNative free to use?
Yes. You can build apps on the free plan with no credit card required. Paid plans unlock unlimited AI generations, code export, and direct publishing to the App Store and Google Play.
Do I need to know how to code?
No. Most users build apps by describing what they want in plain English. Developers can drop into the code whenever they want more control, but coding is optional.
How long does it take to build an app?
Most users have a working first screen in under a minute. A full MVP usually takes a few hours instead of the weeks or months traditional development requires.