A Founder's Guide to Custom Mobile App Development
Your complete guide to custom mobile app development. Learn the process, costs, tech stacks, and how to turn your app idea into a reality.
By Rishav
13th Jan 2026
Last updated: 13th Jan 2026
So, you have an idea for an app. But what does "custom mobile app development" actually mean for you as a founder?
Think of it as the difference between buying a suit off the rack and having one tailored just for you. The off-the-rack suit (an app template or builder) might work, but the tailored one fits perfectly, accentuating your strengths and solving a specific problem in a way no generic solution can. It's built from the ground up to match your unique business goals and your users' needs.
Building Your Competitive Edge
Off-the-shelf software forces you to bend your business processes to fit its rigid structure. It’s functional, but it’s always a compromise.
Custom development flips that around. It’s a strategic investment in creating a digital tool that’s a perfect extension of your business. For example, a generic e-commerce template won't have the specialized inventory management a subscription box company needs. A custom app lets you build that proprietary feature, creating a real competitive advantage that's incredibly hard for others to copy.
Why a Tailored App Matters
This approach lets you solve specific problems for your customers that simply aren't possible with generic tools. Instead of being stuck with a pre-set list of functions, you decide exactly what the app does and how it feels to use it. For founders and product teams, that freedom is everything.
A few key benefits really stand out:
- A Unique User Experience (UX): Imagine a fitness app. A generic template might have a standard workout log. A custom app could integrate with a user’s calendar and wearable tech to suggest workouts based on their real-time energy levels—a far more compelling experience. You can craft a user journey that feels indispensable.
- Scalability for Growth: A custom app is built with your future in mind. It's designed to grow with you, so you can add features and handle more users without hitting a wall imposed by a third-party platform. Think of Airbnb—they couldn’t have scaled their unique booking and host management system on a generic platform.
- Full Ownership and Control: You own the code. You own the intellectual property. This means you’re never at the mercy of another company’s price hikes, feature changes, or business decisions.
Custom development is about building a digital asset that works for your business, not forcing your business to work within the confines of pre-built software. It's how you build a genuine moat around your idea.
The market is clearly moving in this direction. The global custom software development market is expected to hit a staggering USD 213.4 billion by 2035. Mobile apps are leading the charge, making up 38% of the market and projected to be worth USD 98.4 billion by then. If you're interested in the data, you can explore the full custom software development market report.
For a clearer picture, let's break down how custom development stacks up against off-the-shelf solutions.
Custom App Development vs Off-the-Shelf Solutions
| Factor | Custom App Development | Off-the-Shelf (Template) App |
|---|---|---|
| Flexibility & Features | Unlimited. Built precisely for your unique needs and workflows. | Limited. Confined to the features offered by the template or platform. |
| User Experience (UX) | Fully customized. Designed to delight your specific target audience. | Generic. A one-size-fits-all experience that may not resonate. |
| Scalability | High. Architected to grow with your business and user base. | Limited. Often hits performance or feature walls as you scale. |
| Initial Cost | Higher. Requires significant upfront investment in design and engineering. | Lower. Cheaper to get started with subscription or one-time fees. |
| Time-to-Market | Longer. The discovery, design, and development process takes time. | Faster. Can be launched quickly with minimal setup. |
| Ownership | Full ownership. You own the code and all intellectual property. | No ownership. You're essentially "renting" the software and are tied to the provider. |
While off-the-shelf apps can be great for validating a very simple idea quickly, a custom app is the path forward when you're building a serious, long-term business.
Of course, "custom" doesn't mean you have to build every single line of code by hand. It's about choosing the right approach for your goals. To get a better sense of the spectrum, check out our guide on no-code vs. real code development to see which path makes the most sense for you.
The Six Stages of Building Your App
Turning a great idea into an app that people use isn't a stroke of luck—it's a process. And while no two projects are identical, the path from concept to launch follows a surprisingly consistent roadmap. Understanding these six stages is your key to navigating the journey, whether you're a founder pitching VCs or a product manager steering the ship.
Think of it like building a custom home. You don't just show up with a pile of bricks. You need a vision, a detailed blueprint, and a logical construction plan. Each stage of app development builds on the last, ensuring the final product is solid, functional, and what you actually set out to build.
This simple visual breaks down how the core pieces fit together.
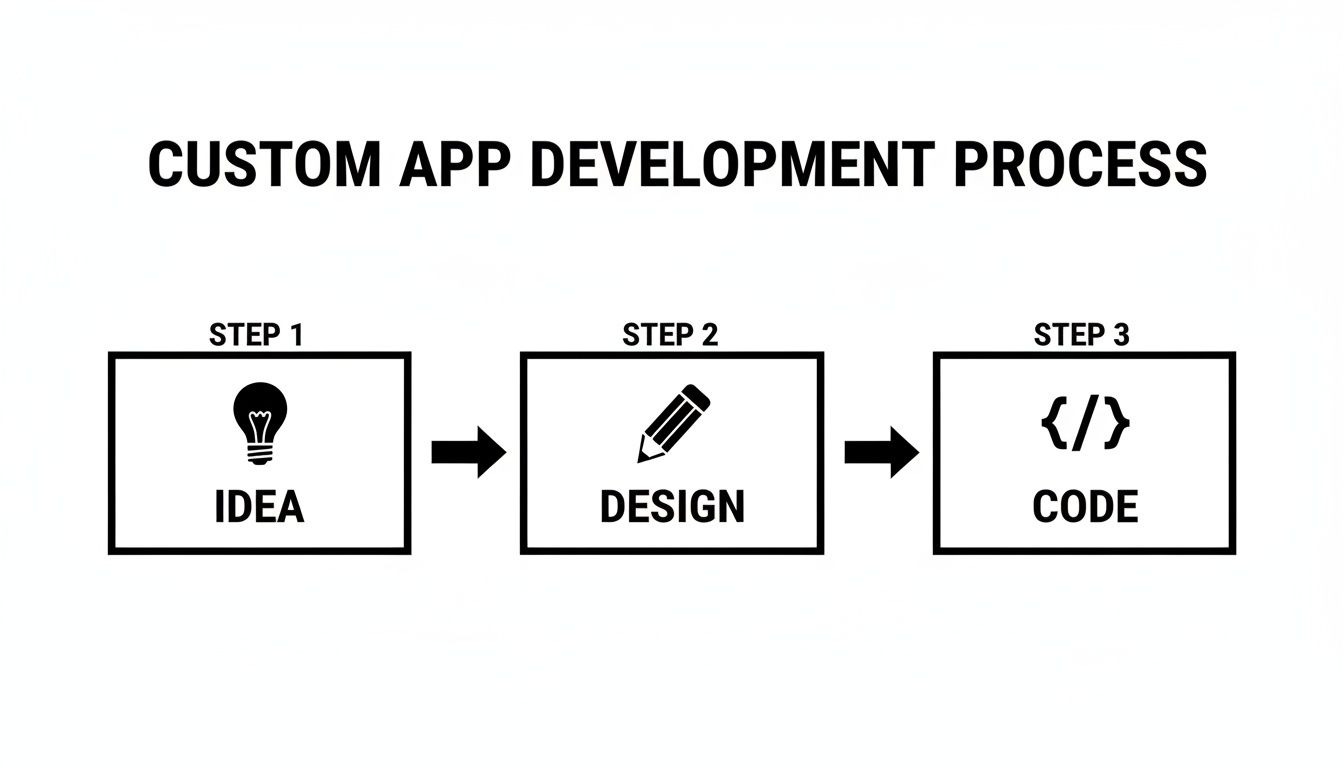
You can see the critical handoffs here: a validated Idea becomes a user-focused Design, which in turn provides the exact instructions needed to write the Code.
Stage 1: Discovery and Strategy
This is where you nail down the "why" and the "who." Before anyone even thinks about design, you must get crystal clear on the app's core purpose. What problem does it solve? Who are you solving it for? What will make it stand out? For example, is your food delivery app for busy professionals who value speed, or for families who want meal planning features? The answer changes everything.
This stage is all about research—digging into the market, sizing up competitors, and interviewing potential users. The goal is to produce a product requirements document (PRD), which is the master plan for the entire project. It outlines every feature, defines the target users, and sets the metrics for success. Getting this right saves a world of headaches later on.
Stage 2: UX and UI Design
With a solid strategy, you can start shaping how the app will actually work and look. This is a two-part dance between function and form.
- User Experience (UX) Design: This is the invisible blueprint of the app. UX designers are like architects, mapping out the most intuitive path for a user to accomplish a task. They create wireframes—simple, black-and-white screen layouts—to focus purely on flow and functionality without the distraction of colors or branding.
- User Interface (UI) Design: This is where the app gets its personality. UI designers take the UX wireframes and bring them to life with your brand's colors, fonts, and polished graphics. The result is a set of high-fidelity mockups that look exactly like the finished product.
Stage 3: Prototyping and Validation
This is one of the most important, yet often overlooked, stages. Before you sink a huge investment into full-scale engineering, you need to be sure the design actually works for real people. A prototype is a clickable, interactive model of your app built from the UI designs. It feels real, but there’s no code running behind the scenes.
Putting this prototype in front of potential users is a moment of truth. Does the navigation make sense? Can they find the "checkout" button? Finding and fixing a confusing flow in a prototype is dramatically faster and cheaper than having to rewrite code after it’s already been built.
Stage 4: Engineering and Development
Alright, this is where your app comes to life. The engineering phase is where developers take all the designs, blueprints, and prototypes and turn them into a living, breathing application. This work is generally split into two streams running in parallel:
- Frontend Development: This is everything the user sees and touches—the buttons, menus, animations, and transitions. Developers use the UI mockups as their direct guide to build the actual interface.
- Backend Development: This is the powerful engine under the hood. The backend includes the server, database, and all the application logic that handles things like user accounts, data processing, and security.
Most modern teams work in "sprints"—short, focused development cycles, typically two weeks long, where they build and test a small batch of features.
Stage 5: Quality Assurance and Testing
Let’s be honest: no code is perfect the first time. That’s why the Quality Assurance (QA) stage is so critical. QA engineers are the detectives of the development world, dedicated to hunting down bugs, glitches, and crashes.
They test the app relentlessly across different devices (like an iPhone 14 vs. an older Samsung Galaxy), screen sizes, and network conditions to make sure everything is stable, secure, and works as intended. A solid QA process is what separates a professional, trustworthy app from one that frustrates users and hurts your brand.
Stage 6: Deployment and Maintenance
The finish line! Once the app has been thoroughly tested and polished, it’s time to launch it to the world. Deployment means submitting the finished product to the Apple App Store and Google Play Store, a process that involves preparing all the marketing materials, screenshots, and technical details each platform requires.
But the job isn’t done once the app is live. Maintenance is an ongoing commitment. You’ll be monitoring performance, squashing any new bugs that pop up, and rolling out updates to support new operating systems or add features your users are asking for.
If you want to go even deeper on this topic, we've broken it all down in our complete guide to the mobile app development lifecycle.
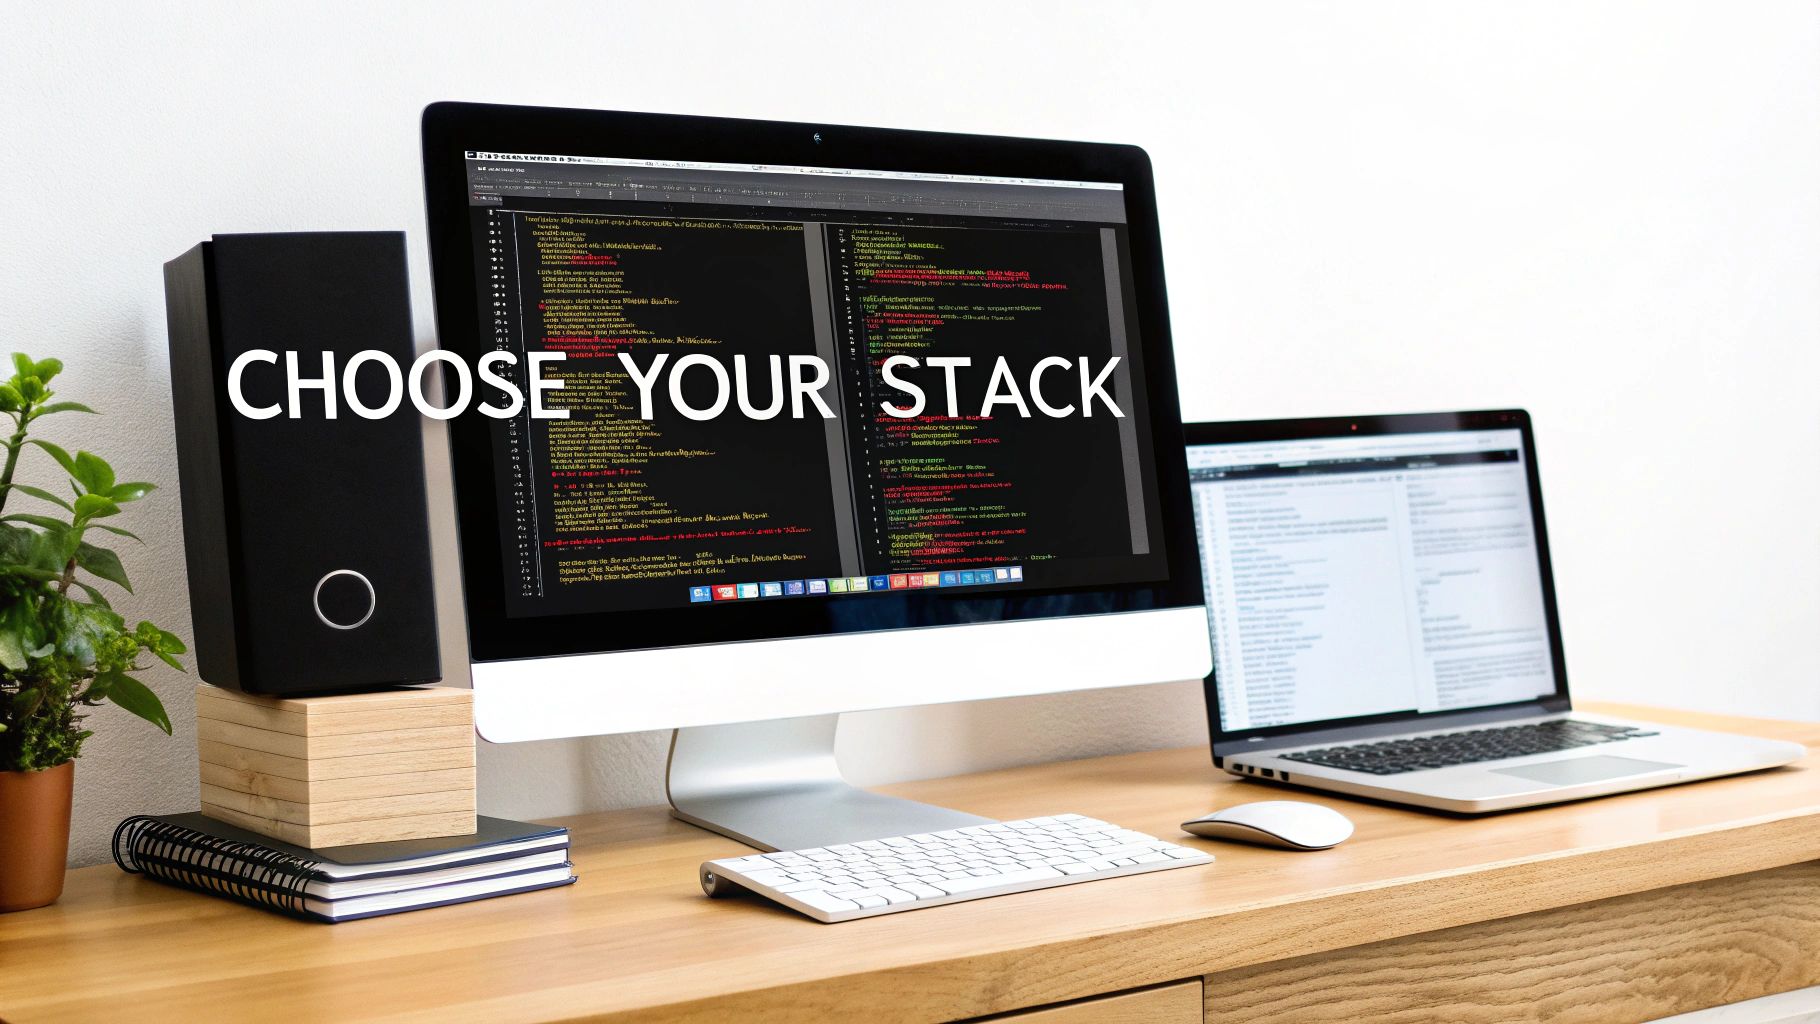
Choosing the Right Tech for Your App
You don't need to be an engineer to make smart calls about the technology that will power your app. Think of it like picking an engine for a car. You might not know how to build it, but you understand the difference between a fuel-efficient four-cylinder and a powerful V8. That basic knowledge helps you pick the right tool for the job.
The same logic applies to your app's tech stack. This isn't just a technical decision; it's a critical business one. The choice you make here directly impacts your budget, your launch timeline, and your ability to grow down the road. The wrong one can lead to a sluggish app, or worse, force a costly rebuild right when you're gaining traction.
Native vs. Cross-Platform Development
The first major fork in the road is deciding how to build for both Apple (iOS) and Google (Android). There are two main paths, and each comes with very different trade-offs for a product team.
-
Native Development: This is the traditional, top-of-the-line approach. It means building two completely separate apps—one using Apple's preferred language (Swift) and another using Google's (Kotlin). The result is incredible performance and a pixel-perfect user experience that perfectly matches each platform's design guidelines. It's the best you can get, but it's easily the most expensive and time-consuming route.
-
Cross-Platform Development: A much more modern approach, this lets your team write code once and deploy it on both iOS and Android. It dramatically cuts down development time and cost, often by nearly half, because you’re maintaining one codebase instead of two. Early cross-platform tools felt a bit clunky, but today’s frameworks deliver an experience that’s virtually indistinguishable from native for most apps.
For most new products, cross-platform development hits the sweet spot between speed, cost, and quality. It’s become the go-to choice for building a Minimum Viable Product (MVP).
The Modern Startup Stack: React Native, Expo, and TypeScript
Inside the cross-platform world, one combination has emerged as the clear favorite for startups and even big companies: React Native, Expo, and TypeScript. This trio works together to create a powerful, efficient, and reliable foundation for any custom mobile app.
This isn't just about saving money; it's about moving faster. This stack lets a small, focused team build, test, and launch on both major app stores at the same time, giving you a crucial speed advantage in a competitive market.
Let’s quickly break down why this stack works so well together.
-
React Native: Created by Meta, this framework lets developers build for both iOS and Android from a single JavaScript codebase. It’s mature, has a massive community behind it, and powers apps like Instagram, Shopify, and Coinbase.
-
Expo: Think of Expo as a set of tools that supercharges React Native. It handles many of the most complex parts of app development—like push notifications, camera access, and deploying updates—saving developers a ton of time and headaches.
-
TypeScript: This is a programming language that adds a layer of safety on top of JavaScript. It helps developers catch errors early, making the code more robust and much easier to manage as your app gets more complex. This is crucial for preventing bugs as your team and product grow.
This modern approach lines up perfectly with the need for faster development. The market has seen a 60% growth in low-code adoption since 2023, with cross-platform frameworks helping teams cut development time by 40-50%. You can discover more insights on the mobile application market to see the trend.
Understanding this stack means you can have a confident, informed conversation with your team about building a fantastic app without destroying your budget or timeline.
Decoding App Development Costs and Timelines
Let's get right to it. Every founder and product manager eventually asks two questions: "How much will this cost?" and "How long will it take?" There’s no simple, one-size-fits-all answer, but understanding what drives the budget and schedule is the first real step toward a solid plan for your custom mobile app development project.
Think of it like building a house. A small cabin in the woods isn't in the same league as a sprawling mansion with a custom pool and home theater. The same logic applies to apps—the cost and time are directly tied to the complexity of what you decide to build.
What Really Drives Costs and Timelines
It’s not just the number of screens. The real cost drivers are tucked away in the details of the functionality you need. These are the levers that will move your budget up or down.
Three things have the biggest impact:
- Feature Complexity: A basic email and password login is straightforward. But features like real-time chat, video streaming, or interactive data charts demand far more engineering muscle than simple informational screens. For example, building a live chat feature like in Slack is exponentially more complex than a simple "Contact Us" form.
- Design and UX Intricacy: A clean interface built with standard, native components is one thing. A highly branded experience with custom animations, unique transitions, and complex user gestures is another entirely. The more bespoke the look and feel, the more hours you’ll sink into both design and development.
- Third-Party Integrations: Does your app need to talk to other systems? Connecting to payment gateways like Stripe, mapping services like Google Maps, or pulling data from external APIs adds significant complexity, testing, and maintenance overhead.
The core takeaway is that every feature represents a trade-off between functionality, time, and money. A smart Minimum Viable Product (MVP) nails one core problem for one target user, pushing all the "nice-to-haves" to a later release.
Trying to build everything at once is the quickest way to burn through your cash and miss your market window. If you want to get deeper into the numbers, check out our guide on mobile app development costs.
Estimated MVP Timelines and Budget Ranges
To give you a clearer picture, here are some realistic estimates for building a Minimum Viable Product. Think of these as ballpark figures for a small, focused team; your final numbers will change based on who you hire and where they're located. The goal here isn't a final quote—it's to give you a practical framework for your financial planning.
| App Category | Typical MVP Features | Estimated Timeline | Estimated Budget Range |
|---|---|---|---|
| Simple Utility App | Single-purpose tool, user login, basic settings, offline access. (e.g., a basic habit tracker) | 2-4 Months | $25,000 - $50,000 |
| Data-Driven App | User profiles, dashboard, data visualization, basic API integration. (e.g., a simple stock portfolio viewer) | 3-6 Months | $50,000 - $90,000 |
| Social or Platform App | User profiles, content feeds, messaging, notifications, admin panel. (e.g., a niche community forum app) | 5-9+ Months | $90,000 - $200,000+ |
As you can see, the ranges are pretty wide because the devil is always in the details. A "social app" could be a simple commenting feature or a complex platform with live video. By ruthlessly prioritizing your MVP feature set, you can set realistic expectations and build a financial roadmap that actually supports your business goals.
How AI Is Changing App Prototyping
For years, the road from a great app idea to an interactive prototype was a notorious bottleneck. It was a slow, expensive grind: sketch wireframes, create static mockups, and then stitch them together in a design tool just to make something clickable. This whole ordeal could easily eat up weeks and often created a frustrating gap between what designers envisioned and what developers could build.
That old, clunky process is on its way out. A new generation of AI-powered tools is completely changing how teams build, test, and prove their ideas work. We're not just talking about speeding things up; we're seeing the entire prototyping cycle shrink from weeks down to a matter of minutes.
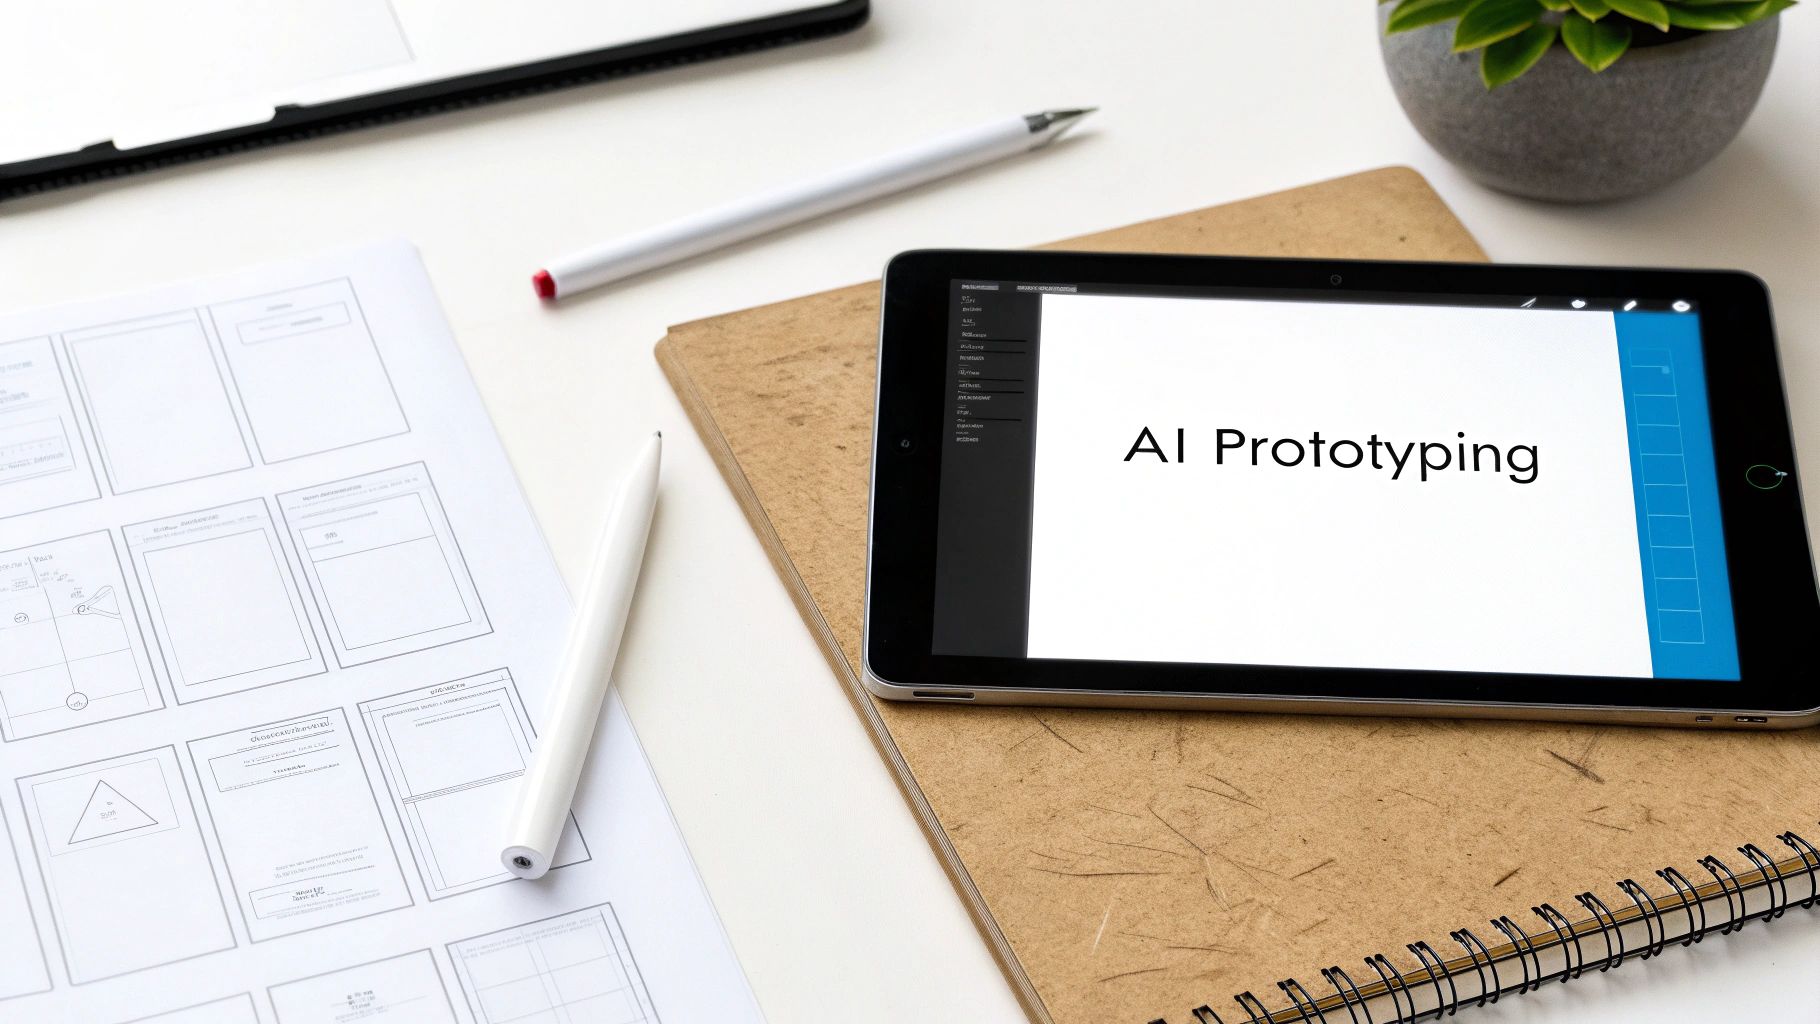
With this modern approach, prototyping starts with real, functional code right from the get-go.
From Prompt to Production-Ready UI
Imagine describing a login screen in plain English and, seconds later, seeing a fully functional, well-designed interface pop into existence. That's no longer science fiction; it's the reality of AI prototyping. Tools like RapidNative are built on this exact idea, turning simple text prompts into clean, production-ready React Native code.
Instead of a designer handing over a static picture of an app, you can generate an interactive screen that users can actually tap through and developers can immediately work with. This tightens up the feedback loop in a way that just wasn't possible before.
The biggest shift is that prototyping is no longer a separate, non-technical step. With AI, the prototype is the starting point for the final code, ensuring that what you test is what you actually build.
This completely sidesteps the classic "design handoff" headache, where developers have to painstakingly try to match a static design pixel for pixel. When the design and the code are born from the same prompt, they are one and the same from day one.
A Real-World Use Case
Let's walk through a common scenario: a startup founder needs to validate a new onboarding flow for their fitness app.
-
The Old Way (Weeks): The founder sketches ideas. A UX designer turns them into wireframes. A UI designer creates polished mockups in Figma. Then, they link everything together in a separate prototyping tool. Only then can they get it in front of users. If feedback requires changes? The whole cycle starts over.
-
The AI-Powered Way (Minutes): The founder simply types a prompt: "Create a 3-step onboarding flow. Step 1: Welcome screen with app logo and 'Get Started' button. Step 2: Ask for user's fitness goal from a list. Step 3: Confirmation screen."
In moments, the AI generates all three screens, complete with working navigation. The founder can then iterate instantly via chat: "Make the primary button color green," or "Add a 'Skip' button to the second screen." The changes are reflected immediately.
This kind of dynamic process unlocks an incredible level of agility. A founder or product manager can build and test an entire user journey in an afternoon, gather real user feedback, and then hand clean, extensible React Native code to their development team—all before the day is over.
Bridging the Gap Between Design and Development
What makes this work so well is that these AI tools are built on the same modern tech stacks engineering teams already use and trust, like React Native, Expo, and TypeScript. This shared foundation creates a common language for everyone involved.
- For Designers and PMs: They can build high-fidelity, interactive prototypes that look and feel like a real app, all without writing a single line of code.
- For Developers: They get clean, modular, and ready-to-use source code. It's something they can immediately build upon, not a messy export they have to re-engineer from the ground up.
This workflow drastically cuts down on friction and miscommunication. It ensures the creative vision makes it into the final product intact because the prototype's code is the foundation for the final product. For a wider view of how AI is impacting creation, you can find helpful perspectives in articles about using AI to build a website. Ultimately, this shift isn't just making prototyping faster—it's making the entire custom mobile app development process more collaborative and efficient.
Common Mistakes and How to Sidestep Them
Building a custom app is exciting, but the path is littered with traps that can trip up even the best ideas. Time and again, I've seen well-meaning teams fall into the same avoidable holes, burning through cash, time, and morale. Your best defense is knowing what these pitfalls look like before you get there.
Think of this section as your map through the minefield. By spotting these common blunders early, you can put simple, effective strategies in place to keep your project on the rails and set your app up for a great launch.
Mistake 1: The Never-Ending Feature List (aka "Feature Creep")
This is the classic, number-one project killer. Feature creep is that slow process where your lean, focused Minimum Viable Product (MVP) starts to balloon. It almost always starts with a seemingly harmless idea: "You know what would be cool? Just one more small feature..." Before you know it, the project is bloated, way over budget, and hopelessly behind schedule.
- Here’s how it plays out: A team I knew was building a straightforward neighborhood delivery app. Their MVP was solid. But then they kept adding things—loyalty points, in-app chat, social sharing—all before they even proved people wanted the core delivery service. Their launch got pushed back six months, and the final app was so complicated that the first users were just confused.
The only way to fight this is to be ruthless about your MVP. Define the one core problem you're solving and build only what's necessary to solve it. Everything else gets thrown onto a "Future Versions" list.
Your MVP's job isn't to do everything. It's to do one thing exceptionally well. Every feature you add just dilutes that focus and multiplies your risk.
Mistake 2: Building in an Echo Chamber
It’s dangerously easy to fall in love with your own idea. You get so convinced of its genius that you assume everyone else will, too. Building in a bubble is what happens when you develop an entire app based on your team's assumptions, without ever getting honest feedback from the people who are actually supposed to use it.
- How to break out: Start getting user feedback from day one. Seriously. Use simple prototypes to let real people test your core ideas before a single line of code is written. Grab five people from a local coffee shop who fit your target user profile and watch them use your prototype. You'd be amazed what those informal chats can uncover. Finding a major flaw in a design is cheap to fix; finding it after the app is coded is a financial nightmare.
Mistake 3: Treating Quality Assurance as an Afterthought
When you're sprinting towards a launch date, the temptation to rush through Quality Assurance (QA) is huge. Don't do it. Launching a buggy, crash-prone app is the quickest way to destroy your brand's credibility, sometimes for good. Users have zero patience for apps that don't work—a staggering 88% of users will ditch an app because of bugs and glitches.
A solid QA process is so much more than just looking for crashes. It’s a deep dive into:
- Functionality: Does every single button, link, and feature do what it’s supposed to?
- Usability: Is the app actually intuitive? Can people figure it out without a manual?
- Compatibility: How does it look and perform on an old iPhone SE versus the latest Android flagship? On different screen sizes and OS versions?
- Performance: Is it snappy and responsive, or does it lag and drain the battery, especially on a spotty network?
Stop thinking of QA as the last hurdle before the finish line. It needs to be a core part of your custom mobile app development cycle, woven into every sprint from the very beginning.
Frequently Asked Questions
When you're diving into custom app development, a lot of questions come up. Let's tackle some of the most common ones we hear from founders and product teams.
What’s the Difference Between a Prototype and an MVP?
It really boils down to what you're trying to prove.
A prototype is your visual blueprint. It can be a simple wireframe or an interactive mock-up, but it’s not a working app. Its main job is to test your design ideas and user flows. You put it in front of users to answer the question, "Can people figure out how to use this?"
A Minimum Viable Product (MVP), on the other hand, is the most basic, functional version of your app you can build. It has just enough features to solve one core problem for your very first users. The MVP is all about answering the big question: "Do people actually want this?" It's your first real-world test of the market.
How Much Does App Maintenance Cost After Launch?
A good rule of thumb is to budget around 15-20% of your initial development cost every year for maintenance. This often surprises people, but launching the app is just the beginning.
This isn't just a "just in case" fund for bugs. This ongoing investment is crucial for keeping your app healthy and relevant. It covers things like:
- Updating your app for new iOS and Android operating systems (a yearly must-do).
- Fixing security holes as they're discovered.
- Paying for servers, databases, and any third-party APIs you rely on.
Can I Just Turn My Website into a Mobile App?
Technically, you can "wrap" your website in an app shell, but it's almost always a bad idea. Users can immediately tell when an app is just a website in disguise, and the experience feels clunky and slow.
Websites are built for clicks and scrolling on a large screen. Mobile apps are designed for taps, swipes, and taking advantage of a phone’s hardware like the camera, GPS, and push notifications.
The best approach is to treat your mobile app as its own unique product. You can certainly use your website for inspiration, but a native-feeling experience is what keeps users coming back. After all, people spend an average of 4.6 hours a day on their phones, with a staggering 90% of that time inside apps, according to recent data on mobile development trends. You have to meet them where they are, with an experience that feels right at home on their device.
Ready to jump from idea to a real, interactive prototype? With RapidNative, you can generate production-ready React Native UI from a simple text prompt, cutting down the time it takes to see your vision in action. Start building your prototype today at RapidNative.
Ready to build your app?
Turn your idea into a production-ready React Native app in minutes.
Free tools to get you started
Free AI PRD Generator
Generate a professional product requirements document in seconds. Describe your product idea and get a complete, structured PRD instantly.
Try it freeFree AI App Name Generator
Generate unique, brandable app name ideas with AI. Get creative name suggestions with taglines, brand colors, and monogram previews.
Try it freeFree AI App Icon Generator
Generate beautiful, professional app icons with AI. Describe your app and get multiple icon variations in different styles, ready for App Store and Google Play.
Try it freeFrequently asked questions
What is RapidNative?
RapidNative is an AI-powered mobile app builder. Describe the app you want in plain English and RapidNative generates real, production-ready React Native screens you can preview, edit, and publish to the App Store or Google Play.
Can I export the code?
Yes. RapidNative generates clean React Native and Expo code that you can export at any time. No lock-in, no proprietary format. Hand it to your developers or keep building inside RapidNative.
Is RapidNative free to use?
Yes. You can build apps on the free plan with no credit card required. Paid plans unlock unlimited AI generations, code export, and direct publishing to the App Store and Google Play.
Do I need to know how to code?
No. Most users build apps by describing what they want in plain English. Developers can drop into the code whenever they want more control, but coding is optional.
How long does it take to build an app?
Most users have a working first screen in under a minute. A full MVP usually takes a few hours instead of the weeks or months traditional development requires.