How To Create A Cohesive Theme For Your App UI
Learn how to build a flexible theme for app designs, from light/dark modes to brand consistency, using AI-powered tools for React Native and NativeWind.
By Suraj Ahmed
3rd Jan 2026
Last updated: 3rd Jan 2026
Before you write a single line of code, defining a cohesive theme for your app is one of the most important steps you can take. This isn't just about picking a few colors; it's about creating a visual language that makes every screen, button, and interaction feel like it belongs. Get this right, and you're on your way to building a truly memorable user experience.
Why A Theme Is Your App's Foundation

Think of your theme as the blueprint for your app's entire interface. It’s the DNA of your brand, embedded into every pixel. A well-planned theme makes your app instantly recognizable and, more importantly, intuitive for your users to navigate.
Taking a systematic approach from the start helps you avoid the slow, painful buildup of "design debt." We've all seen it—those small inconsistencies that pile up over time, eventually making an app feel messy and unprofessional. By establishing a single source of truth for your UI, you give your entire team—from designers to developers—a clear guide for keeping things consistent as the app grows.
The Real-World Benefits of Theming
A centralized theme delivers real, practical benefits that go way beyond just looking good. It has a direct impact on your team’s speed and the overall quality of your product. A dynamic theme also lays the groundwork for applying essential user interface design best practices.
Here’s what your team stands to gain:
- Faster Development Cycles: Instead of hard-coding hex codes like
#4A90E2, developers can simply use predefined tokens likeprimary-colororheading-font. This saves a ton of time. - Improved Brand Recognition: Consistency is key. When your visual identity is solid across every part of the app, it sticks in the user's mind.
- Effortless Dark Mode: When your theme is properly structured from the beginning, adding a dark mode (or any other theme) becomes almost trivial.
- Enhanced Accessibility: A good theme forces you to think about things like color contrast and readable font sizes, making your app easier for everyone to use.
When you treat your theme as a core piece of your product's architecture, you're not just designing screens—you're building a scalable system. This foundation makes future updates, rebrands, and new features so much easier to handle.
Streamlining the Process with AI
In the past, turning design mockups into a working theme was a tedious, manual process that ate up a lot of developer hours. This is where modern tools can completely change the game.
AI-powered platforms like RapidNative, which is built on the excellent NativeWind framework, can automate this entire workflow. You can literally describe your design tokens in plain English, and the AI will generate a complete, production-ready theme configuration for you in seconds. This approach bridges the gap between your design vision and the final code, creating a solid user interface design framework without the usual friction.
Establishing Your Core Design Tokens
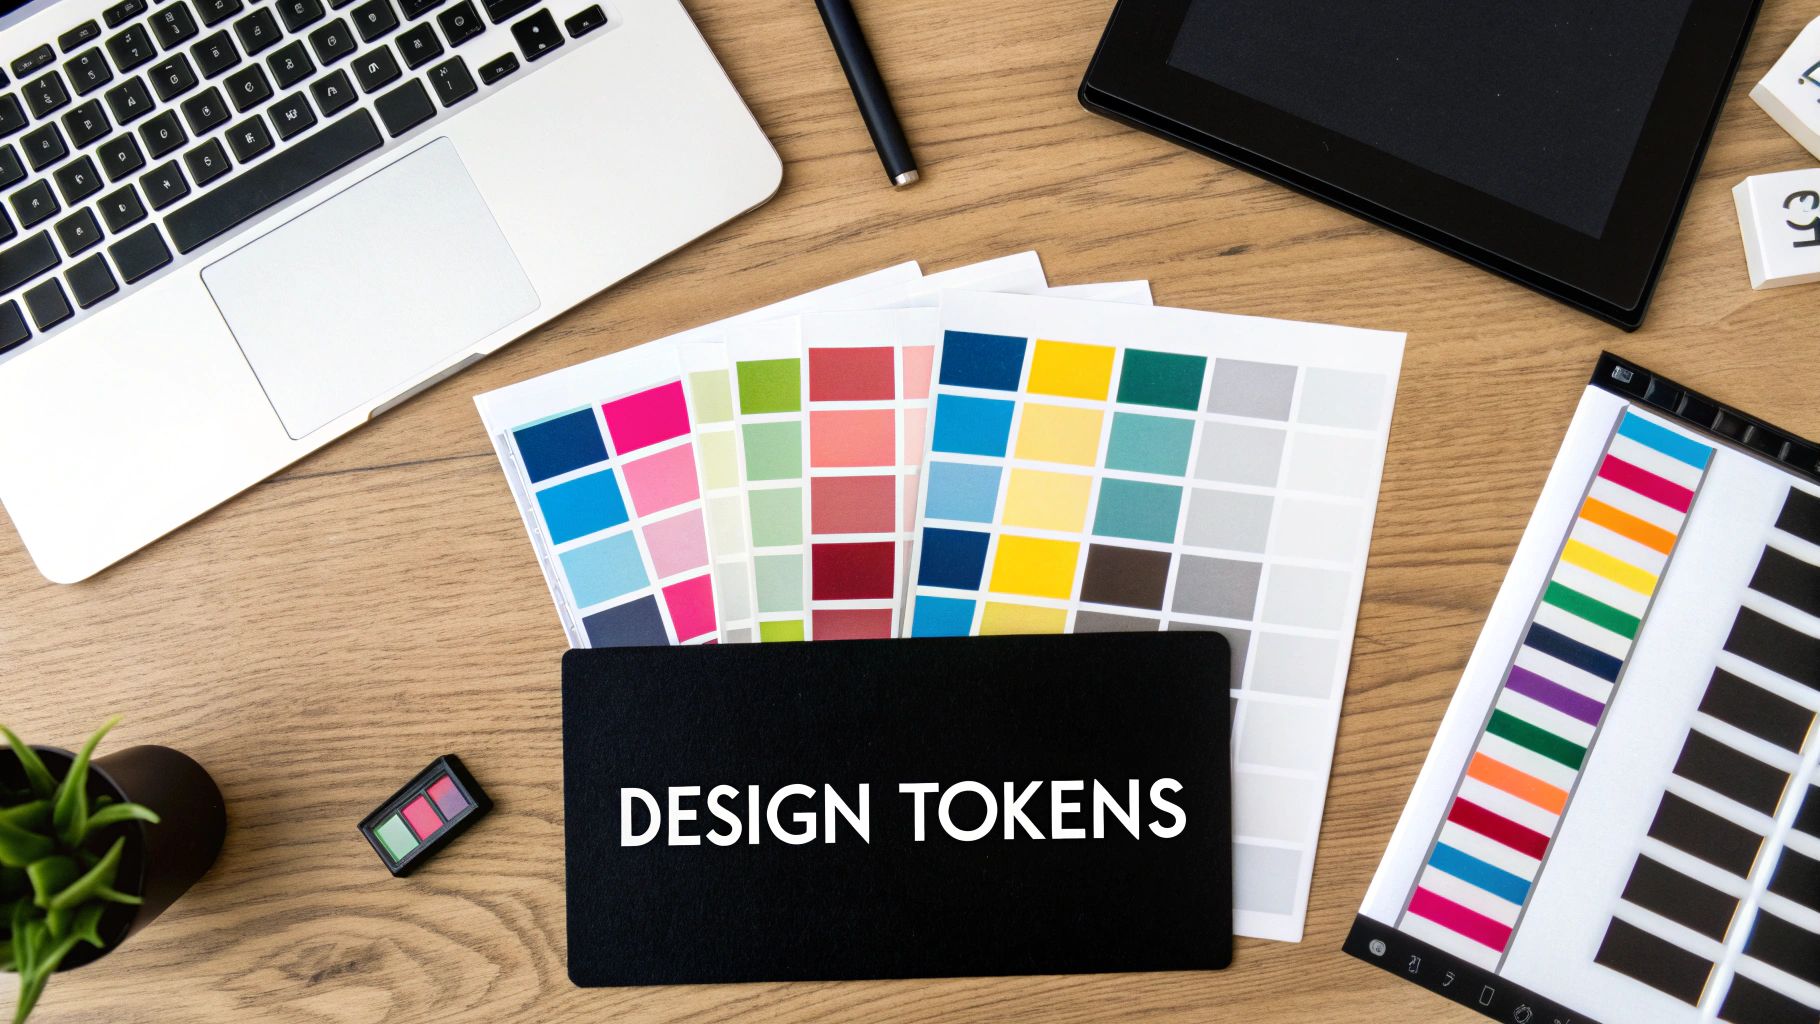
This is where your brand’s identity starts to take real, practical shape. Design tokens are the single source of truth for your app's visual style. Think of them as named variables for colors, fonts, and spacing—all the tiny decisions that add up to a cohesive user interface. Instead of scattering a specific hex code like #10B981 all over your code, you define it once as primary-500 and reuse that token everywhere.
The power of this approach becomes obvious the first time you need to make a change. Need to refresh your brand's primary green? You update the token's value in one spot, and that change ripples across the entire app instantly. It’s a simple concept that makes your UI consistent and massively easier to maintain.
Defining Your Color Palette
A good color palette isn't just a collection of your brand colors; it's a functional system that directs attention and conveys meaning. For a fitness tracker app we might be building, we'll need a few essential color categories:
- Brand/Primary: This is your star player. For our app, it's an energetic green that we’ll use for call-to-action buttons and important stats.
- Accent/Secondary: A supporting color that draws attention to secondary information or actions, like a cool blue for optional workout suggestions.
- Neutrals: A full spectrum of grays, from light background shades to dark text colors. These are the unsung heroes that make both light and dark modes possible.
It's critical to define how these colors will behave in both light and dark themes right from the start. That vibrant green you chose for light mode might feel a bit too intense on a dark background, so you might need a slightly desaturated version to keep things easy on the eyes.
I've seen teams run into trouble by defining just one value per color. A much better practice is to create a full scale, like
primary-100throughprimary-900. This gives your designers all the shades they'll ever need for things like hover effects, disabled states, or subtle background tints without having to invent new colors on the fly.
To show how this works in practice, here's a quick breakdown of what our core design tokens might look like for a fitness app.
Example Design Tokens For A Fitness App
| Token Type | Token Name | Light Mode Value | Dark Mode Value | Description |
|---|---|---|---|---|
| Color | color-primary-500 | #10B981 | #34D399 | Main brand color for buttons, active states. |
| Color | color-background | #FFFFFF | #111827 | The base background for screens. |
| Color | color-text-primary | #1F2937 | #F9FAFB | Primary text color for high contrast. |
| Typography | font-size-h1 | 24px | 24px | Main screen titles. |
| Typography | font-family-body | 'Inter-Regular' | 'Inter-Regular' | The primary font for all body copy. |
| Spacing | spacing-4 | 16px | 16px | Standard padding between list items. |
This table shows how we're not just picking colors, but creating a system where color-background has a different value depending on the active theme, ensuring our design is adaptable from the ground up.
Establishing Typography and Spacing
With colors sorted, the next step is building a clear typographic scale. This hierarchy is what silently tells users what to read first. Instead of picking font sizes at random, you should define a limited set of roles for your text.
For our fitness app, a simple scale would work well:
H1(24pt, Bold): Reserved for major screen titles like "Dashboard."Body(16pt, Regular): The workhorse for all standard text and descriptions.Caption(12pt, Medium): Perfect for smaller metadata, like "calories burned."
The same logic applies to spacing. By using a system based on a common multiplier (an 8pt grid is a popular choice), you create a consistent visual rhythm. A token like spacing-4 might equal 16px (4 * 4px), which you could use for the padding between items in a list. This kind of mathematical harmony makes the whole interface feel more intentional and polished.
Getting these fundamentals right is the key to a scalable app. For a deeper dive into this, I highly recommend reading up on creating a robust React Native Design System. These core principles are what turn a collection of design decisions into a reusable framework that will save your team countless hours down the line.
Let AI Turn Your Design Tokens Into Code
Okay, so you've nailed down your design tokens. Now for the fun part: turning that system into actual, working code. In the old days, this meant a developer would have to manually—and painstakingly—translate every single color, font, and spacing value from a Figma file into a config file. It's a classic spot for typos and small mistakes to creep in.
But with a tool like RapidNative, that whole tedious process is replaced with a simple chat prompt.
You don't need to write a single line of code yourself to get this done. By describing what you want in plain English, you can tell the AI exactly how to build your theme file using the tokens you just defined. This is a game-changer for product managers and designers, as it lets you instantly see your design system come alive without waiting on a developer.
How to Write a Prompt That Actually Works
The secret to getting a great result from the AI is being specific. If you just ask it to "make a theme," you'll get something generic. What you really want is to feed it the concrete values from your design token system.
A solid prompt needs to include a few key things:
- Your Goal: Start by telling it you need a
nativewind.config.jsfile. - Your Colors: List the hex codes for your primary, accent, and neutral colors, and give them their proper names (e.g.,
primary: '#6366F1'). - Light & Dark Mode Rules: This is critical. Explicitly tell the AI how colors should change between themes. For instance, specify that the
backgroundshould be#FFFFFFin light mode but#111827in dark mode. - Your Typography: Define your font families (like
'Inter-Bold') and the sizes for your type scale (h1: 24px,body: 16px). - Your Spacing Scale: Give it your spacing units, like
spacing-4: 16px.
This isn't about having a casual chat; it's about giving clear, direct instructions. It’s one of the most practical ways to use generative AI for app development to automate those repetitive but essential tasks.
Think of your prompt as the bridge connecting your design system to the final code. The more detail you pack in—especially about how colors adapt for light and dark modes—the less tweaking you'll have to do later. It’s like writing a technical spec, but in simple sentences.
The global mobile app market is set to explode, reaching an estimated USD 1,017.18 billion by 2034 with a 15.1% CAGR. This incredible growth puts immense pressure on teams to build and ship UIs faster than ever. For a product manager trying to validate a new idea, generating a UI in minutes can mean getting to market well ahead of the competition. You can dive deeper into this trend in the full mobile application market research.
From Plain English to Production-Ready Code
Once you've written out your prompt and hit send, the AI takes over. In just a few seconds, it produces the complete nativewind.config.js file for your theme.
Here’s a look at what happens in the RapidNative chat when you feed it a detailed prompt.
On the left, you see the simple, plain-English prompt. On the right, you get perfectly structured JavaScript code. The AI correctly organizes all the colors, fonts, and spacing into the theme.extend object, creating a file you can literally copy and paste directly into your React Native project. This isn't just a rough draft; it's clean, developer-ready code born from a conversation.
Applying And Refining Your Theme In Real Time
Okay, your theme configuration is ready. Now for the fun part: seeing it all come to life. This is the moment where your abstract design tokens—all those colors, fonts, and spacing values—transform into a tangible UI on a device. The real power here isn't just spitting out the initial code; it’s being able to apply it and then make live adjustments with simple, conversational prompts.
The first step is to ask the AI to build a common screen, maybe a user dashboard or a settings page. The trick is to be specific. You need to explicitly tell it to use the nativewind.config.js file we just made. A good prompt might sound something like this: "Generate a user dashboard screen using our theme, with a header, a list of user stats, and a primary action button."
Iterating with Conversational Edits
Once that initial screen pops up, the real-time feedback loop begins. This is where designers, product managers, and even founders can jump in and take control. Forget writing a ticket and waiting for a developer to get to it. You can just type your requested changes directly into the chat.
Let’s say you’re looking at the dashboard and the main call-to-action button just isn’t standing out. Your follow-up prompts could be as simple as:
- "Change the primary button background to use our accent color."
- "Increase the vertical spacing between the list items to
spacing-4." - "Make the header text
font-size-h1and give it a bold weight."
Each command gets executed instantly, updating the UI right before your eyes. This conversational approach closes the gap between an idea and its execution, letting you test out visual ideas and polish the user experience on the fly. It turns the design process from a slow, rigid waterfall into a dynamic, interactive workshop.
This diagram really captures the simple, powerful flow from your design tokens to functional, ready-to-use code.

As you can see, your structured design tokens are the input, a simple prompt provides the instructions, and clean code is the immediate result.
Why This Matters in a Competitive Market
The mobile app market is absolutely exploding. App downloads are on track to hit 143 billion by 2026, and users are spending an average of 3.5 hours a day inside them. In such a crowded field, speed and quality are non-negotiable.
Being able to generate and test themed components this quickly gives you a serious edge. This is especially true when you consider that social and entertainment apps—which depend heavily on a strong visual identity—account for over 40% of all user time. For a founder building an MVP, being able to validate a new feature like a social feed or an e-commerce flow in days instead of weeks can be the difference between success and failure. You can dig into the latest mobile app market forecast to see just how fast things are moving.
This chat-driven iteration is the core value for non-technical stakeholders. It democratizes the design refinement process, ensuring the final product perfectly aligns with the vision without the typical delays of a traditional development cycle. It’s about making better design decisions, faster.
Ultimately, this real-time refinement process guarantees that your carefully crafted theme doesn't just look good in a Figma file—it feels right on a real device. It empowers your whole team to build with confidence, knowing the visual foundation is solid and can easily adapt as your product grows.
Bringing Your Themed Code into Production
Alright, you've gone from a simple idea to a fully-themed, real-time prototype. The next step—and the most important one—is moving that work from our interactive environment into your actual production codebase. When you’re ready, you can export everything you've built. This isn't just a screenshot; you get the React Native screen components and the complete NativeWind theme configuration, all packaged up and ready to go.
What you get is clean, developer-first React Native code. The entire point is to sidestep the painstaking, manual work of building UI from scratch, not to box your team into a proprietary system. They're getting a rock-solid foundation that they can immediately start extending and connecting to your backend.
Integrating with Your React Native Project
We've made sure the exported code is organized in a way that feels natural to any React Native developer. Integrating it into an existing project is usually a quick and painless process.
For a developer picking up the exported files, the workflow looks something like this:
- Drop in the UI Components: The new screens you created, like a
DashboardScreen.tsxfile, can be copied directly into your project's/screensor/componentsfolder. - Set Up the Theme File: The
nativewind.config.jsfile, which contains all your color and typography tokens, goes right in the root of your React Native project. This allows NativeWind to discover it and apply your theme across the entire app. - Check Dependencies: Just make sure
nativewindandtailwindcssare listed in yourpackage.json. If they’re not there already, a quicknpm installoryarn addwill pull them in.
That's it. Since all the components use standard NativeWind classes (think bg-background or text-text-primary), they will automatically pick up all the styles defined in your new theme file. No manual wiring is needed.
The real value here is that the exported code is built to be extended. It's readable, maintainable, and ready for your engineering team to add state management, connect API calls, and implement all the necessary business logic. You're handing off a working starting point, not just a static design file.
This approach completely changes the dynamic of the traditional design handoff. So often, that's where tiny but crucial details—a specific hex code, a font weight, or a spacing value—get lost in translation. To dig deeper into this, check out our guide on effective design-to-code automation strategies.
By exporting functional components with a built-in theme for app design, you guarantee the final product is a perfect 1-to-1 match with the prototype you refined. This direct pipeline from conversational design to production-ready code saves a massive amount of time and erases the risk of misinterpretation, freeing up your team to focus on building the features that deliver real value.
Common Questions About AI-Powered App Theming
When you start digging into AI-driven development, a few practical questions always pop up. Let's tackle some of the most common ones we hear from teams who are theming their app UIs this way for the first time.
Can I Still Use My Company's Existing Brand Guidelines?
You absolutely can. In fact, this process is built for it.
Just grab your established brand assets—the specific hex codes for your color palette, the names of your font families, and your spacing rules (like a 4pt grid system)—and feed them directly into your initial AI prompt. The AI's job is to translate those exact specifications into a ready-to-use NativeWind theme configuration, ensuring your UI is perfectly on-brand from the get-go.
What if I Need To Update the App's Theme Down the Road?
This is where a token-based system really shines. Forget about the nightmare of hunting down and replacing hex codes across dozens or even hundreds of files. With this setup, you just update the value once in your central NativeWind theme file.
Let's say your company decides to refresh its primary brand color. You simply change that one primary color token in your configuration. Instantly, every single component throughout your app that references that token will update to the new color. It makes rebrands or even simple seasonal tweaks remarkably fast.
The real win here is maintainability. A single change in your theme file ripples across the entire app. A task that used to take a developer days of manual, error-prone work can now be done in about five minutes.
Is the Code Exported by the AI Actually Usable for Developers?
Yes, and that's the whole point. The AI generates clean, professional-grade React Native components using standard tools like TypeScript and NativeWind. You won't find any confusing, proprietary code here.
The output is structured to be handed directly to a development team. They can dive right in, add state management, hook up APIs, and build out the functionality just as if they had written all the boilerplate themselves. It’s designed for seamless integration.
How Does This Approach Handle More Complex Theming, Like Multiple Modes?
NativeWind is fantastic at managing this kind of complexity. It's not limited to just a simple light and dark mode. You can define as many themes as you need.
For example, you could easily create:
- A high-contrast theme to improve accessibility.
- Special branded themes for specific marketing campaigns or partnerships.
- A "focus mode" theme with a more muted palette.
You just define different sets of tokens within your configuration file. From there, you can switch between themes programmatically inside your app, giving you total control over the user’s visual experience in any context.
Ready to stop building UI from scratch and start shipping faster? With RapidNative, you can turn your ideas into production-ready React Native code using simple, conversational prompts. Try RapidNative today and see how quickly your vision can come to life.
Ready to build your app?
Turn your idea into a production-ready React Native app in minutes.
Free tools to get you started
Free AI PRD Generator
Generate a professional product requirements document in seconds. Describe your product idea and get a complete, structured PRD instantly.
Try it freeFree AI App Name Generator
Generate unique, brandable app name ideas with AI. Get creative name suggestions with taglines, brand colors, and monogram previews.
Try it freeFree AI App Icon Generator
Generate beautiful, professional app icons with AI. Describe your app and get multiple icon variations in different styles, ready for App Store and Google Play.
Try it freeFrequently asked questions
What is RapidNative?
RapidNative is an AI-powered mobile app builder. Describe the app you want in plain English and RapidNative generates real, production-ready React Native screens you can preview, edit, and publish to the App Store or Google Play.
Can I export the code?
Yes. RapidNative generates clean React Native and Expo code that you can export at any time. No lock-in, no proprietary format. Hand it to your developers or keep building inside RapidNative.
Is RapidNative free to use?
Yes. You can build apps on the free plan with no credit card required. Paid plans unlock unlimited AI generations, code export, and direct publishing to the App Store and Google Play.
Do I need to know how to code?
No. Most users build apps by describing what they want in plain English. Developers can drop into the code whenever they want more control, but coding is optional.
How long does it take to build an app?
Most users have a working first screen in under a minute. A full MVP usually takes a few hours instead of the weeks or months traditional development requires.