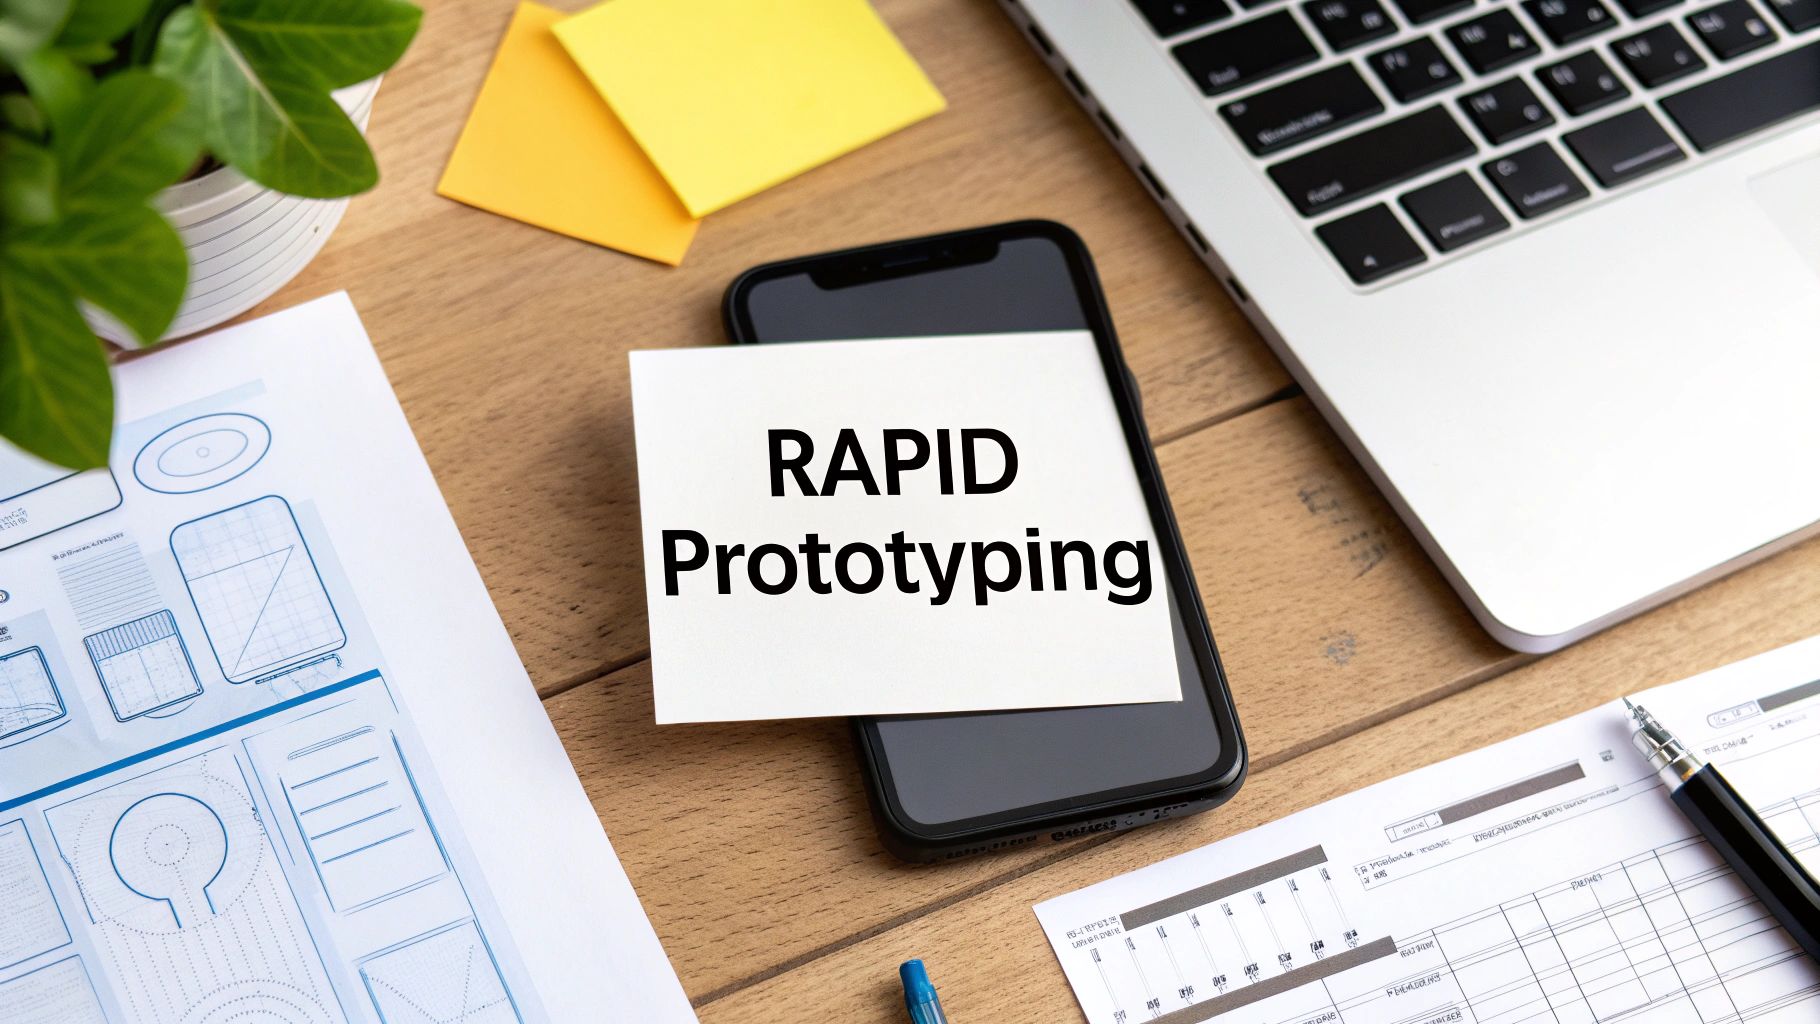
10 Rapid Prototyping Techniques for Mobile App Teams
Discover 10 essential rapid prototyping techniques to build better mobile products. A practical guide for PMs, designers, and founders to test ideas faster.
By Riya
8th Feb 2026
Last updated: 8th Feb 2026
Building a successful mobile app starts with a simple question: Will users love this? Answering it quickly, before writing thousands of lines of code, is the difference between a hit and a costly miss. That’s where rapid prototyping techniques come in. These methods are essential for the entire product team—from founders and product managers to designers and engineers—to turn abstract ideas into tangible, testable experiences. A great idea on a whiteboard is one thing; an interactive prototype that a user can hold is another.
Choosing the right approach at the right time is critical. Do you need a quick paper sketch to align your team, a high-fidelity interactive mockup for investor demos, or a code-backed prototype for user testing? Getting this decision right saves invaluable time and resources, ensuring you build what customers actually want. This guide breaks down 10 proven rapid prototyping techniques, from low-fidelity wireframes to AI-powered code generation. We’ll show you what each method is, when to use it, and how to get the most out of it, helping you validate your mobile app concept and accelerate your path to launch.
1. Wireframing & Low-Fidelity Prototyping
Wireframing is the quintessential first step in rapid prototyping, acting as the architectural blueprint for your mobile app. This technique strips away all visual design elements like color, fonts, and imagery to focus purely on structure, functionality, and user flow. Using simple shapes, lines, and placeholder text, low-fidelity wireframes map out the essential screens and navigation paths, allowing you to validate core concepts without getting bogged down in aesthetics. It’s the fastest way to translate an abstract idea into a tangible, debatable artifact.
When to Use This Technique
This method is ideal during the earliest stages of product development. Use it when you need to define the information architecture, establish the primary user navigation, and get your team aligned on the core layout before any significant design or development resources are committed.
Actionable Tips for Implementation
- Focus on Core Flows: Instead of wireframing every possible screen, concentrate on the 3-5 most critical user journeys. For an e-commerce app, this might be user registration, product search, and the checkout process.
- Keep it Simple: Resist the urge to add visual detail. The goal is to test structure, not design. Use grayscale, basic fonts, and simple boxes to represent elements.
- Test Early and Often: Share your wireframes with potential users or team members. Ask them to complete a task. Their confusion or success provides invaluable, low-cost feedback.
Pro Tip: For maximum speed, start with pen and paper sketches. You can then digitize them or use a tool that can instantly convert your static drawings into an interactive, testable prototype, bridging the gap between a simple sketch and a functional model.
2. Interactive Click-Through Prototypes
Moving one step beyond static wireframes, interactive click-through prototypes simulate app functionality by linking screens together. These are essentially a series of mockups connected by clickable "hotspots," creating the illusion of a live application without any backend code. This rapid prototyping technique allows stakeholders and users to navigate through key flows, such as an onboarding sequence or a purchase journey, providing a realistic feel for the app's navigation and usability. It transforms static designs into a hands-on experience, making the abstract concept of an app feel tangible and real.
When to Use This Technique
This method is perfect for usability testing, detailed stakeholder demonstrations, and validating user flows before a single line of code is written. Use it when your core structure is defined and you need to test the intuitiveness of the navigation and the overall user experience. It's the ideal step to gather qualitative feedback on how users will actually interact with the interface.
Actionable Tips for Implementation
- Focus on Critical Paths: Map out the 2-3 most important user journeys. For a social media app, this might be creating a post, following another user, and adjusting notification settings.
- Include Error States: Don't just show the "happy path." Add screens for common errors or dead ends to see how users react and recover. This provides a more realistic test of the app's usability.
- Test with Real Users: Avoid testing solely with your internal team. Get feedback from your actual target audience to uncover biases and assumptions you may have missed.
Pro Tip: Use tools that provide heatmaps and session recordings for your click-through prototypes. This quantitative data complements user interviews by showing you exactly where users are clicking, hesitating, or getting stuck, revealing usability issues that users may not explicitly mention.
3. AI-Powered Code Generation (Prompt-to-App)
AI-powered code generation is one of the most transformative rapid prototyping techniques, converting natural language prompts, sketches, or design files directly into functional application code. This method leverages large language models (LLMs) to interpret your instructions and automatically write the underlying code for UI components. For a mobile team, this means you can describe a screen you want—like "a user login screen with fields for email and password, a 'Sign In' button, and a link for 'Forgot Password'"—and get back usable React Native or Swift code in seconds. This technique dramatically shortens the path from idea to a working prototype by automating tedious, manual coding tasks.

When to Use This Technique
This approach is best used when you have a clear vision for a user interface and need to generate a functional, code-based prototype with maximum speed. It is ideal for founders and product managers looking to create a high-fidelity prototype for investor demos, user testing, or as a foundational starting point for the development team, bypassing the need for extensive front-end coding from scratch.
Actionable Tips for Implementation
- Be Highly Specific with Prompts: Vague requests yield generic results. Instead of "create a login screen," describe the layout, input fields (email, password), buttons ("Sign In," "Forgot Password"), and desired color scheme. For more advanced results, check out these prompt engineering tips for UI generation.
- Start with Core Components: Generate individual screens or critical components first, like a user profile card or a product listing page. Once satisfied, assemble them into a cohesive user flow.
- Establish a Review Process: Treat AI-generated code as if it were written by a junior developer. Have an experienced engineer review it for performance, security, and adherence to your project's coding standards before building on top of it.
Pro Tip: Use prompt-to-app generation as an accelerator, not a final solution. The goal is to produce a v1 prototype quickly. Expect to refine and optimize the generated code with your developers to handle complex logic, edge cases, and final production polish.
4. Design-to-Code Translation (Image/Design File-to-App)
Design-to-code translation bridges the gap between visual mockups and functional applications by automatically converting designs from tools like Figma into front-end code. This technique uses AI to analyze a design file’s layers, components, and constraints, then generates corresponding, production-ready code in frameworks like React Native. This is a huge time-saver, automating the tedious process of a developer manually recreating a design pixel-by-pixel. It's a powerful accelerator among rapid prototyping techniques, turning a high-fidelity design into an interactive reality with remarkable speed.
When to Use This Technique
This method is most effective when you have a high-fidelity, polished UI design and need to quickly create a code-backed prototype for user testing or developer handoff. Use it to validate complex animations, interactions, and responsive layouts that are difficult to simulate in design tools alone. It’s also ideal for teams looking to accelerate development by generating boilerplate UI code that developers can then refine and connect to backend logic.
Actionable Tips for Implementation
- Organize Your Design File: Use clear, consistent naming conventions for layers and components. A well-structured design with auto-layout and defined constraints translates into cleaner, more predictable code.
- Leverage Design Systems: Build your mockups using a design system. This ensures that generated code maps directly to your established component library, maintaining visual and functional consistency.
- Test on Real Devices: Always test the generated code on multiple physical devices and screen sizes. This helps you catch any discrepancies between the design and the real-world implementation early on.
Pro Tip: Instead of converting an entire app at once, start by translating individual components (like a button or a card). This modular approach makes debugging easier and helps your engineers build a robust, reusable component library. To dive deeper, you can learn more about turning design into code and how it fits into a modern product cycle.
5. Collaborative Real-Time Prototyping
Collaborative real-time prototyping transforms the design process from a sequential relay race into a dynamic, team-based workshop. This technique allows designers, developers, and product managers to work simultaneously within the same design file (like Figma), seeing each other's cursors and edits as they happen. It eliminates version control issues and condenses feedback loops from days into minutes, fostering a shared sense of ownership and accelerating alignment across different disciplines.
When to Use This Technique
This method is most powerful when cross-functional alignment is critical and speed is paramount. Use it for intensive design sprints, feature kick-off workshops, or when iterating on user feedback with tight deadlines. It’s perfect for ensuring that what the designer creates is immediately understood and validated by the engineer who will build it and the product manager who defines its requirements.
Actionable Tips for Implementation
- Establish Clear Roles: Before a session, define who is leading the design, who is providing feedback, and who is assessing technical feasibility. This prevents a "too many cooks" scenario.
- Schedule Dedicated Sessions: Instead of constant, open-ended collaboration, schedule focused co-creation blocks. This preserves time for deep, individual work while maximizing the efficiency of group ideation.
- Leverage Commenting Features: Use built-in comment and annotation tools to create an asynchronous feedback channel. This allows team members in different time zones to contribute without needing to be online simultaneously.
Pro Tip: Record your collaborative sessions. This creates a valuable artifact that captures not just the final design decisions but the rationale and trade-offs discussed along the way, providing crucial context for future iterations or new team members. Learn more about how to optimize your team's workflow with these advanced strategies.
6. Requirements to Interactive Prototype (PRD-to-App)
This advanced technique transforms a static Product Requirements Document (PRD) directly into a functional, interactive prototype. By leveraging AI, this method parses written specifications, user stories, and acceptance criteria to automatically generate the corresponding app structure, screens, and navigational flows. It effectively closes the gap between the product manager's vision in a document and a tangible, testable product, making it one of the most efficient rapid prototyping techniques for teams with well-defined requirements.
When to Use This Technique
Use this technique when you have a detailed PRD and need to quickly validate its feasibility and user experience without manual design work. It is perfect for product managers and founders who want to see their documented vision come to life instantly, ensuring that development efforts start with a prototype that is already aligned with business logic and user stories.
Actionable Tips for Implementation
- Structure PRDs for AI: Organize your document with clear, atomic user stories ("As a user, I want to be able to reset my password...") and precise acceptance criteria. Use consistent terminology to help the AI model interpret your intentions accurately.
- Prioritize Core Journeys: Instruct the AI to generate prototypes for the most critical user flows first, such as onboarding or a core transaction. This allows you to test high-impact features before addressing edge cases.
- Supplement with Visuals: Include simple user flow diagrams or sketches within your PRD. This provides the AI with both textual and visual context, resulting in a more accurate and comprehensive initial prototype.
Pro Tip: Use a platform that can generate a code-backed prototype from your PRD. This not only creates a clickable model but also produces the underlying React Native codebase, allowing you to move from documentation to a developer-ready foundation in a single step.
7. Component Library-Based Rapid Assembly
This technique is like building with LEGOs instead of sculpting from clay. It accelerates prototype development by leveraging pre-built, pre-tested UI components. Instead of designing buttons, forms, and navigation bars from scratch, teams pull from an established design system like Google's Material Design or a custom in-house library. This method ensures visual and functional consistency while dramatically cutting down the time it takes to build high-fidelity, interactive prototypes that look and feel like a real product.
When to Use This Technique
This approach is perfect when you need to create a high-fidelity prototype that adheres to established brand guidelines or platform conventions. Use it when you are past the initial ideation phase and need to test user flows with a realistic interface, or when developing new features for an existing product where consistency is paramount.
Actionable Tips for Implementation
- Start with a Core Set: Don't try to build a massive library at once. Begin with the 10-15 most frequently used components like buttons, input fields, and headers. Expand the library as new project needs arise.
- Document Everything: Create clear guidelines on when and how to use each component. This documentation prevents misuse and ensures everyone on the team is building with a shared understanding.
- Version Your Library: Treat your component library like a software product. Use version control to manage updates, track changes, and prevent breaking changes from disrupting ongoing projects.
Pro Tip: Integrate your component library directly into your design and development tools. When ready for a code-backed prototype, some AI tools can ingest these designs and map them to your real React Native components, creating a production-ready foundation from your prototype assembly.
8. Low-Code/No-Code Platform Prototyping
Low-code and no-code platforms represent a massive leap forward in rapid prototyping techniques, empowering non-technical team members to build highly functional applications. This method uses visual drag-and-drop interfaces and pre-built components to construct apps without writing traditional code. Platforms like Bubble or Adalo allow you to create a prototype with a real database, user authentication, and API integrations, making it feel incredibly close to a finished product.
When to Use This Technique
This approach is perfect when you need a high-fidelity prototype that users can genuinely interact with, complete with data and logic. It’s ideal for validating a full product concept with real users, running a pilot program, or building an internal tool when engineering resources are limited. It shines when your prototype needs to do more than just look right; it needs to work.
Actionable Tips for Implementation
- Leverage Templates: Start with a pre-built template for a common app type (e.g., a marketplace or social network) to dramatically accelerate your initial build.
- Plan for Scalability: Understand the platform's limitations from the start. If your concept gains traction, have a plan for how you might migrate to a custom codebase later.
- Focus on the Core Loop: Build out the single most important user journey first. For a task management app, this would be creating, viewing, and completing a task. Get this right before adding secondary features.
Pro Tip: Use no-code platforms to build a functional Minimum Viable Product (MVP) that can gather real user data and even generate initial revenue. This provides undeniable validation and data to justify investing in a fully-coded, scalable application.
9. User Testing & Iterative Refinement
User testing isn't just a final step; it's an integrated, cyclical rapid prototyping technique. This method involves putting your prototype—no matter how unfinished—in front of real users to gather immediate feedback. By observing their interactions and listening to their thoughts, you can identify usability issues, validate assumptions, and uncover unmet needs. The "iterative refinement" part means you rapidly apply these learnings to the prototype, test again, and repeat, creating a tight feedback loop that systematically de-risks your product development.

When to Use This Technique
This technique should be a continuous activity throughout the prototyping lifecycle. It is especially critical after creating an interactive prototype (like a clickable wireframe or a high-fidelity mock-up) and before writing a single line of production code. Use it to ensure you’re building the right product for the right people, saving immense time and resources down the line.
Actionable Tips for Implementation
- Test Early and Often: Don't wait for a "perfect" prototype. Testing a rough paper sketch can reveal fundamental flaws in your core concept much faster than testing a polished design.
- Recruit the Right People: Your feedback is only as good as its source. Ensure your test participants accurately represent your target audience to get relevant insights.
- Ask Open-Ended Questions: Avoid leading questions like, "Was that easy to use?" Instead, ask, "What are your thoughts on that process?" to elicit more honest and detailed feedback.
- Prioritize Feedback: You'll receive a lot of input. Focus on fixing the most critical issues first—those that prevent users from completing key tasks—before moving on to minor enhancements.
Pro Tip: Record your testing sessions (with permission). With modern AI tools, you can take this user feedback, make instant edits to your UI, and generate a new, fully interactive prototype within minutes, ready for the next round of testing the very same day.
10. Cross-Platform Responsive Prototyping
Cross-platform responsive prototyping involves creating a single, adaptable prototype that functions seamlessly across various operating systems, primarily iOS and Android. This technique leverages shared codebase frameworks like React Native to ensure a consistent user experience, regardless of the device. Instead of building separate prototypes for each platform, this unified approach drastically reduces redundant work, making it one of the most efficient rapid prototyping techniques for reaching a wide audience. It’s the modern answer to the "build once, test everywhere" challenge.
When to Use This Technique
This method is ideal when your target audience is split across multiple platforms and maintaining brand consistency is a top priority. Use it when you need to validate a core feature set on both iOS and Android simultaneously without doubling your prototyping efforts. It's particularly powerful for startups and teams with limited resources aiming for a broad initial launch.
Actionable Tips for Implementation
- Embrace Responsive Patterns: From the outset, design your UI using responsive grids, flexible layouts, and adaptable components. This ensures your prototype looks and feels native on different phone screen sizes.
- Test on Real Devices: While emulators are useful, they can't replicate the nuances of touch interactions, performance, or platform-specific gestures. Always test your cross-platform prototype on actual iOS and Android hardware.
- Plan for Native Differences: Acknowledge that iOS and Android have distinct UI conventions (e.g., navigation bars, back buttons). Plan for these differences early to avoid a generic user experience that feels out of place on both platforms.
Pro Tip: Use a framework like React Native to build your cross-platform prototype. AI platforms can accelerate this process even further by generating a production-ready React Native codebase directly from your design, giving you a high-fidelity, code-backed prototype that runs natively on both iOS and Android from day one.
10-Point Comparison of Rapid Prototyping Techniques
| Technique | Implementation complexity | Resource requirements | Expected outcomes | Ideal use cases | Key advantages |
|---|---|---|---|---|---|
| Wireframing & Low-Fidelity Prototyping | Very low | Minimal tools (paper/whiteboard/basic software) | Structural layouts and validated user flows | Early concept exploration and stakeholder alignment | Fast, low-cost iteration |
| Interactive Click-Through Prototypes | Low to moderate | Prototyping tool, screen assets | Navigable flows for realistic interaction testing | Usability testing and stakeholder demos | Reveals usability issues before build |
| AI-Powered Code Generation (Prompt-to-App) | Low user effort; moderate review | AI platform, prompts, developer review | Fast generation of working code prototypes / MVP drafts | Rapid MVP creation and non-technical prototyping | Dramatically reduces development time |
| Design-to-Code Translation (Image/File-to-App) | Moderate (requires structured designs) | Design files (Figma), converter tools | Pixel-accurate UI code and synced components | Design-to-development handoff and pixel fidelity needs | Preserves design intent; reduces handoff errors |
| Collaborative Real-Time Prototyping | Low to moderate | Real-time collaboration platform, bandwidth | Synchronous edits and accelerated decisions | Cross-functional co-creation and distributed teams | Shortens feedback cycles; shared ownership |
| Requirements to Interactive Prototype (PRD-to-App) | Moderate; depends on PRD quality | Well-structured PRDs, NLP/AI tools | Prototypes mapped to requirements and flows | Validating specs and traceability to requirements | Immediate validation of product requirements |
| Component Library-Based Rapid Assembly | Low to moderate (after library exists) | Component library, design system, assembly tools | Consistent, scalable prototypes assembled quickly | Enterprise products and repeatable UI projects | Speed, consistency, easier handoff |
| Low-Code/No-Code Platform Prototyping | Low | Low-code/no-code platform, templates, connectors | Fully functional prototypes with integrated backend | Idea validation by non-technical teams | No coding required; fast end-to-end builds |
| User Testing & Iterative Refinement | Moderate (ongoing effort) | Test participants, recording/analytics tools, time | Usability improvements and validated design decisions | Refining UX and validating user assumptions | Reveals real-user issues; data-driven iteration |
| Cross-Platform Responsive Prototyping | Moderate to high | Cross-platform framework, testing devices, responsive assets | Single prototype working on iOS, Android | Multi-platform apps and responsive behavior testing | Consistent experience across platforms; reduced maintenance |
Build, Test, and Launch Faster with the Right Tools
The journey from a napkin sketch to a market-ready mobile application is filled with critical decision points. The world of rapid prototyping techniques is not a one-size-fits-all solution but a diverse toolkit. Your team's success doesn't hinge on mastering a single method, but on strategically selecting the right tool for the right job at the right time.
From the raw ideation of wireframing to the polished user flow validation of interactive click-throughs, each technique serves a distinct purpose. Low-fidelity methods give you speed for early-stage concepts, while collaborative platforms ensure your entire team remains aligned. The key is to view these methods as a fluid continuum, allowing you to move seamlessly from one to the other as your product vision solidifies.
From Static Mockups to Dynamic, Code-Backed Prototypes
The most significant takeaway is the evolution beyond static, throwaway prototypes. The goal is no longer just to create a picture of an app; it's to build a tangible, testable asset that accelerates the development cycle. This is where the true power of modern rapid prototyping techniques lies. By embracing methods that generate real, usable code, you bridge the historically wide gap between design and engineering, drastically reducing rework and misinterpretation.
This shift is a game-changer for product teams. It means:
- Faster Validation: User feedback is based on an experience that feels and performs like the final product.
- Reduced Engineering Waste: Designs are validated with production-ready components, not just abstract shapes.
- Empowered Teams: Designers, product managers, and founders can create functional prototypes without writing a single line of code.
Embracing these agile approaches is particularly crucial for successful software development for startups, where validating ideas quickly and achieving measurable business outcomes are paramount. The ability to iterate based on real-world feedback, powered by a prototype that is already halfway to being a real product, is an incredible competitive advantage.
Your Next Step: Choose a Technique and Start Building
Your challenge now is to put this knowledge into action. Look at your current project and identify your most pressing need.
- Are you exploring a brand-new idea? Start with low-fidelity wireframes or a component library-based assembly.
- Do you need to test a specific user journey? Create an interactive click-through prototype.
- Are you ready to build a high-fidelity, functional MVP? Leverage an AI-powered platform to generate real React Native code from your designs or prompts.
Ultimately, the goal is to foster a culture of rapid iteration. Choose a method, build a prototype, gather feedback, and repeat. By integrating these powerful rapid prototyping techniques into your workflow, you're not just building mockups; you're building momentum and de-risking your path to a successful launch.
Ready to turn your ideas into functional, cross-platform mobile apps in minutes? RapidNative uses AI to generate production-ready React Native code directly from your prompts, designs, and product requirements. Stop rebuilding and start iterating with our powerful platform by visiting RapidNative today.
Ready to build your app?
Turn your idea into a production-ready React Native app in minutes.
Free tools to get you started
Free AI PRD Generator
Generate a professional product requirements document in seconds. Describe your product idea and get a complete, structured PRD instantly.
Try it freeFree AI App Name Generator
Generate unique, brandable app name ideas with AI. Get creative name suggestions with taglines, brand colors, and monogram previews.
Try it freeFree AI App Icon Generator
Generate beautiful, professional app icons with AI. Describe your app and get multiple icon variations in different styles, ready for App Store and Google Play.
Try it freeFrequently asked questions
What is RapidNative?
RapidNative is an AI-powered mobile app builder. Describe the app you want in plain English and RapidNative generates real, production-ready React Native screens you can preview, edit, and publish to the App Store or Google Play.
Can I export the code?
Yes. RapidNative generates clean React Native and Expo code that you can export at any time. No lock-in, no proprietary format. Hand it to your developers or keep building inside RapidNative.
Is RapidNative free to use?
Yes. You can build apps on the free plan with no credit card required. Paid plans unlock unlimited AI generations, code export, and direct publishing to the App Store and Google Play.
Do I need to know how to code?
No. Most users build apps by describing what they want in plain English. Developers can drop into the code whenever they want more control, but coding is optional.
How long does it take to build an app?
Most users have a working first screen in under a minute. A full MVP usually takes a few hours instead of the weeks or months traditional development requires.