React Native Navigation Expo Setup Guide for Production Apps
React Native Navigation Expo. Set up React Native navigation in Expo with stack, tab, and drawer navigators. Covers deep linking, parameters, nested routes
By Riya
11th Oct 2026
Last updated: 11th Oct 2026

You've built three polished Expo screens, and the simulator looks convincing. Then marketing asks for a campaign link that opens checkout, a designer adds a modal account flow, and the team discovers that nobody decided what happens when the app starts from a cold link, resumes in the background, or opens after an expired session.
That's the point where React Native navigation with Expo stops being a package choice and becomes an architectural concern. A production app needs more than screens. It needs a route tree, predictable state transitions, authentication boundaries, deep links, platform-aware behavior, and code that remains understandable after export into a real repository.
Why Navigation Is the First Architectural Decision in Expo
The first navigation choice usually looks harmless in the simulator. Then a cold-start deep link lands in the wrong stack, Android back exits a checkout flow too early, or an exported codebase leaves nobody sure where route ownership lives. In Expo, that is an architecture problem before it is a UI problem.
Navigation holds the app together. React Native does not ship with a built-in navigation system, so Expo projects typically adopt React Navigation or Expo Router for stack, tab, and drawer patterns (Expo's app navigation documentation).

A screen list only tells you what exists. Production navigation also has to define when a screen is reachable, how users arrive there, what back does from that state, and how an external URL rewrites the current route tree. That is why I treat navigation as a state machine with entry points and boundaries, not a set of links.
Choose the shape before the screens
Expo gives teams two main approaches. React Navigation builds the tree directly in code with stack, tab, and drawer navigators. Expo Router derives routes from the file structure, and _layout.tsx files set navigator boundaries.
That decision reaches far beyond screen transitions. It affects cold starts from links, behavior when the app resumes from the background, and how cleanly the navigation layer survives a future export into a larger production repository.
The choice affects the whole project:
- Route ownership: Decide which screens are public, authenticated, modal, or nested under tabs.
- Entry points: Define the URLs that email, notifications, QR codes, and campaigns must open.
- Platform behavior: Account for different transitions and back behavior on iOS, Android, and web.
- Provider placement: Choose which providers live globally and which belong near a route group.
- Export shape: Agree whether generated code should use
app/,src/app/, or a conventional screens directory.
A filename is not a full navigation spec. Layout decides presentation, headers, grouping, providers, and navigator options. Teams that postpone those calls usually end up rebuilding navigation around screens that were designed in isolation.
Practical rule: Before building UI, draw the root stack, the auth boundary, the tabs, and the modal groups. Then assign every future screen to one place in that tree.
React Navigation Versus Expo Router for Real Apps
A real choice shows up the first time the app opens from a push notification, not when the demo tab bar looks clean in the simulator. That is why I default to Expo Router for new Expo work. It gives the team a route tree that maps closely to the product, and it bakes in patterns that hold up better across cold starts, deep links, and later code export into a larger repo.
React Navigation still earns its place. If screens are assembled dynamically from feature flags, plugins, or tenant-specific rules, a component-declared tree can be easier to express and easier to test. It also fits teams that already have a stable navigator architecture and do not want to recast route ownership around the filesystem just to follow a newer convention.
The trade-off is operational, not cosmetic. Expo Router usually reduces setup for typed routes, shared mobile and web paths, and common deep-link behavior because the route tree drives more of the configuration. React Navigation gives finer-grained control in code, but that flexibility comes with more places to drift out of sync as the app grows.
| Criterion | React Navigation | Expo Router |
|---|---|---|
| Configuration style | Component-based navigators declared in code | File-based routes with layouts |
| Route registration | Manual composition and registration | Files become routes |
| Navigator patterns | Stack, tab, and drawer navigators | Stack, tab, drawer, and grouped layouts |
| Deep links | Supported through explicit linking configuration | Common cases are handled through the route tree |
| Typed routes | Requires deliberate project setup | Typed routes are part of the routing approach |
| Web support | Available, with configuration owned by the team | Static web rendering and shared route conventions |
| Best fit | Highly customized or established navigation systems | New Expo apps, shared mobile and web products, code generation |
Adoption signals point the same way. In a 2025 State of React Native navigation survey, 71.1% of the 1,158 respondents who answered the Expo Router question reported using it, versus 41.9% of 1,145 respondents for the corresponding React Native Navigation question (survey context in the Expo repository). That does not represent every React Native team, but it does show where current Expo-oriented work is concentrating.
For generated or exported code, file-based routing is usually easier to inspect under deadline pressure. Open app/, and the navigable surface is visible without tracing registration across multiple files. If you want a concrete example of how that structure scales beyond a toy app, this guide to building multi-screen Expo Router apps is a useful reference.
Installing the Navigation Stack and Building Your First Layout Tree
A navigation tree that looks fine in the simulator can still fail where production apps usually break first: on a cold start, from a deep link, or after the codebase gets exported into a larger repo. Set the structure early, and set it with the packages Expo expects to work together. Run npx expo install expo-router react-native-screens react-native-safe-area-context so Expo pins compatible versions against your SDK instead of leaving version resolution to npm or yarn.
A clean route tree should tell you, at a glance, which screens are public, which ones sit behind auth, and where shared UI is owned:
app/
  _layout.tsx
  index.tsx
  (public)/
    login.tsx
  (auth)/
    _layout.tsx
    (tabs)/
      _layout.tsx
      home.tsx
      orders.tsx
      profile.tsx
    orders/
      [id].tsx
  +not-found.tsx
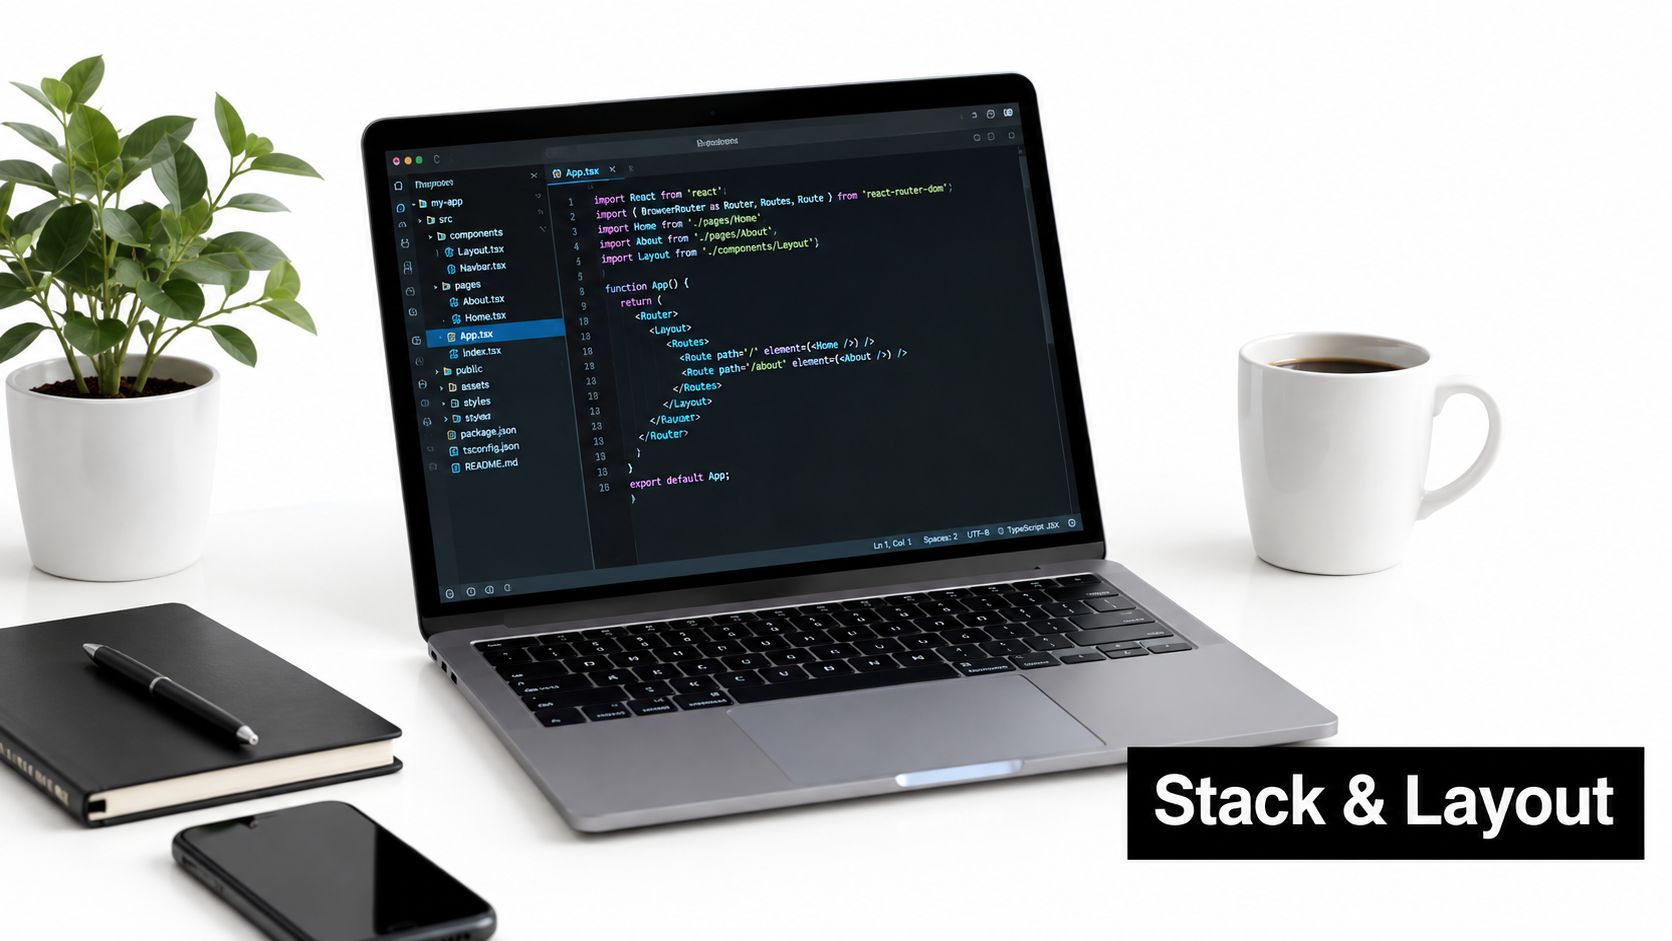
That shape scales well because each _layout.tsx is a real boundary, not just folder decoration. The root layout owns the app-level stack. The authenticated layout is the gate for protected content. The tabs layout owns tab chrome once, instead of repeating it screen by screen. Parenthesized groups keep files organized without adding those group names to the URL, which matters when links, analytics, and future route exports need stable paths.
Put navigator behavior in layouts
A minimal root layout can look like this:
import { Stack } from 'expo-router';

export default function RootLayout() {
  return (
    <Stack>
      <Stack.Screen name="index" options={{ headerShown: false }} />
      <Stack.Screen name="(public)" options={{ headerShown: false }} />
      <Stack.Screen name="(auth)" options={{ headerShown: false }} />
      <Stack.Screen name="+not-found" />
    </Stack>
  );
}
The tab boundary belongs in (auth)/(tabs)/_layout.tsx:
import { Tabs } from 'expo-router';

export default function TabsLayout() {
  return (
    <Tabs>
      <Tabs.Screen name="home" options={{ title: 'Home' }} />
      <Tabs.Screen name="orders" options={{ title: 'Orders' }} />
      <Tabs.Screen name="profile" options={{ title: 'Profile' }} />
    </Tabs>
  );
}
Expo's router expects this layout-first setup. _layout.tsx files define explicit navigator boundaries, whether you keep routes in app/ or src/app/ (Expo's stack guidance). Keep route-specific providers close to the layout that needs them. Put session and theme providers above protected groups when several branches depend on the same state.
One mistake shows up constantly in real apps: auth redirects inside individual screens. That creates inconsistent entry behavior and can briefly mount a protected screen before session state finishes loading. Put access control at the route-group boundary. Let screens focus on rendering data and handling user actions.
Composing Stack, Tab, and Drawer Navigators With Typed Parameters
Navigator composition should reflect how users move through the product. A root stack is a useful outer shell because it can present authenticated content, full-screen modals, and public routes. Tabs usually sit inside the authenticated area, while a drawer can wrap a larger product shell when users need access to settings, workspaces, or secondary tools.

A practical shape might be:
Root Stack
├── Public routes
├── Authenticated Drawer
│   └── Main Tabs
│       ├── Home stack
│       ├── Orders stack
│       └── Profile stack
└── Modal group
The drawer should sit above tabs when it represents a product-wide destination switcher. A modal group should sit outside the main authenticated stack when it needs independent presentation, such as a payment sheet, image picker, or confirmation flow. Don't bury a global modal inside one tab. That makes presentation depend on the user's current tab and complicates deep-link behavior.
Use route parameters as part of the contract
A file such as orders/[id].tsx describes a parameterized route. A link can target it directly:
import { Link } from 'expo-router';

export function OrderRow({ id }: { id: string }) {
  return (
    <Link href={{ pathname: '/orders/[id]', params: { id } }}>
      View order
    </Link>
  );
}
The receiving screen reads the parameter:
import { useLocalSearchParams } from 'expo-router';

export default function OrderScreen() {
  const { id } = useLocalSearchParams<{ id: string }>();

  return <OrderDetails orderId={id} />;
}
For generated or rapidly changing products, typed route generation is more than an editor convenience. It makes invalid destinations visible during development instead of turning a misspelled path into a runtime navigation failure.
Keep screen-specific display logic in the screen, but hoist headers, tab labels, drawer behavior, and presentation choices into the relevant layout. Duplicating those options in every file looks flexible at first. It becomes expensive when a product rename, accessibility adjustment, or platform-specific presentation rule affects an entire branch.
Configuring Deep Links for Cold Starts, Running Apps and Backgrounding
Deep linking has two separate behaviors. If the app isn't running, the URL establishes the initial navigation state. If the app is already open, the URL must update the existing state and take the user to the destination. React Navigation describes this distinction through its linking configuration, which maps URL schemes and paths to routes (React Navigation deep linking).
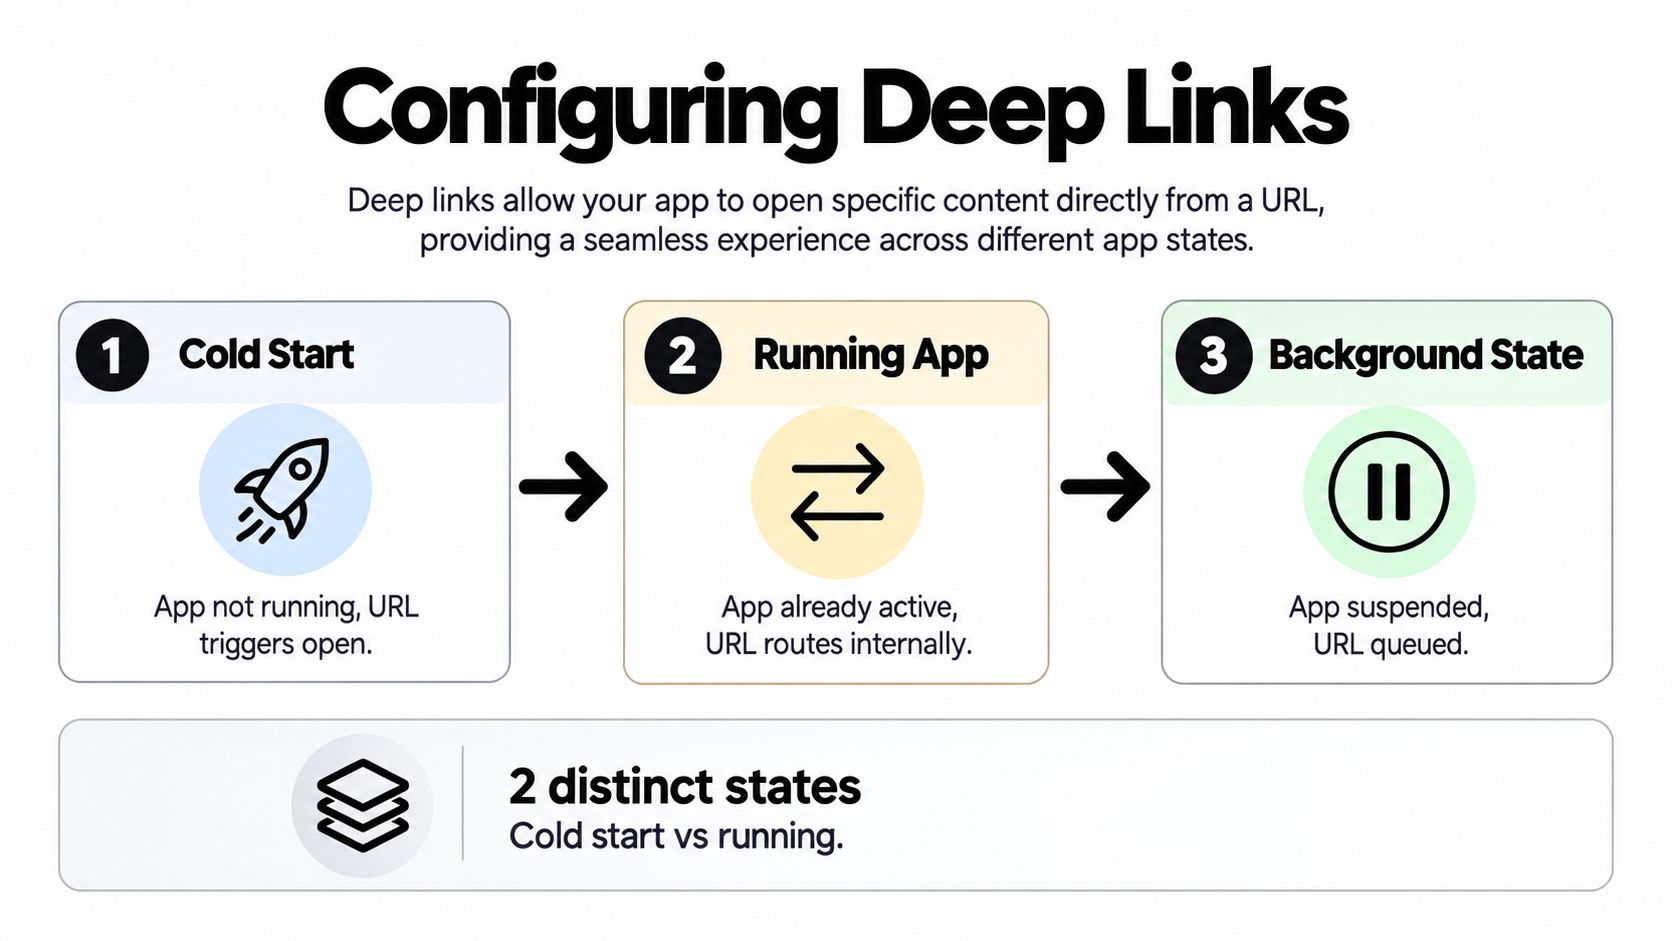
For an example link such as myapp://orders/123, test all of these situations:
- Cold start: The app is closed, and the link should open order
123. - Running app: The app is active on another screen, and the link should replace or update the current navigation state.
- Background state: The app is suspended, and the link should resume the existing app into the requested destination.
- External return: An email or browser link should return to the correct authentication or verification screen.
Define the custom scheme in Expo configuration early. Expo's linking utilities can construct and parse links such as myapp://chat/alex or myapp://orders/123, and the scheme becomes part of links distributed through emails, notifications, QR codes, and test environments (Expo Linking documentation).
Authentication changes the sequence
A protected deep link can't redirect based on a session value that hasn't loaded. The app should hold its splash screen or loading boundary while secure credentials initialize, classify the incoming URL, preserve the intended destination, and render protected routes only after authentication is known.
The correct behavior is simple from the user's perspective. An authenticated user opens a private order link and sees the order. An unauthenticated user goes to login, completes authentication, and returns to that same order instead of landing on a generic home screen.
Navigation should wait for session hydration. Redirecting too early creates the login flash and can discard the destination before the app has enough information to make a decision.
Expo's authentication guidance describes protected-route logic that redirects users without access to an anchor route, while warning that broken deep linking can interfere with session validation and passwordless login (Expo authentication guidance). A useful implementation checklist is covered in this navigation and routing overview.
Instrument the destination, redirect reason, and time-to-navigation during development and testing. Then repeat the matrix after changes to session storage, route groups, or linking configuration. Deep links are an integration boundary, not a feature that can be validated only by tapping an in-app button.
Exporting Clean Navigation Code and Migrating to a Production Repo
A prototype starts paying off when its navigation survives export without a rewrite. The route tree, layout boundaries, provider placement, typed parameters, and linking decisions all need to come across intact. If the export gives your team a folder full of screens but leaves cold starts, deep links, and auth transitions to be rebuilt later, the visual prototype moved over, but the architecture did not.
Keep the route tree readable
In a production repo, the routing root should be obvious the first time someone opens the project:
src/
  app/
    _layout.tsx
    (public)/
    (auth)/
    (modal)/
  components/
  providers/
  features/
Some teams keep app/ at the repository root. Others prefer src/app/. Both can work if the route tree stays easy to inspect and does not disappear inside generated screen registries or feature folders that hide ownership.
During handoff, keep these pieces explicit:
- Layout boundaries: Root, authenticated, tab, drawer, and modal navigators should remain visible in the file structure.
- Route groups: Public and protected branches should stay separate instead of collapsing into one conditional screen.
- Provider ownership: Session, theme, and other app-level providers should stay above the groups that depend on them.
- Dynamic paths: Files such as
profile/[id].tsxshould keep their parameter contract. - Navigation options: Header, tab, drawer, and modal presentation should live in the layouts that own that behavior.
The cleanup work usually sits around the edges. Replace placeholder data. Lock down the production URL scheme. Review redirect behavior per environment. Make generated route types part of the normal repo workflow. A scheme that worked in development can become expensive to change once links are in emails, push notifications, or documentation.
Test the export on every target
A shared route model does not remove platform differences. Transitions, back behavior, browser refresh, and modal dismissal can all diverge once you leave the simulator happy path. Expo Router's file-based groups and modal patterns make those boundaries visible in code, which is exactly what you want when debugging a cold start or a deep link into a presented screen (Expo Router groups and modals guidance).
Run a focused acceptance pass before the first production merge:
- Open every route through in-app flows on iOS, Android, and web.
- Cold-start directly on each important deep link.
- Check back behavior after nested pushes.
- Refresh the browser on web while inside a nested route.
- Dismiss modals after entering them from a deep link.
- Confirm state restoration after the app is backgrounded and reopened.
- Verify authenticated, unauthenticated, expired-session, and external-browser entry paths.
These checks catch different classes of failure. Browser refresh exposes route assumptions that only exist on native. Modal dismissal often reveals presentation config sitting in the wrong layout. Nested back testing shows whether the stack reflects actual user history or only happens to look correct after a tap-through demo.
If you prototype in RapidNative, the exported project keeps the Expo Router route tree, layout boundaries, and typed parameters intact, which makes the handoff checklist above testable instead of aspirational. Its production-ready code guidance is a useful review pass for generated layouts, providers, and export boundaries.
Export-ready means behavior-ready. A tidy folder structure matters only after cold starts, deep links, back actions, browser refreshes, and modal restoration behave correctly on the platforms you support.
Teams usually get into trouble when they treat navigation as code organization instead of runtime behavior. Production users do not care where a screen file lives. They care whether a private link opens the right screen, whether back returns them to the right place, and whether a reopened app restores context instead of dumping them at the root. Keep that behavior visible in layouts, preserve it during export, and test it before the repo handoff is called done.
Ready to build your app?
Turn your idea into a production-ready React Native app in minutes.
Free tools to get you started
Free AI PRD Generator
Generate a professional product requirements document in seconds. Describe your product idea and get a complete, structured PRD instantly.
Try it freeFree AI App Name Generator
Generate unique, brandable app name ideas with AI. Get creative name suggestions with taglines, brand colors, and monogram previews.
Try it freeFree AI App Icon Generator
Generate beautiful, professional app icons with AI. Describe your app and get multiple icon variations in different styles, ready for App Store and Google Play.
Try it freeFrequently asked questions
What is RapidNative?
RapidNative is an AI-powered mobile app builder. Describe the app you want in plain English and RapidNative generates real, production-ready React Native screens you can preview, edit, and publish to the App Store or Google Play.
Can I export the code?
Yes. RapidNative generates clean React Native and Expo code that you can export at any time. No lock-in, no proprietary format. Hand it to your developers or keep building inside RapidNative.
Is RapidNative free to use?
Yes. You can build apps on the free plan with no credit card required. Paid plans unlock unlimited AI generations, code export, and direct publishing to the App Store and Google Play.
Do I need to know how to code?
No. Most users build apps by describing what they want in plain English. Developers can drop into the code whenever they want more control, but coding is optional.
How long does it take to build an app?
Most users have a working first screen in under a minute. A full MVP usually takes a few hours instead of the weeks or months traditional development requires.