Mastering Push Notifications in React Native: A Practical Guide
Learn how to master push notifications in React Native. This guide covers setup, permissions, and sending notifications for Expo and Bare workflows.
By Parth
14th Feb 2026
Last updated: 14th Feb 2026
Push notifications are one of the most powerful tools in your React Native toolkit for keeping users engaged. When you get them right, these messages can pull users back in, nudge them toward a purchase, or deliver time-sensitive info, making them a non-negotiable for any serious mobile app.
This guide is for anyone building a mobile product—founders, PMs, designers, and developers. We'll skip the academic theory and focus on practical steps, real-world examples, and the critical decisions you'll need to make to build a notification system that works.
Why Bother with Push Notifications? (Hint: It’s All About Engagement)
Before we even touch a line of code, let's get on the same page about why push notifications are so important. This isn't just a developer task; it's a core product strategy. Think of them less as a feature and more as a direct line to your users, right on their home screen.
It’s your app’s way of tapping someone on the shoulder, reminding them you exist and have something valuable to offer. A well-thought-out push notification strategy is the difference between an app that gets used and one that gets forgotten.
The Real-World Impact on Your App's Success
This isn't just theory; the numbers are compelling. Data consistently shows that a solid notification strategy is a game-changer for user retention. For example, users who opt-in and receive even a single push notification show 120% higher retention rates than those who don't.
That figure jumps to an incredible 440% for weekly notifications and a massive 820% for daily ones. The takeaway is clear: regular, relevant contact keeps your app top-of-mind. You can dig into more of these stats over at Mobiloud.
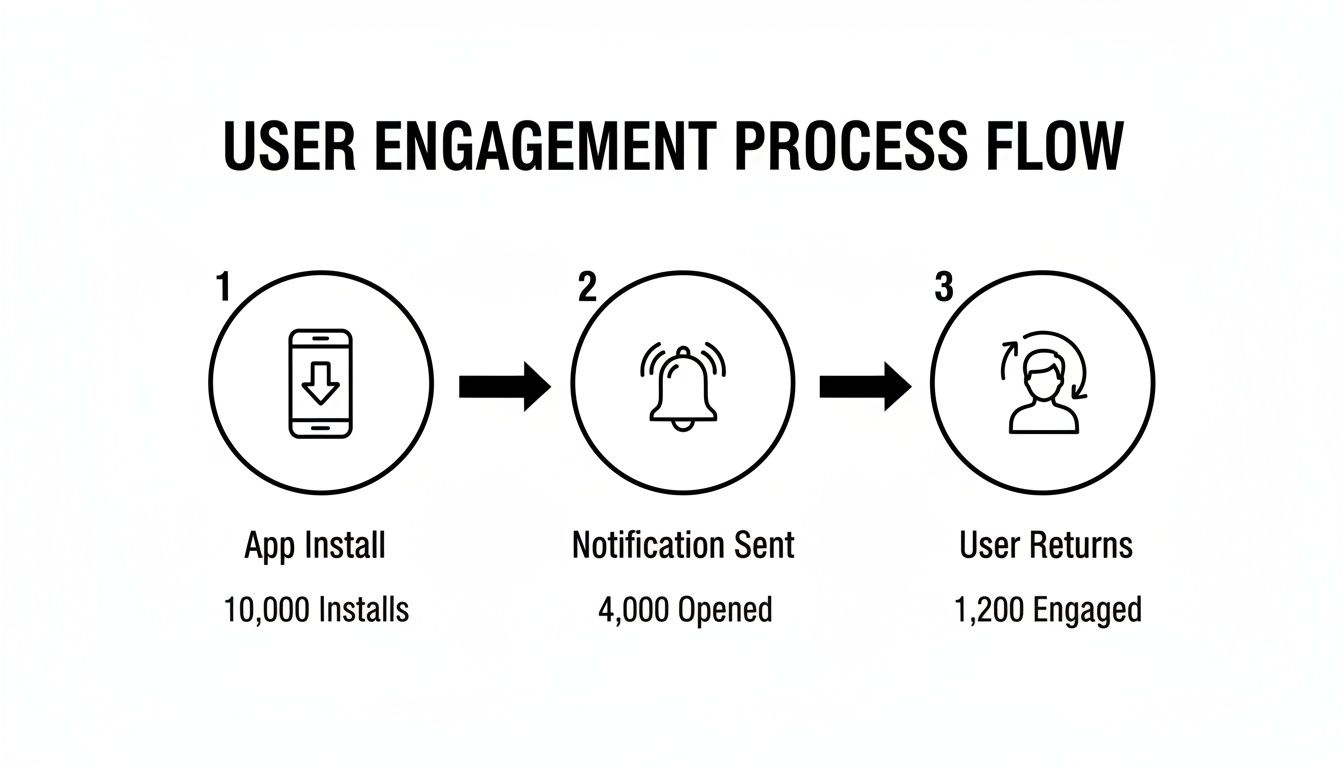
The relationship between how often you send notifications and how many users stick around is incredibly direct. Let's break down what that looks like.
Impact of Push Notification Frequency on User Retention
| Notification Frequency | Average Retention Rate Increase |
|---|---|
| At least one notification | 120% |
| Weekly notifications | 440% |
| Daily notifications | 820% |
As you can see, the more you strategically engage users, the more likely they are to form a habit around your app. Each ping reinforces its value and place in their daily life.
Bringing It to Life: Practical Scenarios
To make sure your notifications hit the mark, you need to map them to real user actions and business goals. Every single notification should have a clear purpose.
Here are a few classic examples to get you thinking:
- E-commerce: The abandoned cart reminder is a must. It’s a simple, effective way to recapture sales. Even better is a personalized alert like, "Heads up! Those sneakers you liked are now 20% off."
- Social Media: Nothing pulls a user back in faster than social validation. A notification that says, "Someone just commented on your post," creates an immediate desire to open the app and see what they said.
- Productivity Apps: A simple nudge about an upcoming deadline or a checklist item you just completed reinforces the app’s core value—helping the user stay organized and productive.
Thinking through these user flows from the start is crucial. It ensures every notification you send is a helpful prompt or a solution to a user’s need, not just another annoying interruption. This mindset is the bedrock of a successful implementation.
Preparing Your React Native Project for Notifications
Before you can send a single push notification, you have to lay the groundwork. This is where many teams get tripped up, because the setup changes depending on whether you're using the streamlined Expo managed workflow or a bare React Native project.
We'll walk through both paths. Getting this initial configuration right is easily the most critical part of the entire process. A small mistake here can send you down a rabbit hole for hours, debugging notifications that simply never arrive. Think of it as wiring the house correctly before you flip the light switch.
Setting Up an Expo Managed Project
For those of us building with Expo's managed workflow, life is good. Expo handles a ton of the native complexity behind the scenes, letting you stay focused on your JavaScript code. You really only need a couple of packages to get started.
expo-notifications: This is your workhorse. It’s the core library that gives you the API for everything—requesting permissions, grabbing the push token, and handling incoming notifications.expo-device: A handy little helper package that lets you check if the app is running on a physical device. This is surprisingly crucial because push notifications do not work on the iOS simulator, a classic gotcha that catches even experienced devs off guard.
To get them into your project, just pop open your terminal and run this one command:
npx expo install expo-notifications expo-device
Quick tip: Stick with npx expo install instead of npm or yarn. It’s a lifesaver because it automatically picks package versions that are compatible with your project's Expo SDK, which helps you dodge a lot of painful dependency mismatches. With that done, you're ready to start talking to the device's notification system.
The real magic of the Expo ecosystem is how it manages the messy native configuration for you. Behind the curtain,
expo-notificationsis handling the connection to both Apple Push Notification service (APNs) and Firebase Cloud Messaging (FCM) without you ever needing to touch Xcode or Android Studio.
Configuring a Bare React Native Project
If you're in the bare React Native world—maybe you ejected from Expo or started from scratch—you’ve got more control, but also more responsibility. This means you'll be rolling up your sleeves and configuring the native Android and iOS projects directly. This is where things can feel a bit complicated, but breaking it down makes it totally manageable.
For a bit more context on how this all connects, our guide on what React Native is offers a good look at how the framework bridges JavaScript with native code.
Android Setup with Firebase
For Android, Firebase Cloud Messaging (FCM) is the industry standard. The goal here is to connect your app to a Firebase project.
First, you'll need a Firebase Project. Head over to the Firebase Console, create a new project, and register your Android app with its package name.
Next, you'll download the google-services.json file that Firebase generates for you. This file is your app's key to communicating with Firebase services, so treat it carefully. You’ll need to place it directly in your android/app/ directory.
Finally, you have to update your Gradle files to tell Android's build system about the Google Services plugin. This just means adding a classpath to your project-level android/build.gradle and then applying the plugin in your app-level android/app/build.gradle.
iOS Setup with APNs
On the iOS side, you'll be working with the Apple Push Notification service (APNs). This setup involves a bit of back-and-forth between your Apple Developer account and Xcode.
The first thing to do is enable capabilities in Xcode. Open your project, go to the "Signing & Capabilities" tab, and add the "Push Notifications" capability. This is how you tell iOS that your app has permission to receive them.
Then, you'll need to generate an APNs Key from your Apple Developer account. This gives you a .p8 key file, which is what your server will use to securely talk to Apple's servers.
Last, you’ll need to update your AppDelegate.m file. This involves adding some boilerplate code to register the device with APNs and then pass the device token back to your React Native code so you can use it.
This whole setup process, while a bit tedious, creates the channel for a powerful user engagement loop.
Ultimately, you're building a reliable way to re-engage your users and guide them toward the actions that matter most.
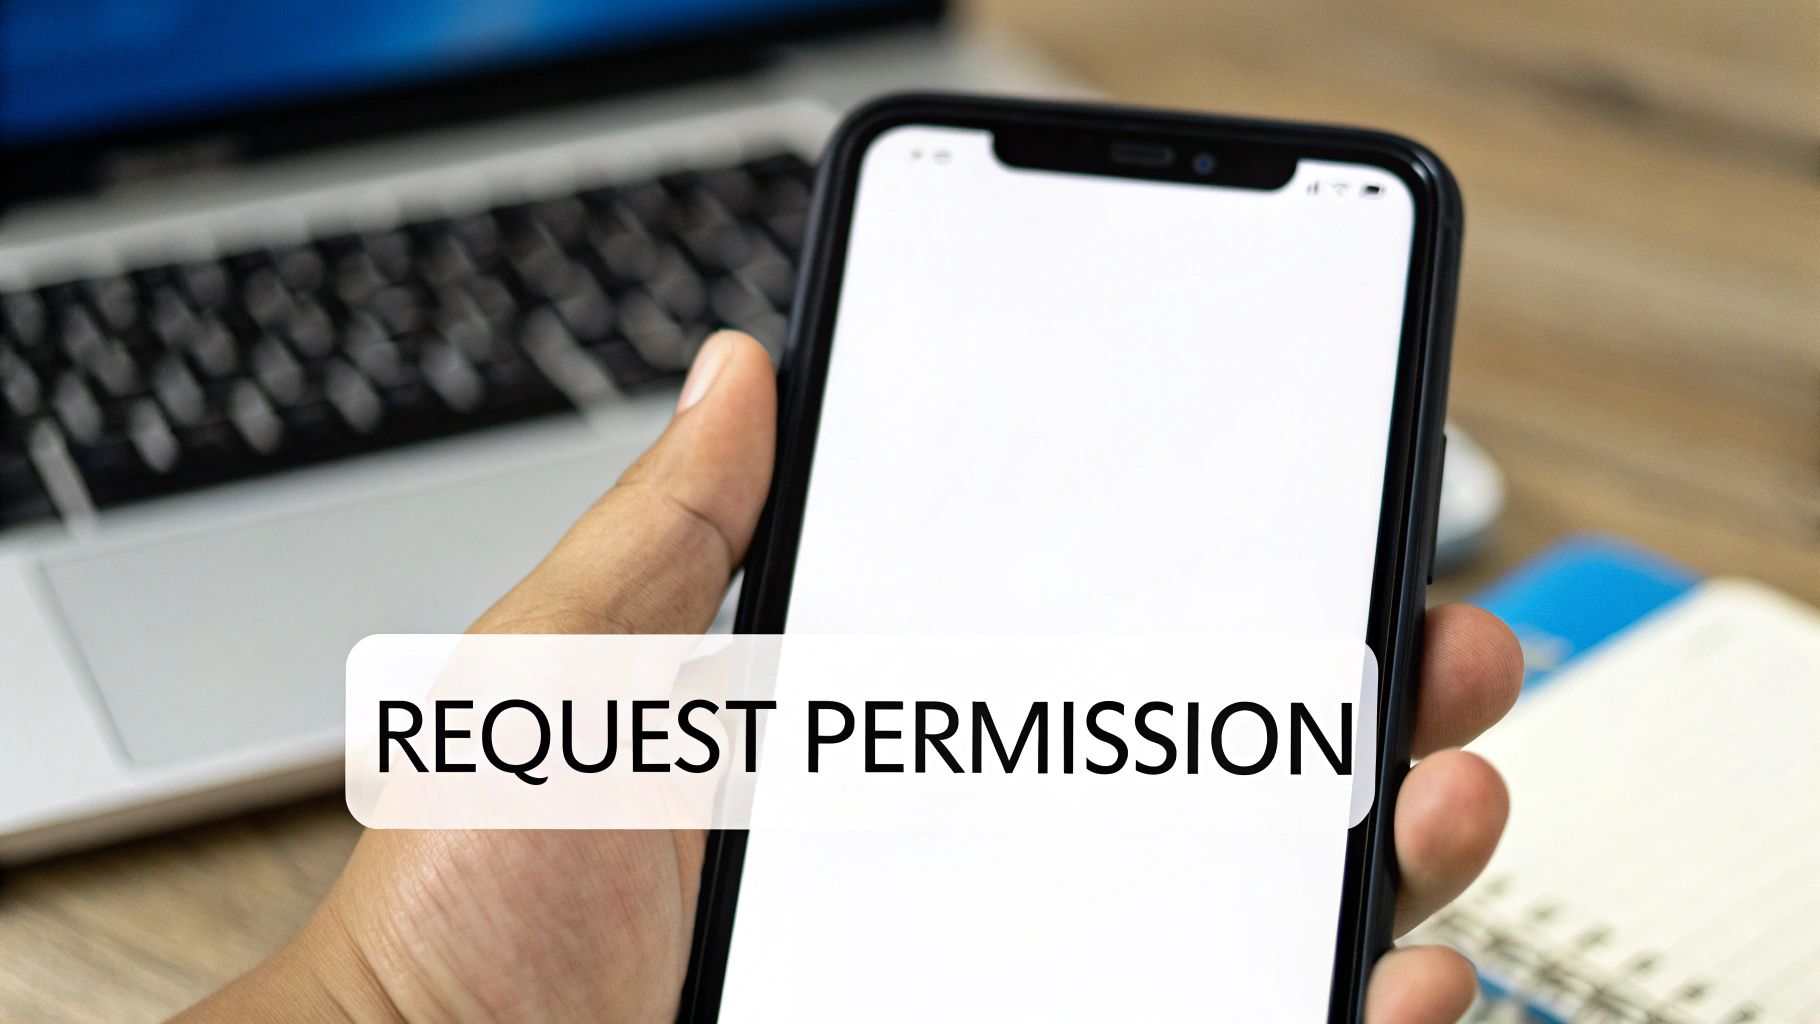
Requesting Permissions and Capturing the Push Token
Now that the project is set up, it’s time for the most critical user interaction: asking for permission to send push notifications. This is more than just a technical step—it’s a make-or-break moment for your product. If you get this wrong, users might deny permissions forever, and you'll lose a powerful way to connect with them.
The real challenge isn't just popping up a dialog box. It's about designing a thoughtful, respectful process that shows users why they should say yes. Let's walk through how to handle this correctly, from the code to the user experience.
Understanding the Platform Differences
One of the classic hurdles in React Native development is that iOS and Android handle permissions differently, and push notifications are no exception.
- iOS (The Gatekeeper): Apple has always been strict about this. You must ask for permission upfront before sending anything. If the user says no, that’s it—you can’t ask again with the system prompt. They have to manually enable it deep in their device settings, which most people never do.
- Android (The Old Way, Pre-13): For years, Android was more relaxed. Installing an app usually meant granting notification permissions by default. Users had to be proactive and dig into settings to turn them off.
- Android 13+ (The New Standard): Starting with Android 13 (API level 33), Google aligned with Apple's approach. Now, you have to explicitly request the
POST_NOTIFICATIONSpermission at runtime.
Frankly, this shift on Android’s part makes our lives as developers much easier. We can now build a single, unified logic for requesting permissions that works almost identically across both platforms.
Building a Reusable Permission Hook
Instead of copy-pasting permission logic all over your app, the smart move is to create a custom React hook. This keeps your code clean and encapsulates the entire process: checking status, requesting permission, and fetching the token.
Let's start by putting together the core function that will handle the request. With the expo-notifications library, we can first check the existing permission status and only prompt the user if we need to.
This is why checking the status first is so important. You need to know if permissions are already granted, have been denied, or are still undetermined before you make a move.
Once the user gives you the green light, the next job is to get the device's unique push token. Think of this as the "mailing address" for that specific device. It’s an alphanumeric string generated by APNs or FCM that uniquely identifies your app on that phone or tablet.
This is crucial: The push token is the most important piece of data in this whole system. Your app needs to capture it, send it to your backend, and tie it to a specific user account. Without that token, you have no way to send a notification to that device.
If permission is granted, we can call a function like getExpoPushTokenAsync() to retrieve the token. A well-designed hook will manage this token in its state, making it easy to access and register with your server.
Best Practices for Asking Permission
Timing is everything. Blasting a permission request the second someone opens your app for the first time is a surefire way to get a "No." Your opt-in rates will thank you for being more strategic.
Here are a few tactics that actually work:
- Use a "Pre-Permission" Prompt: Before you trigger the official system dialog, show a custom screen or modal. Use this space to explain why you're asking. Tell them they’ll get order updates, important alerts, or special offers. Frame it as a benefit, not a demand.
- Wait for the Right Moment: Ask for permission after a positive moment in the user journey. Did they just complete their first purchase? Favorite an item? That's the perfect time to ask if they'd like to stay in the loop. They're already engaged and see value in your app.
- Offer a Second Chance: If a user says no initially, don't just give up. Add an easy-to-find toggle in your app's settings screen where they can enable notifications later. This is far better than forcing them to navigate the maze of their phone’s system settings.
By carefully managing platform differences and approaching the permission request with a user-first mindset, you’ll build a much more effective notification system. For a deeper dive into this, check out our complete guide on React Native push notifications, where we cover more advanced patterns.
Building a Server to Send Your First Notification
So, you've successfully grabbed a unique push token from the user's device. That's a huge step. Your app is now officially on the map, ready and waiting for a message. But how do you actually send one?
This is where your backend comes into play. You’ll need a server-side component to actually trigger the notification, but don't worry—it doesn't have to be a massive undertaking.
We're going to spin up a simple but fully functional Node.js server using the popular Express framework. This server will do two things: it will listen for new push tokens coming from your app and store them, and it will have a way to send a notification to those stored tokens using the Expo Push API.
The beauty of this approach is that the Expo Push API acts as a universal translator. You fire off one simple request to Expo's servers, and they handle the messy business of communicating with both Apple's APNs and Google's FCM. It’s a brilliant abstraction layer that saves you from the headache of managing two separate, and often tricky, integrations.
Setting Up a Simple Express Server
First things first, let's get our server's foundation in place. We need an endpoint where our React Native app can send its push token to be saved. In a real-world application, you’d store this token in a database and link it to a user's account. For this guide, we'll keep things simple and just store it in memory.
Here’s what a minimal Express server looks like to get started:
import express from 'express';

const app = express();
app.use(express.json());

// For this example, we'll just store tokens in a simple array.
// In a real app, this would be a database!
let savedPushTokens = [];

// This is the endpoint our app will call to register its token.
app.post('/register-token', (req, res) => {
  const { token } = req.body;
  if (token && !savedPushTokens.includes(token)) {
    console.log(`Received and saved a new token: ${token}`);
    savedPushTokens.push(token);
    res.status(200).send({ message: 'Token registered successfully.' });
  } else {
    // It's good practice to handle invalid or duplicate tokens.
    res.status(400).send({ message: 'Invalid or duplicate token.' });
  }
});

const PORT = 3000;
app.listen(PORT, () => {
  console.log(`Server is up and running on port ${PORT}`);
});
This snippet creates a basic web server with a single /register-token endpoint. When your app gets a token, it will make a POST request here, and our server will pop it into the savedPushTokens array. Simple as that.
Sending Notifications with the Expo Push API
Now for the fun part—actually sending the message. We'll add another endpoint, /send-notification, that will trigger a push notification to every token we've collected. To talk to the Expo Push API, you can use their expo-server-sdk npm package, but making a direct HTTPS request works just as well and helps illustrate what's happening under the hood.
The heart of this process is crafting the right payload. This is just a JSON object that tells the push service what to display and can also carry hidden data for your app to act on.
A basic notification payload needs three key fields:
to: The recipient's Expo Push Token.title: The bolded text at the top of the notification.body: The main message text that the user reads.
You can also include a data object. This is your secret weapon for creating rich experiences. You can pass extra info here—like a product ID or a specific screen to navigate to—that is invisible to the user but essential for creating deep links. When a user taps the notification, your app can read this data and take them directly to the right place.
Let's build out the sending logic in our server:
// ... (previous server code)

app.post('/send-notification', async (req, res) => {
  const { title, body, data } = req.body;

  // We'll prepare a message for each token we have stored.
  const messages = savedPushTokens.map(token => ({
    to: token,
    sound: 'default',
    title: title || 'Original Title',
    body: body || 'And here is the body!',
    data: data || { withSome: 'data' },
  }));

  // Now, we send these messages to Expo's push server.
  try {
    const response = await fetch('https://exp.host/--/api/v2/push/send', {
      method: 'POST',
      headers: {
        'Accept': 'application/json',
        'Accept-encoding': 'gzip, deflate',
        'Content-Type': 'application/json',
      },
      body: JSON.stringify(messages),
    });

    const result = await response.json();
    console.log('Expo push tickets:', result.data);
    res.status(200).send({ message: 'Notifications sent!', tickets: result.data });
  } catch (error) {
    console.error('Error sending notifications:', error);
    res.status(500).send({ message: 'Failed to send notifications.' });
  }
});
Pro Tip: Always validate the push token format on your server before trying to send a notification. Invalid tokens get rejected by APNs/FCM, and the Expo API will return an error ticket for them. Handling these errors gracefully is key to keeping your token database clean and avoiding wasted API calls.
For more robust backend logic, many developers turn to cloud application development services to manage the infrastructure without the hassle. This lets your team scale up without getting bogged down in server maintenance. And as your system grows, you might find that dedicated API integrations platforms can streamline how your backend connects to other essential services.
With this simple server, you now have a complete, end-to-end system for sending your first push notification in React Native.
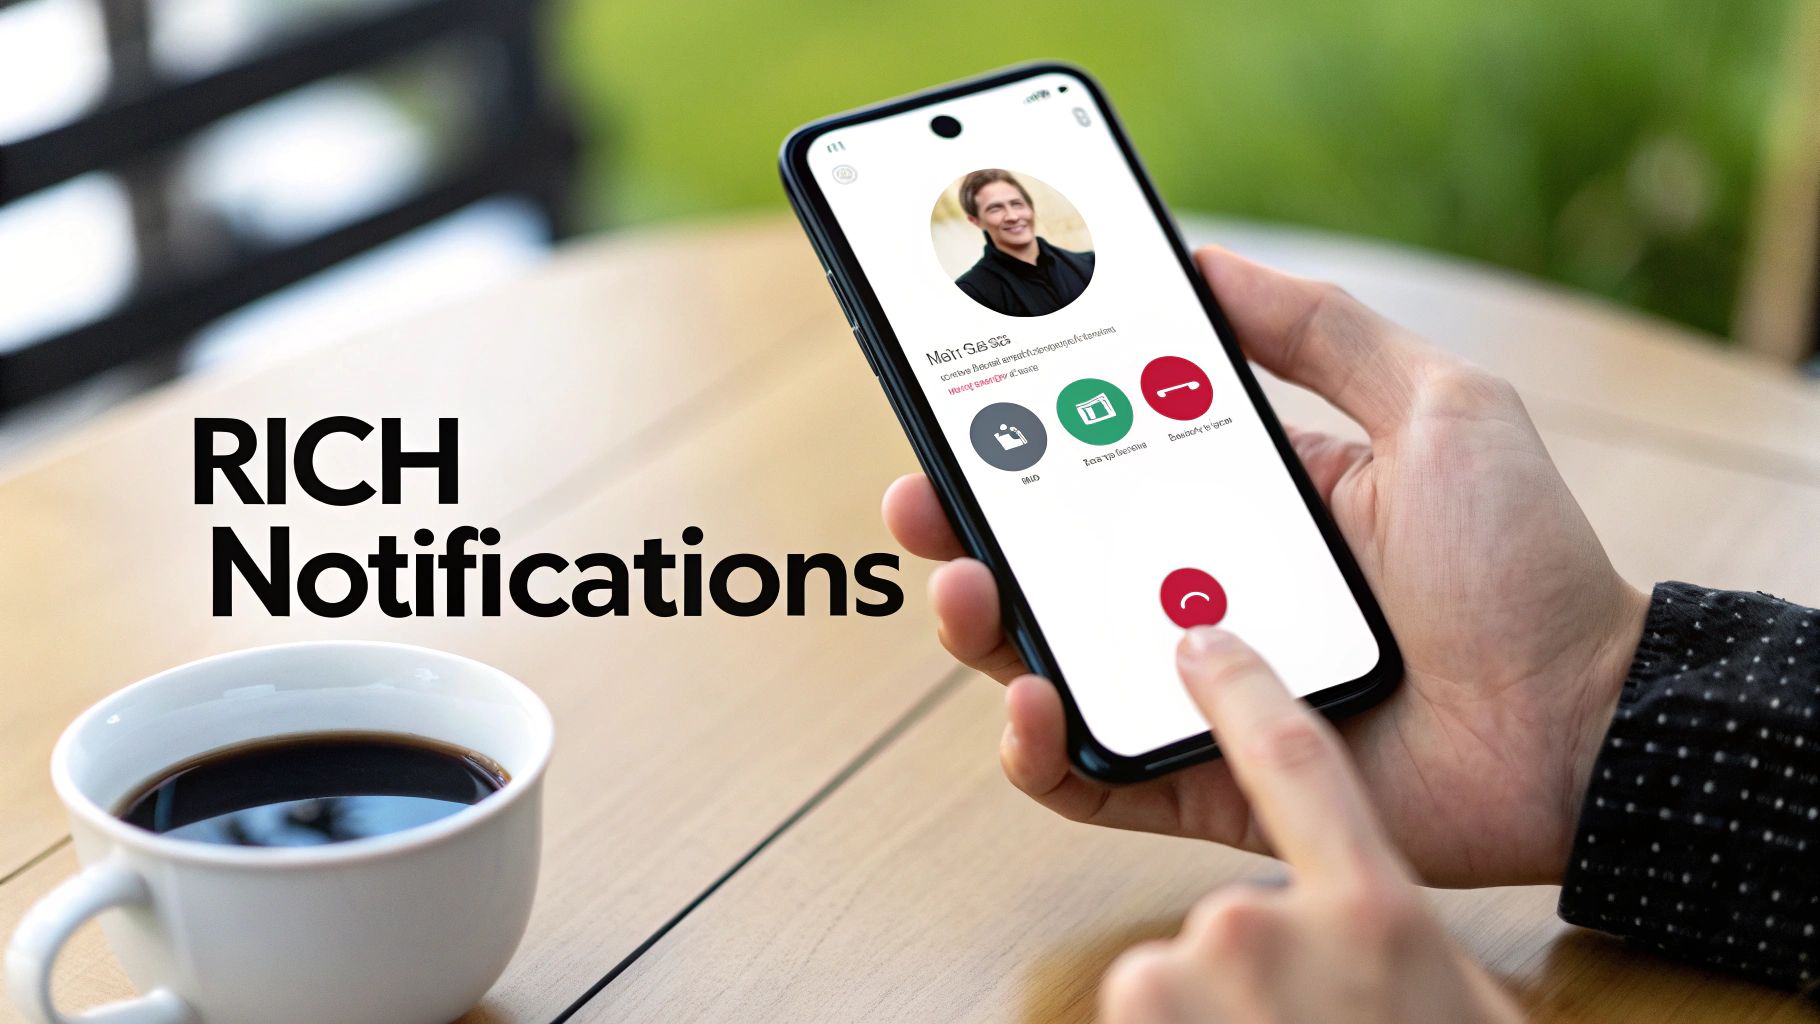
Creating Rich and Interactive Notifications
Let's be honest, basic text-only notifications are easy to swipe away and forget. If you really want to grab a user's attention and get them to take action, you need to think beyond simple alerts. This is where rich and interactive push notifications come into play, turning a standard message into something far more dynamic and engaging.
Instead of just telling a user something, you can show them. We're talking about embedding images, GIFs, or even short videos right inside the notification itself. Even better, you can give them ways to interact immediately with action buttons like 'Reply', 'Add to Cart', or 'View Deal'.
Building a Rich Notification Payload
The magic for this all starts on your server. To send a rich notification, you have to structure your payload to include these extra elements. While the specific fields can differ a bit between APNs and FCM, services like the Expo Push API helpfully provide a unified way to define them.
Here's a breakdown of what you'll want to add to your payload:
attachments(iOS) orimage(Android): This is just a URL pointing to the image or GIF you want to show. It's perfect for displaying a new product, a friend's profile picture, or a graphic that just pops.categoryIdentifier(iOS) oractions(Android): This is how you define your interactive buttons. You first register a "category" of actions within your app's code, and then you simply reference that category's ID in the payload.mutable-content(iOS): This one is absolutely critical for iOS. You have to set this flag to 1. It tells the device that an app extension can modify the notification before it's displayed, which is the mechanism iOS uses to download and attach your media.
Of course, a powerful notification is useless if it's poorly designed. Getting the user experience right is everything. For some great principles and examples, check out this Guide to UI Notification Design for Better UX. It's a fantastic resource for bridging the gap between technical setup and truly great design.
Why Rich Media Is a Game-Changer
The impact of adding media and buttons isn't just a hunch; the data backs it up. One analysis of over 50 billion messages found that rich media completely supercharges click-through rates (CTR).
Adding images, GIFs, or videos boosts CTR by an average of 25%, and rich pushes see 56% higher open rates compared to plain text. Even something as simple as adding an emoji can lift reaction rates by 20%. It turns a simple alert into a much more compelling hook.
If you're building a product, these stats are a powerful reminder. Rich media isn't just a "nice-to-have" feature; it's a core part of effective user engagement that you should be planning for from day one.
Responding to User Interactions in Your App
Sending an interactive notification is only half the job. The real value is unlocked when you handle the user's response properly inside your React Native app. When someone taps a button like 'Reply', your app needs to be ready to listen and react.
This is where the addNotificationResponseReceivedListener becomes your best friend. This listener fires anytime a user interacts with one of your notifications, and it gives you a response object with two crucial pieces of information:
actionIdentifier: This tells you exactly which button the user tapped (e.g.,'reply-action','view-deal-action').notification.request.content.data: This is the custom data payload you sent from your server. It could contain a post ID, a product SKU, a chat thread identifier—anything you need to provide context.
By combining these two, you can create incredibly powerful and seamless workflows. Imagine a user gets a notification about a new photo and taps a 'Like' button. Your app can read the actionIdentifier and the photo's ID from the data payload, then immediately fire off an API call to like the post. The user never even has to open the app and navigate to the photo. It’s that kind of slick, efficient experience that makes an app feel truly polished.
Troubleshooting Common Notification Issues
Even when you follow a guide to the letter, push notifications can be finicky. What works perfectly on an Android emulator might ghost you on a real iPhone. It’s a common source of frustration, so we've put together this list of the most frequent problems and how to fix them.
This isn't theory. This is a practical, no-nonsense checklist for when things go wrong, starting with the most common "aha!" moments that teams encounter.
How Do I Handle Notifications When My App Is Open Versus Closed?
This is the big one. How your app behaves when a notification arrives depends entirely on whether the user is actively using it. You need two different listeners to create a smooth experience, and where you put them matters.
-
App is in the foreground (open and on-screen): This is where you'll use
addNotificationReceivedListener. This listener fires the moment the notification hits the device. You don't want the standard system alert to pop down and cover what the user is doing. Instead, you can catch this event and show a custom in-app banner or a subtle toast message. -
App is in the background or killed: Here,
addNotificationResponseReceivedListeneris what you need. This listener only wakes up when the user physically taps on the notification in their system tray. This is your cue to act. The event payload will contain all the data you sent, making it the perfect spot to handle deep linking—like navigating the user straight to a specific chat, product, or order screen.
For either of these to work reliably, you have to register them at the root of your app, usually in your main App.tsx file. This ensures they’re always listening, no matter what state your app is in.
What Is the Difference Between FCM and APNs?
Think of them as two different postal services for two different countries. FCM (Firebase Cloud Messaging) is Google's solution for sending pushes to Android devices (and also iOS/web). APNs (Apple Push Notification service) is Apple's one and only service for their ecosystem—iOS, macOS, etc.
Services like the Expo Push API act as a universal shipping center. You give them one package (your API request), and they figure out whether to send it via FCM for your Android users or APNs for your iOS users.
This abstraction layer is a lifesaver. It means your backend doesn't need to build and maintain two entirely separate integrations, with different credentials, payload formats, and error codes. You send it once, and Expo handles the rest.
How Can I Test Push Notifications on a Real Device?
Testing on a physical device isn't just a good idea; it's mandatory, especially for iOS. The iOS simulator cannot receive push notifications. Countless hours have been lost by teams trying to debug something that was never going to work in the first place.
Here’s the simplest way to test:
- Run your app on your actual phone.
- Log the device's push token to your console as soon as your app gets it.
- Copy that token.
- Plug that token into a tool like the Expo Push Notification Tool or a simple server script (like the one we built earlier) and send a message directly to your device.
This direct-to-device method is the fastest way to confirm your listeners for foreground, background, and tapped notifications are all behaving as you expect.
What Should I Check If My Notifications Are Not Arriving?
When a notification just doesn't show up, it's almost always one of these four things. Run through this list before you start pulling your hair out.
-
Is the push token valid? First things first, is the token you're targeting correct? Tokens can expire or be refreshed by the OS. Your server needs a strategy to update stale tokens when your app provides a new one.
-
Are your platform credentials correct? Head over to your Apple Developer account and double-check your APNs setup. Is the
.p8key uploaded to Expo or Firebase still valid? For Android, ensure yourgoogle-services.jsonfile is present in theandroid/app/directory and is the latest version from your Firebase project. -
Is the server payload formatted correctly? One wrong comma in your JSON payload can cause the entire request to be silently rejected by Apple or Google. Validate your JSON structure carefully.
-
Is it a device issue? Don't forget the basics. Does the phone have an internet connection? And critically, did the user (or you, during testing) accidentally turn off notifications for your app in the phone's system settings? It happens more often than you'd think.
Ready to build your app interface as quickly as you can describe it? RapidNative is an AI-native mobile app builder that turns your prompts, sketches, or product docs into production-ready React Native code in minutes. Go from idea to interactive prototype and shippable UI faster than ever before. https://www.rapidnative.com
Ready to build your app?
Turn your idea into a production-ready React Native app in minutes.
Free tools to get you started
Free AI PRD Generator
Generate a professional product requirements document in seconds. Describe your product idea and get a complete, structured PRD instantly.
Try it freeFree AI App Name Generator
Generate unique, brandable app name ideas with AI. Get creative name suggestions with taglines, brand colors, and monogram previews.
Try it freeFree AI App Icon Generator
Generate beautiful, professional app icons with AI. Describe your app and get multiple icon variations in different styles, ready for App Store and Google Play.
Try it freeFrequently asked questions
What is RapidNative?
RapidNative is an AI-powered mobile app builder. Describe the app you want in plain English and RapidNative generates real, production-ready React Native screens you can preview, edit, and publish to the App Store or Google Play.
Can I export the code?
Yes. RapidNative generates clean React Native and Expo code that you can export at any time. No lock-in, no proprietary format. Hand it to your developers or keep building inside RapidNative.
Is RapidNative free to use?
Yes. You can build apps on the free plan with no credit card required. Paid plans unlock unlimited AI generations, code export, and direct publishing to the App Store and Google Play.
Do I need to know how to code?
No. Most users build apps by describing what they want in plain English. Developers can drop into the code whenever they want more control, but coding is optional.
How long does it take to build an app?
Most users have a working first screen in under a minute. A full MVP usually takes a few hours instead of the weeks or months traditional development requires.