React Native App Best Practices: 10 Rules for Production
Learn 10 React Native App Best Practices for production: architecture, state, performance, testing, navigation, and CI/CD, with practical examples for teams.
By Riya
9th Oct 2026
Last updated: 9th Oct 2026
You shipped the first version of your React Native app quickly. Six months later, the screen count has grown, a settings change takes a week, and nobody can explain which API call owns the user session. A component that looked harmless in a prototype now triggers a chain of renders, while a designer's small spacing change requires edits across unrelated files.
That situation feels chaotic, but its causes are predictable. A small set of engineering habits keeps prototypes understandable as they become production products. These React Native app best practices cover architecture, state, performance, testing, navigation, styling, documentation, and team workflow. Each practice focuses on the moment it starts paying off, with a practical view of what founders, PMs, designers, and developers gain from it.
The aim isn't to add ceremony for its own sake. It's to make previews easier to review, handoffs easier to complete, design decisions easier to preserve, and releases less likely to surprise the team.
1. Component-Driven Architecture
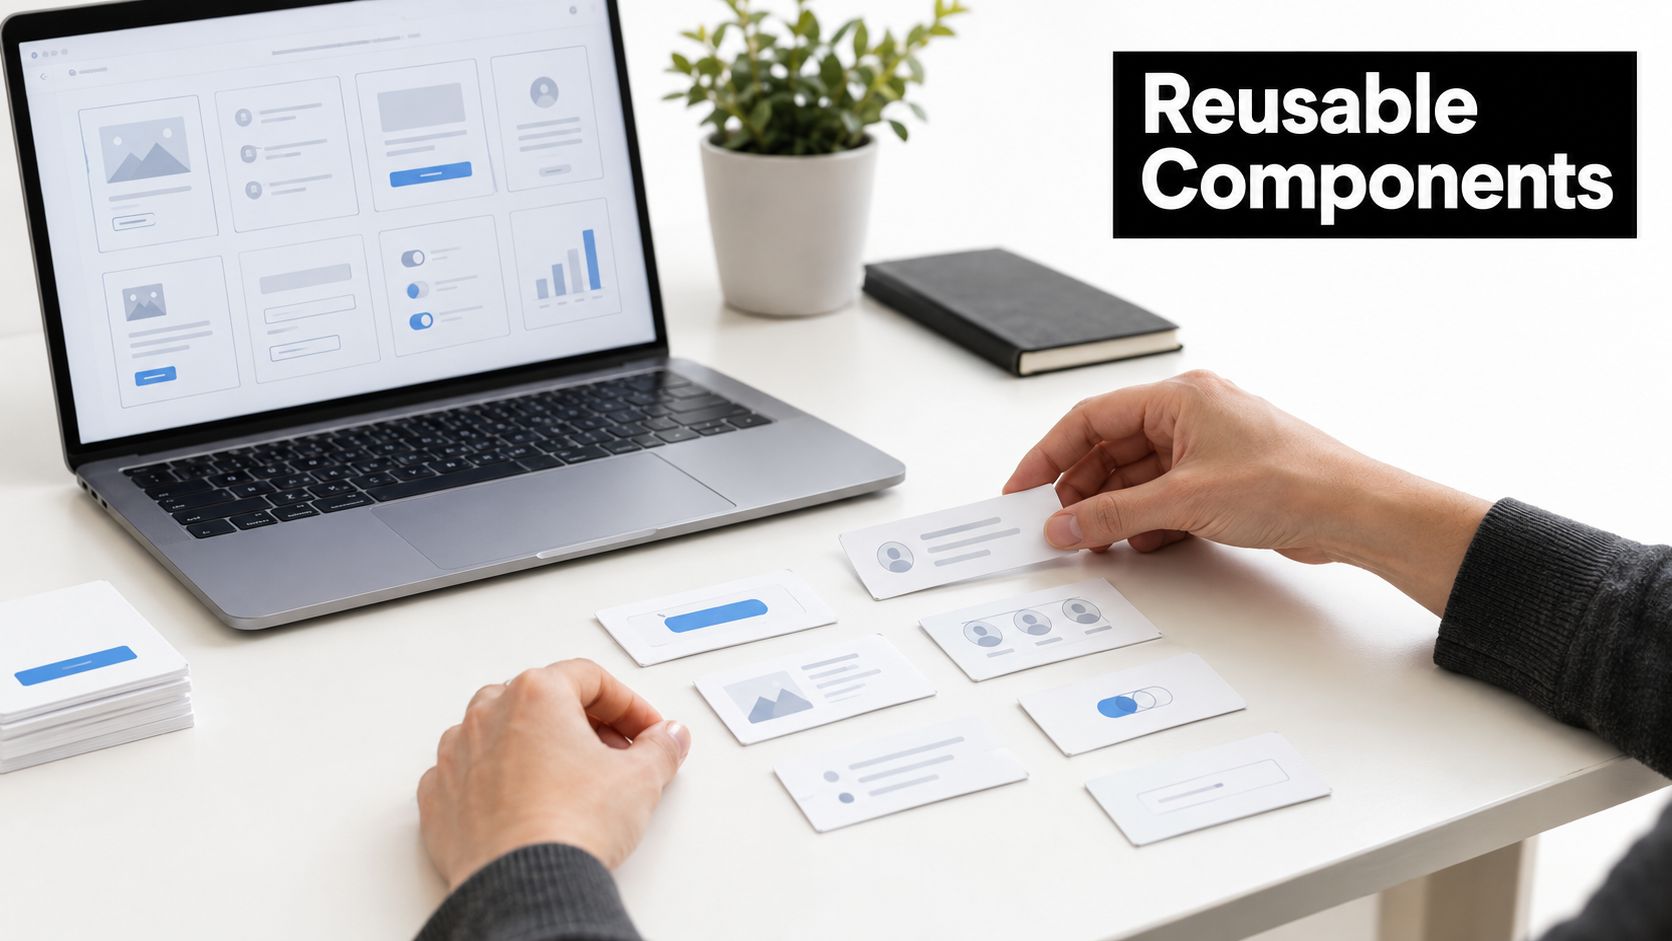
A prototype often starts with one screen component because that feels faster. The problem appears when the same button, card, modal, or form needs to behave consistently across several screens. Copying the markup creates small differences in spacing, loading behavior, accessibility, and error states. A later fix then has to find every copy.
Build screens from small, focused components instead. A button should own its visual states and interaction contract. A product card should receive product data and expose a clear press action. A form field should handle its label, error presentation, and accessible state without forcing every screen to rebuild that logic.
Build a system your team can see
Start by identifying repeated interface patterns, then give each one a typed interface. TypeScript makes the expected props visible to developers and makes handoff clearer for designers reviewing component variations. Storybook or a comparable component workspace can show loading, disabled, error, empty, and long-text states without requiring the whole app to run.
RapidNative-style generated components should enter this design system immediately, not sit in a separate prototype-only layer. That gives product stakeholders shareable previews and gives engineers reusable code rather than a visual reference they must rebuild.
Practical rule: If a component needs a long explanation before another developer can safely reuse it, its interface is probably doing too much.
Keep screens responsible for composition and feature-level behavior. Keep reusable components responsible for presentation and narrowly defined interaction. This separation supports platform consistency without forcing every screen into the same layout.
2. Flat File Structure with Feature Folders
Layered folders look tidy at the beginning. A components folder, a screens folder, a hooks folder, and a services folder are easy to understand when the app has only a few features. As the product grows, authentication, payments, profile, and notifications become scattered across all of them. A developer changing checkout has to search the entire repository, and removing a feature can leave behind unused hooks, styles, and utilities.
Feature folders keep related decisions together. A payment feature can contain its screens, components, hooks, service calls, types, tests, and styles. Shared buttons, theme tokens, generic formatters, and platform utilities still belong in a top-level shared area. The point isn't to duplicate everything inside each feature. It's to make ownership and dependencies visible.
Make the boundary obvious
Use consistent names such as usePayment, PaymentScreen, and paymentService. An index.ts file can define what the feature exposes publicly, which discourages unrelated screens from importing internal implementation details. Document the structure in the README so a new engineer doesn't need to infer the architecture from folder names.
For a founder or PM, this structure makes a handoff more concrete. A feature can be shown, reviewed, and assigned as a coherent unit. For designers, it reduces the chance that a component variant gets recreated differently in another area. For developers, it narrows the search space and makes refactoring safer.
RapidNative exports should be placed into these feature boundaries as soon as the generated interface becomes part of the product. A generated profile flow should not leave its files mixed with unrelated prototype screens. Keep the application shell, navigation, and shared design primitives separate from feature-owned code.

3. Type Safety with TypeScript
A JavaScript prototype can move quickly because it postpones decisions about data shape. That flexibility becomes expensive when an API changes, a navigation parameter is renamed, or a component receives an unexpected value. The failure often happens at runtime, after a user reaches the affected flow.
TypeScript moves many of those failures into development. Define component props, navigation parameters, API responses, and meaningful state transitions as types. A strict tsconfig.json gives the editor enough information to catch incorrect usage before the change reaches a device. It also turns types into living documentation for engineers and a clearer handoff surface for the rest of the team.
Type the boundaries first
Start with the places where uncertainty crosses the app boundary:
- Component props: Define required and optional values, supported variants, and callback signatures.
- API responses: Describe the payload immediately after the backend contract is agreed, then transform external data into a shape the UI can trust.
- State transitions: Use union types for states such as loading, success, empty, and error instead of allowing arbitrary combinations.
- Navigation parameters: Make route names and parameters compile-time checked so a screen can't receive the wrong identifier.
TypeScript doesn't eliminate bad backend data or flawed business rules. It does make assumptions visible. That helps a PM understand what a feature depends on, helps a designer see which variants exist, and helps developers refactor without guessing.
RapidNative's TypeScript-ready output can give a generated prototype a useful starting boundary. Review those types before connecting real services, because generated interfaces still need to match the product's actual domain model.
4. API Abstraction Layer
When screens call fetch or axios directly, the first version can look efficient. The cost appears when authentication headers, retries, error messages, caching, and response transformations are implemented differently by every screen. A session-expiry bug then becomes a scavenger hunt through UI code.
Put a dedicated service layer between the interface and external systems. Feature services should expose operations such as loading a profile, submitting a payment, or retrieving orders. Shared request infrastructure can handle headers, authentication, normalized errors, and common response behavior. Hooks can then connect those services to screen state without owning transport details.
Keep failures understandable
A useful API layer distinguishes at least three experiences for the user: an invalid request, an expired session, and a temporary network failure. A 401 response might require re-authentication, while a timeout should offer retry without immediately logging the user out. The UI should receive a stable error shape rather than parsing backend responses independently.
Mock the service layer during early product work. Designers and PMs can review loading, empty, and failure states before the backend is complete. Engineers can test the interface against deterministic responses and replace a prototype endpoint without rewriting screen components.
Generated RapidNative code is a starting point, not a reason to put real backend assumptions inside presentation components. Connect the exported app to a controlled API layer, document which service owns the user session, and keep credentials and authorization decisions on the appropriate server side. The month-six question, “Which API call owns the session?”, should already have a clear answer at that point.
5. State Management with Clear Separation
A screen becomes difficult to reason about when one global store contains modal visibility, form drafts, cached API responses, authentication, and derived display values. Developers change one field and trigger updates in components that shouldn't care. PMs see inconsistent states in previews, while designers report that a form error or loading state appears differently depending on how they reached the screen.
Separate UI state, server state, and form state before choosing a library. A modal's open state usually belongs near the component or feature. Data fetched from an API benefits from a server-state tool such as React Query or SWR. A multi-step form needs explicit validation and submission state. Context can work for simple shared concerns, while Redux, Zustand, or Jotai can suit broader client-state needs when the team defines ownership clearly.
Store decisions, not every value
Use selectors for derived values, keep reducers pure when using reducer-based patterns, and avoid copying server data into a second global store without a reason. A list returned by an API should have one obvious source of truth. A shopping cart or local draft may deserve client persistence, but that decision should be explicit.
For a deeper treatment of generated-app state boundaries, see how RapidNative handles state management in AI-generated React Native apps.
A useful review question is simple: who owns this value, and who is allowed to change it? Founders and PMs gain clearer feature behavior, designers gain predictable previews of every state, and engineers gain fewer hidden dependencies. RapidNative-generated scaffolding can accelerate setup, but the team still needs to name the ownership rules before adding more screens.
6. Performance Optimization Through Memoization and Lazy Loading
A food-ordering prototype can feel fast on a developer's device, then stall on representative hardware once restaurant lists grow, images load, and menus compete with gestures. Performance work pays off when the prototype meets real users. Founders and PMs get reliable previews, while engineers get fewer regressions to diagnose.
Profile before adding optimization. React DevTools Profiler can expose unnecessary renders, and release-build testing shows behavior that development checks and debugging tools can distort. React Native's documentation recommends testing release builds.
Apply the highest-impact fixes separately:
- Remove logging libraries before bundling.
- Use
getItemLayoutwhen list dimensions are predictable. - Defer noncritical JavaScript until the JS thread is idle.
- Prefer transform-based animations when scaling, rather than repeatedly changing layout dimensions.
Optimize the work users can feel
Use FlatList or another suitable virtualized list for long scrolling content. Keep item identities stable, size images appropriately, and avoid expensive calculations in every render. Add React.memo, useCallback, or useMemo only when profiling shows that they prevent meaningful work. These tools have a readability and maintenance cost, so applying them everywhere can slow onboarding without improving responsiveness.
Load screens that are not needed for initial interaction later, while keeping core navigation available. Android's core app-quality guidance says apps should load quickly or show visible feedback, such as a progress indicator, when loading takes longer than two seconds. A restaurant-list skeleton lets customers see structure while menus load instead of facing a blank screen. Designers can preview the loading state, PMs can review the experience, and engineers can test a defined fallback.
Measure again after each change. The result should be a faster interaction, fewer device-specific regressions, and clearer evidence for the next performance decision.
7. Consistent Navigation Architecture
Navigation debt shows up when a notification opens the wrong screen, a back button behaves differently on iOS and Android, or a shared link works only if the user has already visited a particular tab. Scattered routing calls make those failures difficult to reproduce because the route structure lives inside individual screens.
Define navigation at the application root and keep route parameters typed. Stack, tab, drawer, modal, and deep-link behavior should have a deliberate relationship. A product detail screen might sit inside a home stack, while authentication and onboarding belong to separate flows. Keep the nesting shallow enough that a developer can trace a user's path without opening many unrelated files.
Test entry points, not only screen transitions
Deep links should be exercised from the start, including links from notifications, marketing campaigns, and shared content. Test cold-start links, authenticated and unauthenticated users, invalid identifiers, and back behavior after a link opens a nested screen. These cases matter to PMs because they affect acquisition and retention, and to designers because they determine whether users arrive in a coherent state.
TypeScript navigation definitions prevent a screen from receiving a parameter it doesn't understand. A navigation reducer can help with complex transitions, but it shouldn't become a second hidden routing system.
RapidNative can generate navigation from a multi-screen layout, which helps teams preview a complete flow early. Before production, document the route ownership and confirm the generated structure handles real deep links, session changes, and platform back behavior. The RapidNative navigation and routing guide is a useful reference for that handoff.
8. Styling Strategy with Utility-First CSS
A prototype can accumulate one-off margins and colors because each screen is judged in isolation. The inconsistency becomes visible when the app grows: similar buttons have different heights, text styles drift, and dark mode requires edits across many unrelated stylesheets.
A utility-first approach such as NativeWind gives the team a shared vocabulary for spacing, color, typography, and layout. Extend the configuration with brand tokens rather than allowing every component to invent values. Wrap repeated combinations in named components so product language remains clear and developers don't copy long utility strings throughout the app.
Preserve design intent
Utility classes are not a substitute for a design system. Define the allowed colors, type styles, spacing scale, radii, and interaction states. Document those tokens in Storybook or an equivalent living reference. A designer can review a button's variants in one place, while an engineer can update a token and see which screens depend on it.
Theme switching deserves an explicit design decision. Use shared variables or theme mappings for light and dark modes, and test long labels, large text, focus states, and disabled states rather than reviewing only the default appearance. Apple recommends using Accessibility Inspector to identify interface issues and checking how elements are exposed to accessibility technologies in its accessibility guidance. Styling choices must support those semantics, not obscure them.
RapidNative uses NativeWind in its generated stack, which can make early design consistency easier. The trade-off is that teams still need conventions for when a utility combination becomes a reusable component. Without that rule, utility-first styling can turn into a different kind of duplication.
9. Testing Strategy with Unit, Integration, and E2E Testing
Testing only after a feature looks finished creates a fragile release gate. Testing every visual detail with end-to-end automation creates a slow suite that breaks whenever a layout changes. The useful middle ground is a layered strategy tied to risk.
Use unit tests for pure business rules, validation, formatters, and data transformations. Use React Native Testing Library for component behavior such as form submission, error display, accessibility labels, and disabled states. Use Detox or a comparable end-to-end tool for a small set of critical journeys, such as authentication, checkout, or the app's primary action.
Test the paths that can hurt the product
Mock external APIs in unit and integration tests, but keep production-like environments for release validation. Run the fast layers in CI for every pull request, then reserve device-heavy checks for critical flows and release candidates. Coverage targets can be useful for business logic, but a coverage number doesn't prove that the most important user journey works.
A payment button that renders correctly isn't enough. The test should cover loading, a rejected response, a retried submission, and the resulting user message. That gives PMs confidence that acceptance criteria survive implementation and gives designers confidence that error states aren't forgotten.
The RapidNative guide to testing mobile applications can provide a starting structure for generated projects. Add tests as each feature becomes real, rather than waiting until generated screens have been heavily modified.
Accessibility belongs in this workflow, not in a final visual pass. React Native's accessibility documentation requires explicit support for assistive-technology actions through accessibilityActions and onAccessibilityAction when a component supports those actions. Test important flows with VoiceOver on iOS and TalkBack on Android, including focus order, dynamic errors, scalable text, and custom controls.
10. Documentation and Code Comments for Team Alignment
The cost of undocumented decisions appears during handoff. A new developer can't run the project, a PM revisits a settled architecture question, and a designer assumes a component supports a state that was never implemented. The team then spends time reconstructing history instead of improving the product.
Keep the README focused on local setup, environment requirements, project structure, and the shortest path to a working build. Put contribution rules, testing expectations, and pull-request conventions in CONTRIBUTING.md. Use Architecture Decision Records for choices that people are likely to revisit, such as state management, navigation, native integrations, or a deliberate trade-off between managed and custom workflows.
Document reasons, not syntax
Comments should explain why a decision exists when the code can't make that reason obvious. Storybook can document reusable components with live variations, while feature-level README files can explain workflows, ownership, and external dependencies. Generated code deserves the same treatment as handwritten code. Mark the boundary between generated files and manual extensions, and document what can safely be regenerated.
Good documentation benefits every role differently. Founders and PMs gain a clearer view of what can change safely. Designers gain a reliable component reference for previews and handoff. Developers gain faster onboarding and fewer regressions caused by unwritten assumptions.
React Native's own documentation demonstrates the value of clear component APIs and platform guidance. Your project doesn't need to reproduce its scale. It does need enough written context that a teammate can answer, “Why is this structured this way?” without relying on the person who made the original decision.
Top 10 React Native Best Practices Comparison
| Approach | Implementation complexity | Resource requirements | Expected outcomes | Ideal use cases | Key advantages |
|---|---|---|---|---|---|
| Component-Driven Architecture | Moderate, needs upfront design and conventions | Component library, Storybook, design tokens, disciplined team | Reusable modular UI, consistent design system, easier isolated testing | Medium–large apps, teams with designers, projects needing reuse | Reduces duplication; safer refactors; faster onboarding |
| Flat File Structure with Feature Folders | Low–Moderate, simple reorganization with conventions | Folder guidelines, shared utilities, naming conventions | Clear feature ownership, easier removal/movement of features | Product teams iterating quickly, large codebases with many features | Faster code navigation; fewer merge conflicts; clear boundaries |
| Type Safety with TypeScript | Moderate, tooling and typing discipline required | tsconfig, type defs, IDE support, time to annotate code | Fewer runtime type errors, better refactor confidence, improved IDE UX | Production apps, large teams, projects with API contracts | Catches bugs early; self-documenting types; safer refactors |
| API Abstraction Layer | Moderate, requires careful interface design | Service classes/hooks, interceptors, mocks, caching logic | Centralized API handling, consistent error/auth logic, easy mocking | Apps with multiple backends, offline needs, complex auth flows | Decouples UI from network; simpler testing and endpoint swaps |
| State Management with Clear Separation | Moderate–High, architectural decisions and discipline | State library (Redux/Zustand/React Query), middleware, tests | Predictable state flow, less prop drilling, testable logic | Complex apps, shared/global state, multi-team projects | Reproducible behavior; scalable data flow; easier debugging |
| Performance Optimization (Memoization & Lazy Loading) | Variable, low for basics, high for targeted tuning | Profilers, virtualization libs, code-splitting tooling | Improved responsiveness, smaller initial bundles, smoother lists | Media-heavy apps, long lists, performance-sensitive UIs | Better perceived speed; battery savings; scalable rendering |
| Consistent Navigation Architecture | Moderate, nested flows and deep linking add complexity | React Navigation, typed params, deep-link testing | Predictable navigation, consistent backstack, reliable deep linking | Apps with complex flows, deep links, cross-platform parity | Centralized flow control; easier screen additions; reliable UX |
| Styling Strategy: Utility-First CSS | Low–Moderate, learn utilities and configure theme | NativeWind/Tailwind config, design tokens, wrapper components | Consistent spacing/colors, faster styling, smaller style footprint | Teams enforcing design systems, rapid prototyping, cross-platform UI | Fast development; global style changes; tokenized themes |
| Testing Strategy: Unit, Integration & E2E | Moderate–High, infra and maintenance overhead | Jest, RTL, Detox (or alternatives), CI pipelines, test authors | Fewer regressions, confident refactoring, documented behavior | Production apps, critical user flows (payments, auth), regulated apps | Early bug detection; CI automation; safer releases |
| Documentation & Code Comments | Low–Moderate, ongoing discipline to maintain | README, CONTRIBUTING, ADRs, Storybook, wiki/docs hosting | Faster onboarding, aligned teams, traceable decisions | Growing or distributed teams, cross-functional projects | Shared knowledge; decision history; reduced misunderstandings |
Start With the Practice That Unblocks Your Team
Don't adopt all ten practices at once. A team with unclear state ownership should start by separating UI, server, and form state. A team with slow onboarding should reorganize one feature into a self-contained folder and document the boundary. A team shipping fragile releases should add tests around its most important journey and start measuring release-build behavior on representative physical devices.
Choose the smallest change that addresses the current bottleneck. If settings changes require edits across unrelated screens, component boundaries and feature folders will probably pay off first. If nobody knows which API owns authentication, fix the service layer before adding another state library. If designers and developers disagree about whether a screen is finished, document component states and make a live preview part of the review process.
Performance and reliability deserve explicit release gates as the product matures. React Native's performance guidance emphasizes release builds because development behavior can distort results. The same guidance connects responsiveness to keeping the JavaScript and UI threads available for gestures, navigation, scrolling, and animation. Measure startup, frame responsiveness, memory, bundle size, and crash-free sessions on physical devices rather than treating a simulator preview as production evidence.
Framework upgrades also need a plan. The 2025 State of React Native survey reports that 88% of respondents agree or strongly agree that React Native is moving in the right direction, while identifying the New Architecture and increased use of native UIs as major ecosystem shifts. That sentiment supports continued evaluation, but it doesn't replace app-specific evidence. Test upgrades in a branch or canary build, inventory dependencies that rely on legacy bridge behavior, and compare key journeys under release configuration before broad rollout.
Accessibility and security should grow with the product, not appear as launch-week cleanup. React Native teams should test VoiceOver and TalkBack on important flows, including custom actions, dynamic errors, focus order, and text scaling. Research involving 110 developers across 43 countries found that accessibility testing usually happens in mid-to-late development, while only 9.8% involved users with disabilities. The same research reports that 76.34% implemented accessibility for mobile apps, with limited expertise, API limitations, and missing formal requirements among the barriers. Those figures point to a process issue, not a lack of intent. Put accessibility requirements in the product brief, make reusable primitives semantic by default, and include disabled-user feedback before release. (Research on mobile accessibility development)
For security, avoid turning the client into a collection of defensive features without a threat model. Keep authorization on the server, use short-lived credentials and secure platform storage, review dependencies, sign releases, and decide how OTA updates, deep links, WebViews, and exported code are governed. Certificate pinning, jailbreak detection, and aggressive obfuscation can add support and operational costs, so weigh them against the sensitivity of the data and the impact of compromise. A staged launch gate is more useful than a generic checklist. (React Native security risks and practices)
In the coming sprint, choose one concrete action. Reorganize one feature into its own folder, write one ADR for a decision the team keeps revisiting, or add one unit-test suite to CI. Then review the result with the founder, PM, designer, and developer who will use it. The same habits make prototypes easier to preview and hand off, while giving production releases clearer boundaries and fewer surprises.
RapidNative can support that transition by turning prompts, sketches, images, or PRDs into shareable React Native apps, with live previews, generated screens, navigation, reusable components, TypeScript, Expo, and NativeWind. Treat the generated output as an accelerator for disciplined product work, then export and extend the modular code in your own repository.
RapidNative turns prompts, sketches, images, and PRDs into shareable React Native apps with live screens, navigation, reusable components, and exportable code. Use it to validate a flow quickly, align founders, PMs, designers, and developers around the same preview, then visit RapidNative to move that interface toward a maintainable production handoff.
Ready to build your app?
Turn your idea into a production-ready React Native app in minutes.
Free tools to get you started
Free AI PRD Generator
Generate a professional product requirements document in seconds. Describe your product idea and get a complete, structured PRD instantly.
Try it freeFree AI App Name Generator
Generate unique, brandable app name ideas with AI. Get creative name suggestions with taglines, brand colors, and monogram previews.
Try it freeFree AI App Icon Generator
Generate beautiful, professional app icons with AI. Describe your app and get multiple icon variations in different styles, ready for App Store and Google Play.
Try it freeFrequently asked questions
What is RapidNative?
RapidNative is an AI-powered mobile app builder. Describe the app you want in plain English and RapidNative generates real, production-ready React Native screens you can preview, edit, and publish to the App Store or Google Play.
Can I export the code?
Yes. RapidNative generates clean React Native and Expo code that you can export at any time. No lock-in, no proprietary format. Hand it to your developers or keep building inside RapidNative.
Is RapidNative free to use?
Yes. You can build apps on the free plan with no credit card required. Paid plans unlock unlimited AI generations, code export, and direct publishing to the App Store and Google Play.
Do I need to know how to code?
No. Most users build apps by describing what they want in plain English. Developers can drop into the code whenever they want more control, but coding is optional.
How long does it take to build an app?
Most users have a working first screen in under a minute. A full MVP usually takes a few hours instead of the weeks or months traditional development requires.