Simple React Native App Example: A Hands-On Build Guide
Build a simple React Native app example from scratch. Includes runnable code, setup steps, and tips for previewing on device and emulator.
By Sanket Sahu
16th Oct 2026
Last updated: 16th Oct 2026
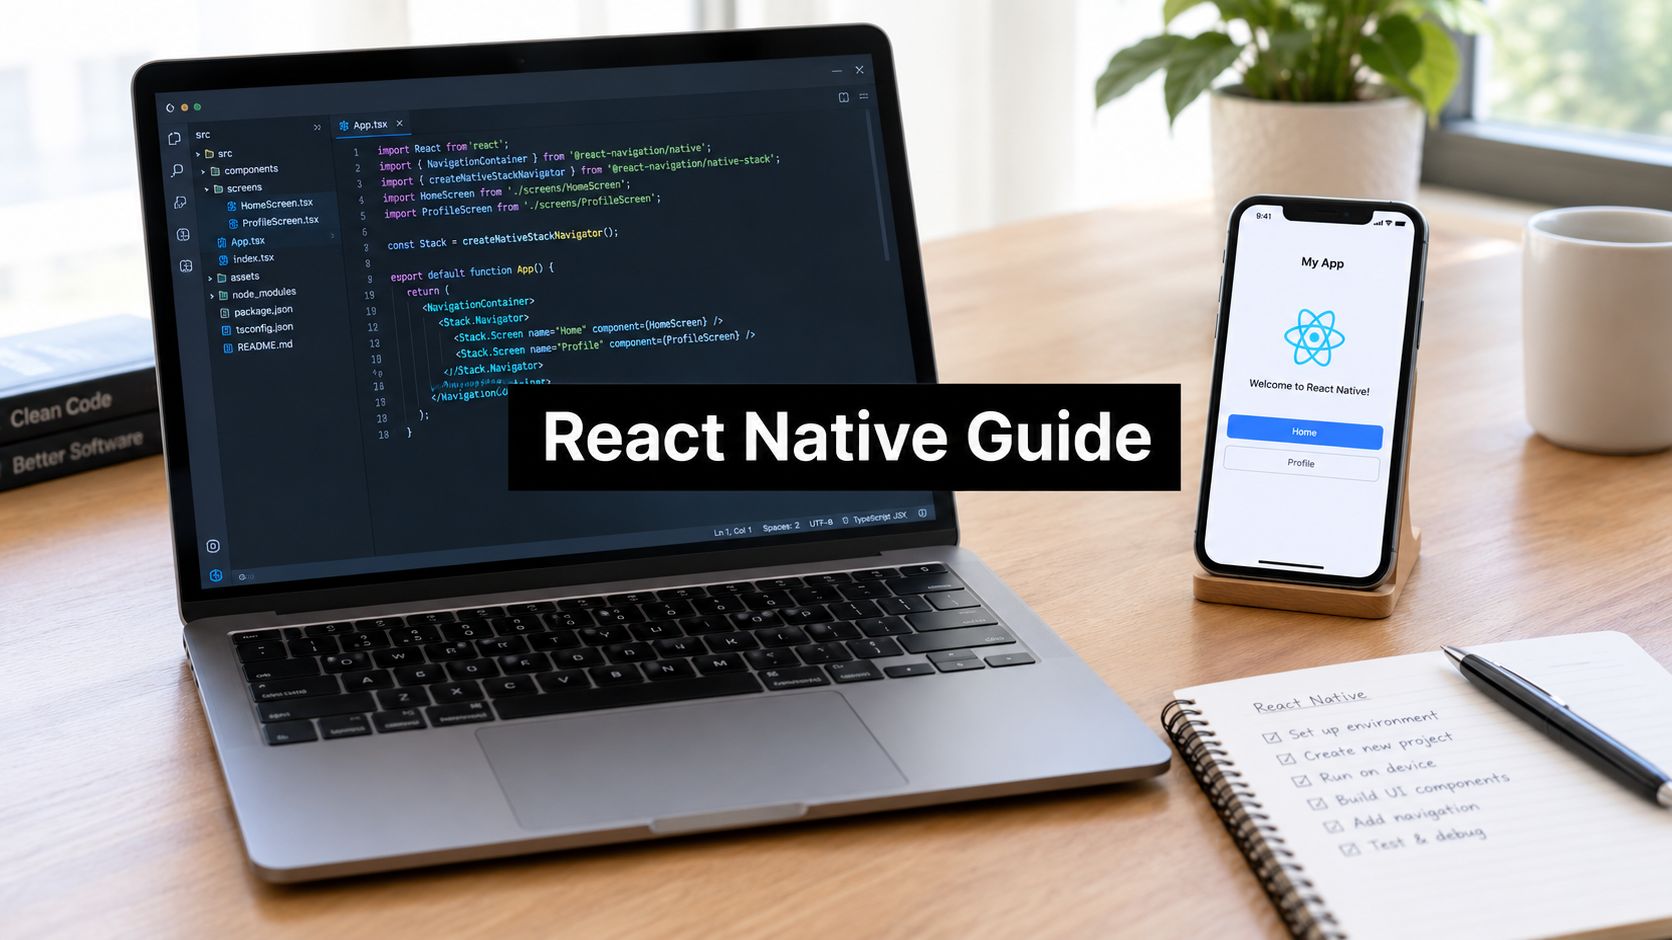
You have a product idea, a rough flow in your head, and a Friday deadline. A Figma file can show the screens, but it can't tell you whether the keyboard covers the form, whether navigation feels natural, or whether someone can complete the main task on a real phone. A small React Native app can answer those questions much sooner.
This guide is for solo founders and small product teams who want to build and test one focused mobile flow without starting with separate iOS and Android implementations. You'll create a runnable app with two screens, a text input, navigation, and a practical path to preview it on a phone. The example is intentionally narrow: a home screen collects an idea, and a details screen displays it.
Why a Simple React Native Example Is Worth Building Tonight
A founder testing a meal-planning concept doesn't need a complete marketplace to learn something useful. They need to know whether a person can enter a meal preference, move to the next screen, and understand what happens next. A small working flow gives that founder something people can touch, rather than another round of opinions about static screens.
React Native fits this kind of experiment because its core model lets developers share JavaScript application logic and component patterns while rendering through platform-specific native components. Facebook introduced React Native publicly at React.js Conf in January 2015 and open-sourced it on March 26, 2015, establishing the cross-platform approach that still makes a compact iOS and Android prototype practical (React Native's original announcement).
That doesn't mean one codebase removes every platform decision. It means your first screen, state model, navigation flow, and much of your styling can start from the same project. For someone exploring beginner coding projects 2026, this makes a useful distinction: you're not just practicing syntax, you're building a small product surface that can support real feedback.
Practical rule: Build the smallest flow that tests one product question, not the smallest screen that produces a screenshot.
By the end, you'll have a two-screen app where a user enters an idea, taps a button, and sees the captured value on a details screen. That is enough to test wording, navigation, form behavior, and the basic handoff from design to implementation.
Picking the Toolchain and Setting Up Your Project
For this example, choose Expo rather than starting with the bare React Native CLI. Expo gives you a faster setup, a QR-code preview through Expo Go, and a managed workflow that keeps native configuration out of your first evening. The React Native CLI is appropriate when a project needs unusual native code or deep control over platform build files, but it adds setup you don't need for this focused prototype.
React Native has also built a substantial development community. In Stack Overflow's 2022 Developer Survey, 4,801 respondents, roughly 13.62% of technology entries in the framework category, identified React Native (Stack Overflow Developer Survey 2022). That doesn't represent every developer, but it does mean you'll find established patterns for components, hooks, navigation, and platform-aware code.

Recommendation: Start with Expo unless a specific native module forces you to use the React Native CLI.
Install Node.js from the official distribution, then choose either npm or another package manager your team already uses. The command below creates a TypeScript Expo project:
npx create-expo-app@latest simple-rn-example --template blank-typescript
cd simple-rn-example
npm install
npm start
The exact project command is worth keeping in your notes because version-aware setup matters later. If you're comparing managed and bare workflows before committing, this overview of Expo versus React Native explains the trade-off in more detail.
A new project will contain familiar pieces:
- App.tsx: The entry component where the application tree begins.
- package.json: The dependency list and project scripts.
- tsconfig.json: TypeScript rules for the project.
- assets: Images and other static files.
- node_modules: Installed packages, created after dependency installation.
Keep the first version in App.tsx. Splitting screens into separate files is useful as the app grows, but a single entry file makes the first working loop easier to understand.
Writing the Runnable Code for Two Screens
The app teaches three patterns that you'll reuse in production: functional components, useState, and a navigation stack. First install the navigation packages:
npm install @react-navigation/native @react-navigation/native-stack
npx expo install react-native-screens react-native-safe-area-context
Replace App.tsx with this complete example:
import { NavigationContainer } from '@react-navigation/native';
import { createNativeStackNavigator } from '@react-navigation/native-stack';
import { useState } from 'react';
import {
  Button,
  StyleSheet,
  Text,
  TextInput,
  View,
} from 'react-native';

type RootStackParamList = {
  Home: undefined;
  Details: { idea: string };
};

const Stack = createNativeStackNavigator<RootStackParamList>();

function HomeScreen({ navigation }: any) {
  const [idea, setIdea] = useState('');

  // Local state keeps the input responsive until the user submits it.
  return (
    <View style={styles.container}>
      <Text style={styles.title}>Test your idea</Text>
      <Text style={styles.caption}>
        Enter a short description, then review it on the next screen.
      </Text>

      <TextInput
        accessibilityLabel="Product idea"
        placeholder="For example, weekly meal planning"
        value={idea}
        onChangeText={setIdea}
        style={styles.input}
      />

      <Button
        title="View details"
        onPress={() => navigation.navigate('Details', { idea })}
        disabled={!idea.trim()}
      />
    </View>
  );
}

function DetailsScreen({ route, navigation }: any) {
  // The route parameter demonstrates how one screen passes data to another.
  return (
    <View style={styles.container}>
      <Text style={styles.title}>Your idea</Text>
      <Text style={styles.result}>{route.params.idea}</Text>
      <Button title="Go back" onPress={() => navigation.goBack()} />
    </View>
  );
}

export default function App() {
  // The container owns navigation state and the stack defines the app's routes.
  return (
    <NavigationContainer>
      <Stack.Navigator>
        <Stack.Screen name="Home" component={HomeScreen} />
        <Stack.Screen name="Details" component={DetailsScreen} />
      </Stack.Navigator>
    </NavigationContainer>
  );
}

const styles = StyleSheet.create({
  container: {
    flex: 1,
    padding: 24,
    justifyContent: 'center',
    gap: 16,
  },
  title: {
    fontSize: 28,
    fontWeight: '700',
  },
  caption: {
    fontSize: 16,
    color: '#555',
  },
  input: {
    borderWidth: 1,
    borderColor: '#999',
    borderRadius: 8,
    padding: 12,
    fontSize: 16,
  },
  result: {
    fontSize: 20,
  },
});
HomeScreen owns the input value with useState. DetailsScreen reads the value from the navigation route, which is the same basic handoff you'll use for an item ID, search term, or checkout context.
For navigation patterns beyond this stack, see this guide to navigation and routing in React Native. Expo reported that 74.6% of projects built with EAS Build in April 2025 had enabled the New Architecture (Expo's New Architecture guide), so keep dependencies current and avoid copying navigation code that assumes an old project structure.
This is the smallest useful React Native app, not a toy. Every line maps to a production pattern: a component, local state, route parameters, and a navigation container.
You can also use a generated prototype as the starting point. RapidNative can turn prompts, sketches, images, or product requirements into shareable React Native interfaces, after which a developer can inspect the generated screens and replace prototype behavior with the code your product needs.
Previewing on Simulator, Emulator and a Real Device
Running the code is part of building it. A simulator can confirm layout quickly, but a physical phone exposes keyboard behavior, touch accuracy, network conditions, and text scaling that desktop previews can hide.
Start the Expo development server:
npm start
For an iOS Simulator on macOS, press i in the Expo terminal or run:
npx expo start --ios
The most common failure is that Metro isn't running or the simulator isn't available. Start Expo first, then confirm that Xcode's simulator is installed.
For an Android Emulator, open an available virtual device in Android Studio and run:
npx expo start --android
A missing Android SDK or an emulator that hasn't finished booting usually causes the failure. If Expo can't find the device, launch it manually before retrying.
For a physical phone, install Expo Go, run npm start, and scan the QR code shown by Expo. Your phone and computer usually need to be reachable on the same network. A firewall can block the development server even when both devices appear connected.
| Preview path | Best for | Common gotcha |
|---|---|---|
| iOS Simulator | Fast visual iteration on macOS | Metro or the simulator isn't running |
| Android Emulator | Android-specific layout and back-button checks | Android SDK or virtual device setup is missing |
| Physical phone with Expo Go | Teammate demos and real interaction | Firewall or network prevents the QR preview from loading |
Hermes is optimized for startup, memory, and application size. A React Native Mattermost benchmark reported approximately 40% faster startup, 18% lower memory on iOS versus JavaScriptCore, and about 2.4 MiB of additional app-size overhead, though those results vary with the device, dependencies, navigation, and JavaScript workload (React Native's Hermes documentation).
Don't treat the first rendered frame as fully interactive. Tap through the form, dismiss the keyboard, move back, submit an empty value, and repeat the flow on at least one physical phone before calling the example real.
The New Architecture Trap Most Tutorials Skip
A tutorial can be short and still leave you with a long maintenance problem. The risk appears when a copy-pasted example hides the React Native version, assumes legacy native APIs, or installs a library that hasn't been checked against the architecture your project uses.
React Native's legacy architecture was officially frozen in June 2025. The New Architecture became the default in React Native 0.76 and mandatory in React Native 0.82, making version checks essential for any simple example (React Native architecture documentation).
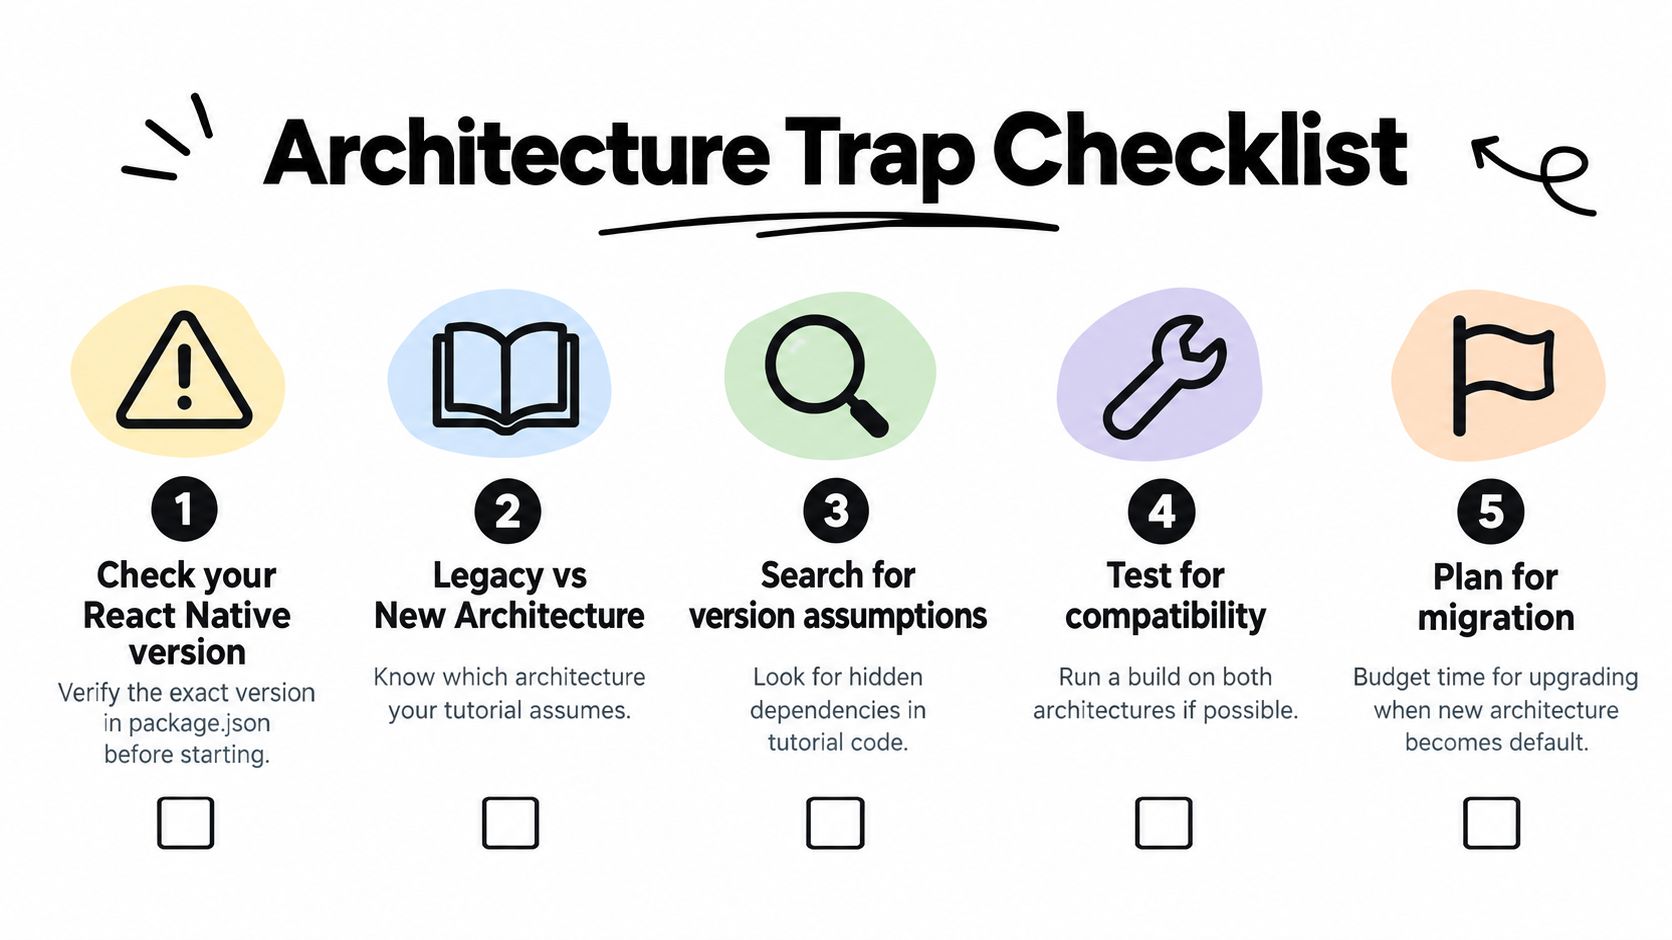
Before trusting a tutorial or generated prototype, check four things:
- Project versions: Read
package.jsonand record the React Native, Expo, and navigation versions. - Architecture assumptions: Confirm whether the example expects the New Architecture or relies on legacy behavior.
- Native compatibility: Check every native module's documentation and issue tracker for New Architecture support.
- Maintenance date: Prefer material that states when it was updated, and treat old configuration instructions cautiously.
The failure may not appear on the first screen. A library can install successfully while breaking during a release build, navigation transition, or native permission flow. A generated screen can look complete while still needing typed route parameters, error states, accessibility labels, and platform testing.
Version safety is part of the example. A screen that runs today isn't production-safe until you know which assumptions make it run.
Keep prototype code and shipping code separate in your thinking. A generated RapidNative screen can help a founder validate layout and flow, but engineering still needs to confirm dependencies, replace placeholder data, test release builds, and document what happens when the network or permissions fail.
Your Next Three Moves After the Example Runs
A clean preview answers only one question: can the app render and respond? The next decisions determine whether the flow deserves more product work, an engineering handoff, or a rewrite.
Use this screenshot-friendly checklist:
- Enable and verify Hermes: Confirm the project uses the intended JavaScript engine in a release-oriented build, then compare startup and memory on representative devices rather than relying on development mode.
- Run an accessibility pass: Give interactive elements enough space to tap, add meaningful labels to controls, and check text contrast. Android recommends a minimum touch target of 48dp by 48dp and a contrast ratio of at least 4.5:1 for text smaller than 18sp, or bold text smaller than 14sp (Android accessibility testing guidance).
- Test one complete task with five people: Ask users to enter an idea, continue, interpret the details screen, and return. Record where they hesitate instead of explaining the interface while they test.
- Choose the next owner: Keep iterating in the prototype if you're still testing wording and structure. Hand off to engineering when the user flow is clear and the work requires data, authentication, analytics, native permissions, or release configuration.
Accessibility isn't a final polish pass. It changes whether people can discover the button, read the result, and recover from an error. Validation should also include loading, empty, and failure states before the product team expands the scope.
For a broader checklist covering reusable components, testing, and production preparation, review these React Native app best practices.
A working example is the start of a product decision, not the end of one.
RapidNative turns prompts, sketches, images, and product requirements into shareable React Native prototypes with live previews, navigation, and exportable code. Use it to test a focused flow like this one, then inspect and hand the project to engineering when the product question is answered. Visit RapidNative to create your next mobile prototype.
Ready to build your app?
Turn your idea into a production-ready React Native app in minutes.
Free tools to get you started
Free AI PRD Generator
Generate a professional product requirements document in seconds. Describe your product idea and get a complete, structured PRD instantly.
Try it freeFree AI App Name Generator
Generate unique, brandable app name ideas with AI. Get creative name suggestions with taglines, brand colors, and monogram previews.
Try it freeFree AI App Icon Generator
Generate beautiful, professional app icons with AI. Describe your app and get multiple icon variations in different styles, ready for App Store and Google Play.
Try it freeFrequently asked questions
What is RapidNative?
RapidNative is an AI-powered mobile app builder. Describe the app you want in plain English and RapidNative generates real, production-ready React Native screens you can preview, edit, and publish to the App Store or Google Play.
Can I export the code?
Yes. RapidNative generates clean React Native and Expo code that you can export at any time. No lock-in, no proprietary format. Hand it to your developers or keep building inside RapidNative.
Is RapidNative free to use?
Yes. You can build apps on the free plan with no credit card required. Paid plans unlock unlimited AI generations, code export, and direct publishing to the App Store and Google Play.
Do I need to know how to code?
No. Most users build apps by describing what they want in plain English. Developers can drop into the code whenever they want more control, but coding is optional.
How long does it take to build an app?
Most users have a working first screen in under a minute. A full MVP usually takes a few hours instead of the weeks or months traditional development requires.